Azure Logic Apps is the PaaS (Platform as a Service) offering from Microsoft Azure. Logic Apps helps us to define workflows and build powerful solutions with the help of connectors, triggers, and actions.
Prerequisites
– Basic understanding of cloud platform and SQL Query.
Let us understand this with a simple example:
Let’s suppose we want to receive an email as soon as there is a new tweet posted on Twitter, that solution can be established using Logic Apps (through connectors)
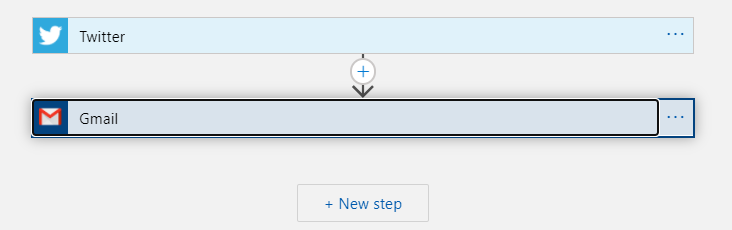
This is just a basic example. Similarly, many complex workflows can be established using Logic Apps.
Another example can be that we can automatically fetch new records from a SQL database and then send email alerts to users.
The good thing is that you don’t need to write a single line of code. Everything can be done using Logic Apps Designer in Azure Portal.
As far as the cost is concerned, you only need to pay for the actions you execute in your logic apps. It follows the consumption pricing model.
Use Case
In this demo use case, we will see how you can alert users based on the data present/updated in your SQL Database.
Step 1: Go to the Azure Portal. Fill in the required details and click ‘Review + create’ to create your Logic App.

Step 2: Go to the Azure Portal. Fill in the required details and click ‘Review + create’ to create your SQL Database.

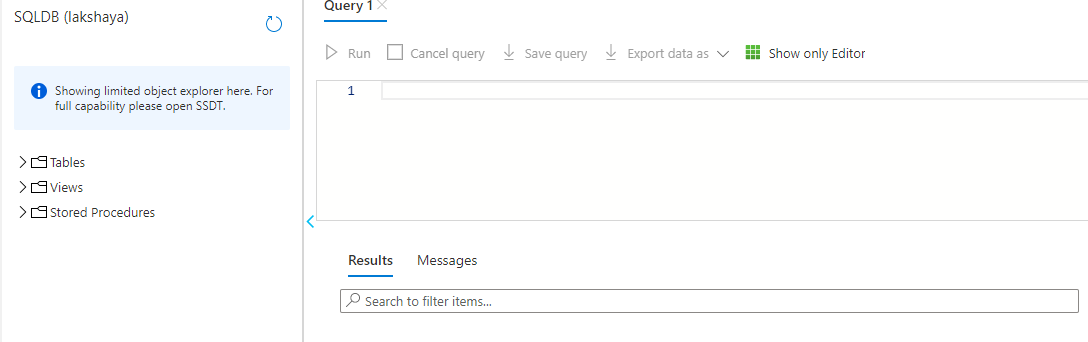
Step 3: Go to the SQL Database and click ‘Query Editor’.

Step 4: Enter your credentials and you will get the following screen.
NOTE: If you face the error listed below while logging in, then you need to whitelist your client IP in server firewall settings.

Step 5: After you have opened the query editor, you need to run the below query. This query will create a table named ‘Alerts‘.

You can verify the same in tables. A new table named ‘dbo.Alerts’ will be created.

Step 6: Insert records into the Alerts table using the query listed below.

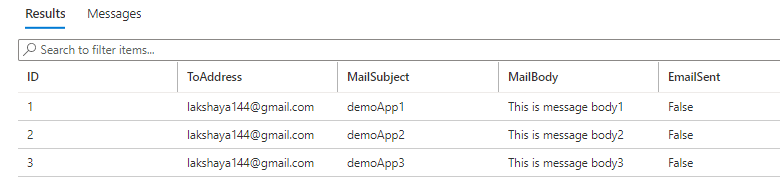
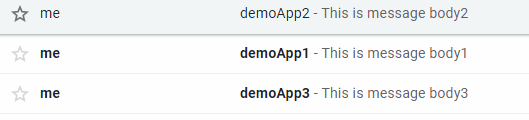
(For demo purpose, I am sending 3 mails to my mail address with different subject and body)
Step 7: Run the query listed here and verify that the records have been inserted into the table.

Step 8: Go back to the portal and open blank Logic App.
From here, we start configuring our Logic App.
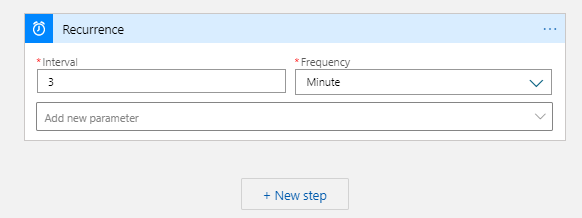
Step 9: We will use a Recurrence Trigger (Logic App will run automatically at the defined schedule)
Step 10: Add a new step named ‘SQL Server’. We will use ‘Get Rows’ as action.

Step 11: Enter the credentials (In background, connectors are getting created). Enter your server name (FQDN), database name, username and password.
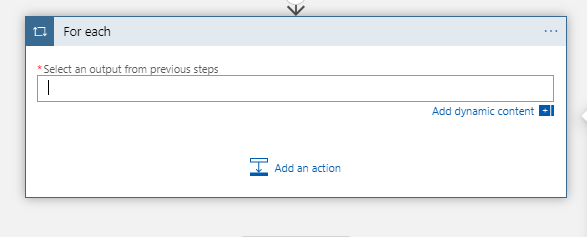
Step 12: Add a new step ‘For-Each’ in the Logic App.
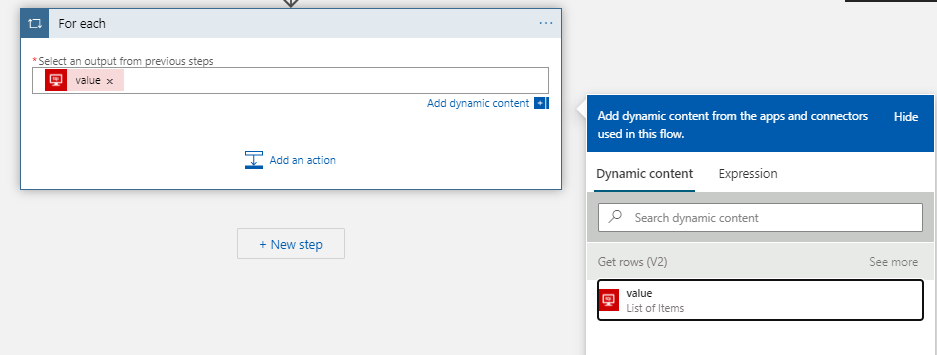
Step 13: Select ‘Value’ Parameter from Dynamic Content.
(Reason for selecting this is we want to fetch each value from previous step and then send email for these values)
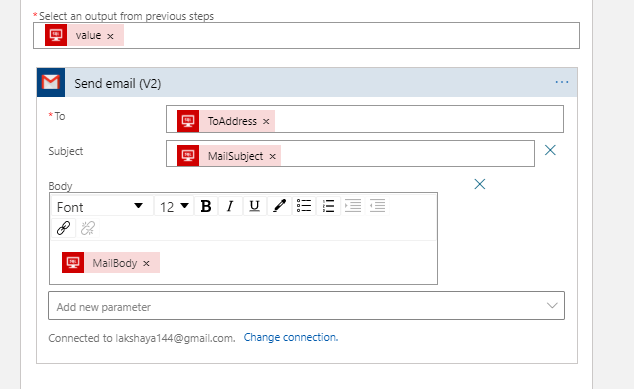
Step 14: Now add a ‘Send mail’ Action as below.

Step 15: Enter the details from Dynamic content. We will not be doing hard-coding 🙂
Step 16: Finally SAVE the Logic App.
Step 17: Wait for sometime and you will receive an email.
This is how you can create a workflow with the help of Logic Apps. You can play around with it and try adding one more row into the SQL Database. You would receive a mail for that too.
Happy Learning 🙂
Opstree is an End to End DevOps solution provider