Introduction
Applications hosting on Amazon Elastic Container Service (ECS) is a cloud computing solution provided by AWS that enables organizations to manage, scale, and deploy containerized applications with ease. ECS simplifies container deployment and management, enabling developers to concentrate on creating and running their applications.
In this blog, we will create a repository, copy an image to Amazon Elastic Container Registry (ECR), define a task, and set up an ECS cluster to host an application on Amazon ECS.
Create a repo and Copy an Image in ECR
Amazon ECR is a fully managed container registry service provided by Amazon Web Services (AWS). It allows you to store, manage, and deploy Docker container images. Please follow the below steps to create a repo in ECR and copy an image to that ECR.
Step 1: Open a web browser and log in to the AWS Management Console (https://aws.amazon.com/) by using your AWS account credentials.
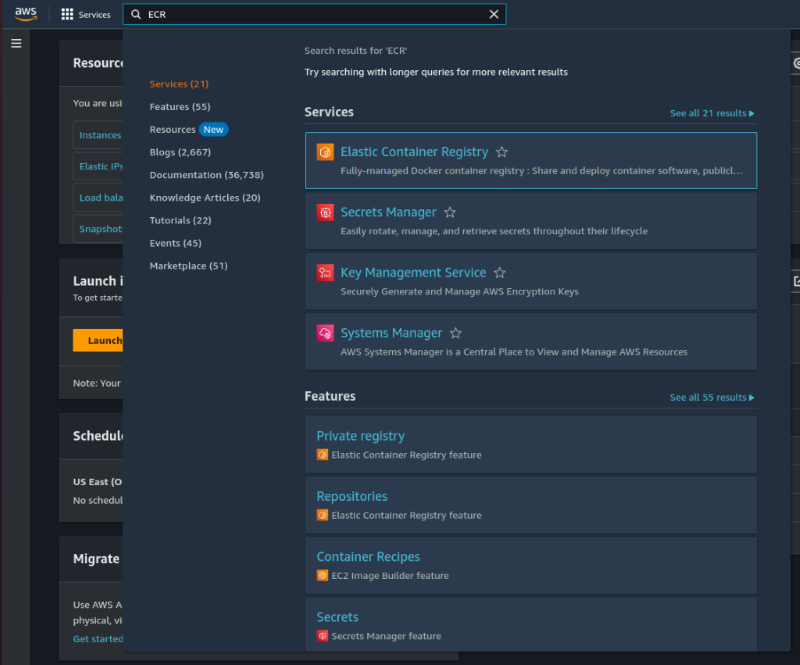
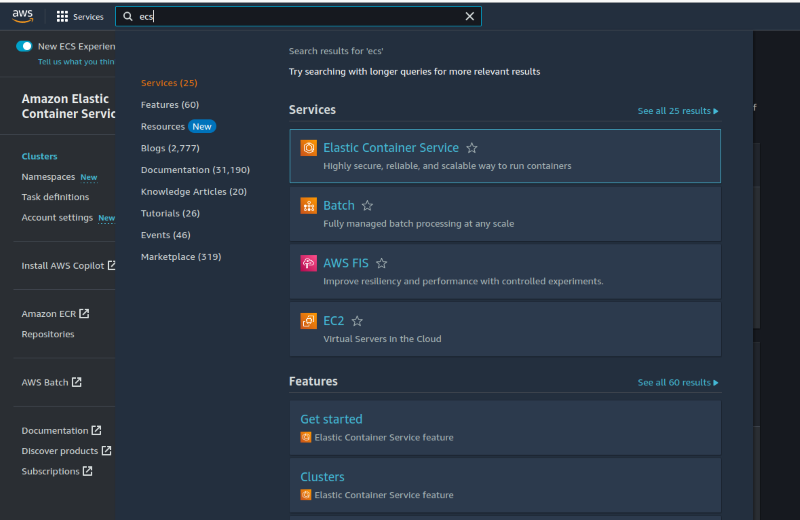
Step 2: In the AWS Management Console, click on the “search” box at the top, and then type “ECR” and select “Elastic Container Registry”.
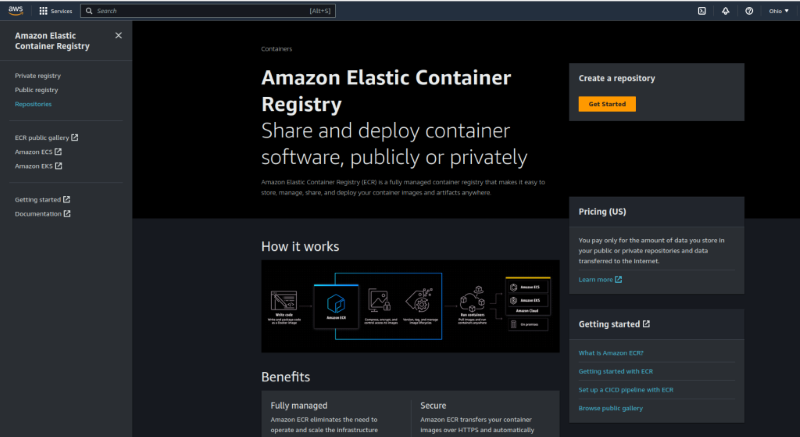
Step 3: Now click on the Repositories option under Elastic Container Registry.
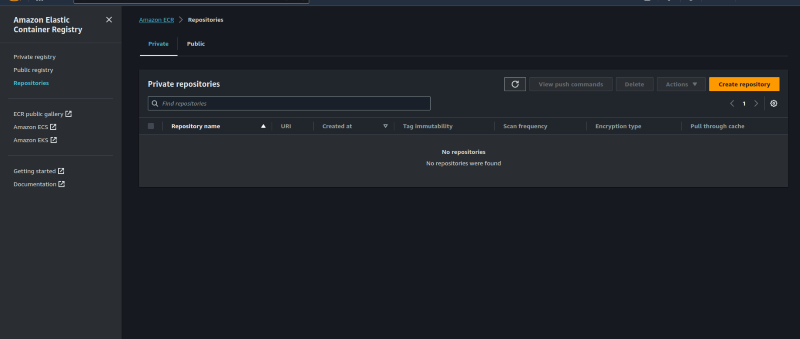
Step 4: In the Amazon ECR dashboard, click the “Create repository” button to create your repository.
Step 5: Choose the visibility setting for your repository. It may be public or private. If we select private then Access will be managed by IAM and repository policy permissions while if we choose public then it will be Publicly visible and accessible for image pulls. By default it’s private.
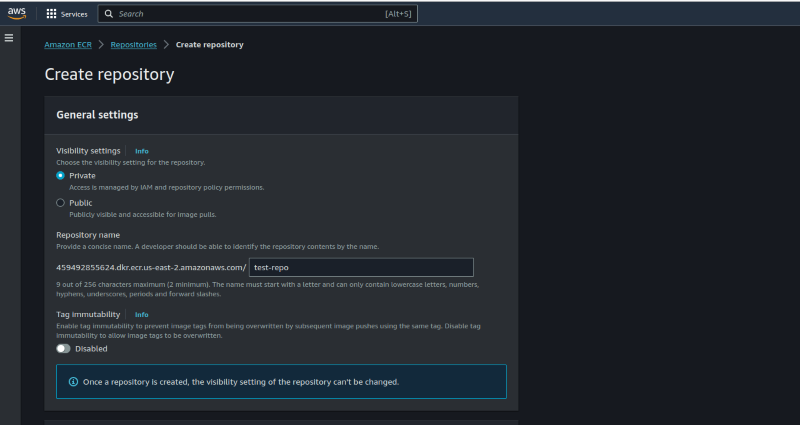
Step 6: Now Enter a unique name for your ECR repository. This name will be part of the repository URI, so it should be unique within your AWS account and region.
Step 7: Choose whether you want to allow or disallow image tag mutations. This setting determines whether image tags can be overwritten. By default, this setting is in the disabled state.
Step 8: You can also enable image scanning that allows Amazon ECR to scan container images for software vulnerabilities. This will help improve the security of your images. By default, this in the disabled state.
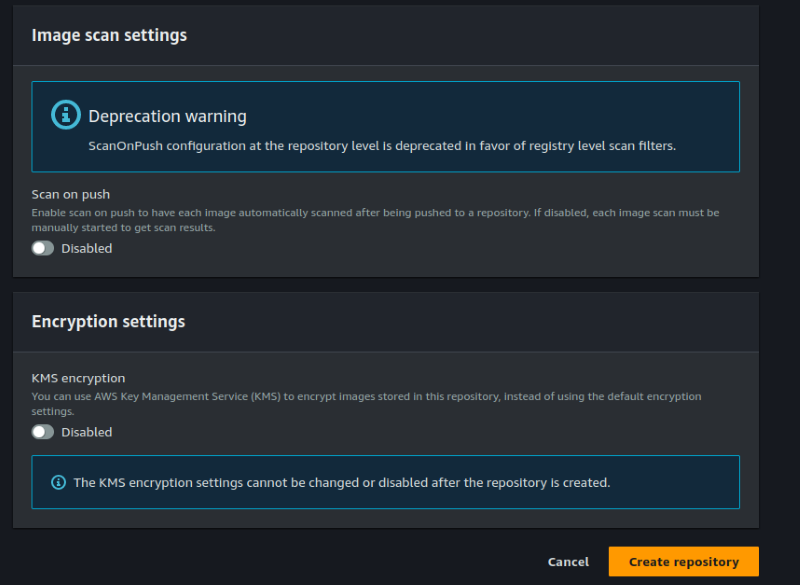
Step 9: You can use AWS KMS to encrypt images stored in this repository, by default it is disabled.
Step 10: Now click on Create Repository and your repository will be created
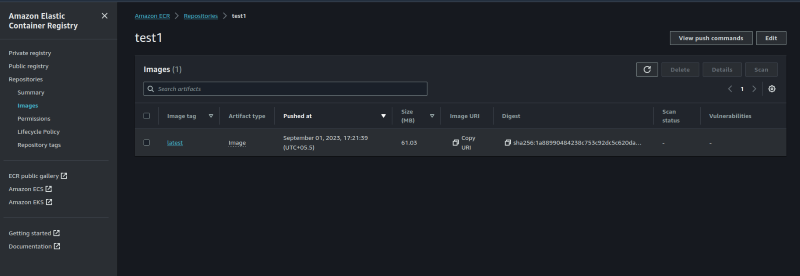
Step 11: Go to that repo and then click on view push commands and modify these commands as per your requirements like you can change your image name and tag.
Create a Task Definition
A Task Definition is a configuration file that defines how a Docker container should run within a task. After creating a Task Definition, you can use it to launch tasks or define services in an ECS cluster. Tasks created from the same Task Definition will inherit its configuration and settings, ensuring consistency across your containerized applications. To create a task definition follow the below steps.
Step 1: In the AWS Management Console, click on the “search” box at the top, and then type “ECS” and select “Elastic Container Service”.
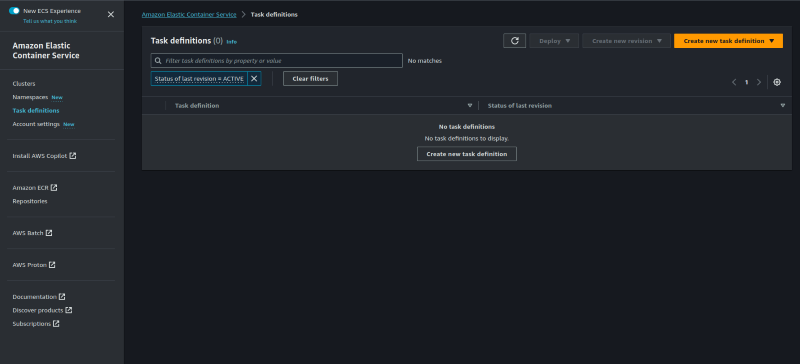
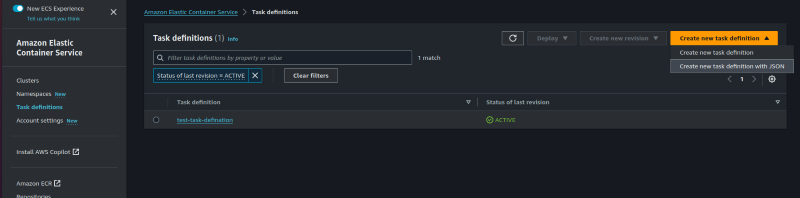
Step 2: In the ECS dashboard, navigate to ‘Task Definitions’ in the left navigation pane.
Step 3: Click the “Create new Task Definition” button. Here we have two options to create task definition. We can simply create a new task definition using UI or we can create a task definition using a JSON file.
Step 4: Create a new task definition using UI
Click on Create a new task definition and then provide the name of the task in the Task definition family option.
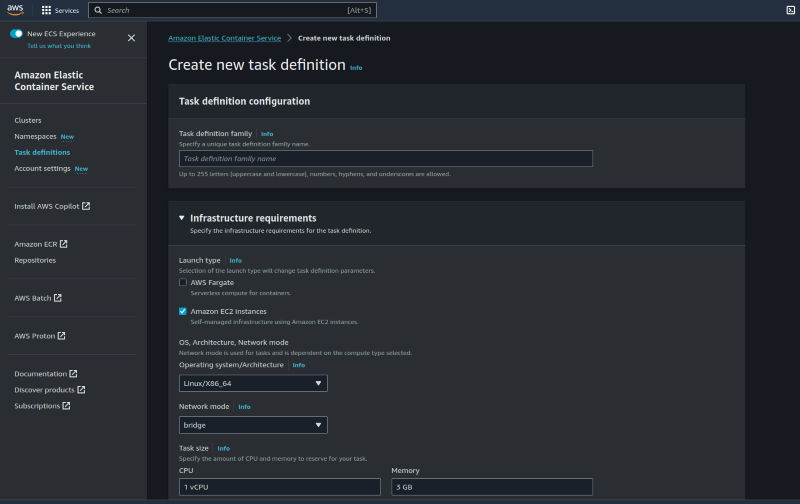
Choose the launch type compatibility (EC2 or Fargate), operating system, CPU, and memory for your task depending on your use case.
Step 5: You can create a new task execution role or select an existing one. This role is used by the container agent to make AWS API requests on your behalf.
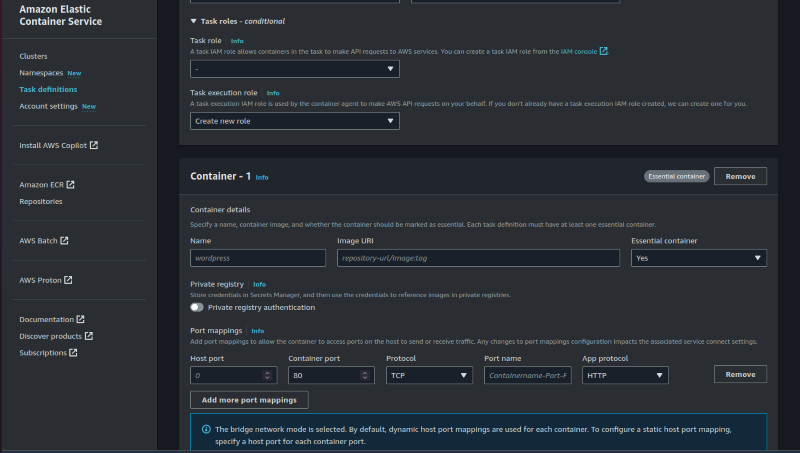
Step 6: Now fill in the container details like
Container Name: A unique name for the container.
Image URI: The Docker image to use for the container (if the image is stored in ECR then you can copy the image URI from there).
Port Mappings: If your container exposes any ports, map them to the host ports.
Memory Limits: Set the soft and hard memory limits for the container.
CPU Units: Specify CPU units for the container.
Environment Variables (optional): Define any environment variables needed for your container.
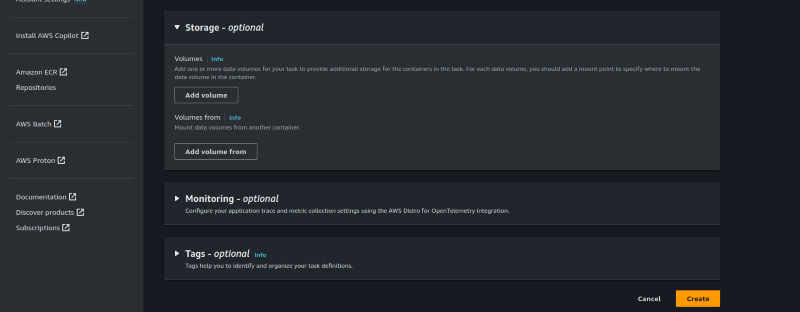
Volumes (optional): Attach any Amazon EFS volumes or other volumes to your container if required.
Step 7: You can also set monitoring and tag your task definition, it’s optional and click on the create button.
Step 8: Create a new task definition using JSON file
You can also create a JSON file to create a task definition. Just go on the ECS dashboard and then click on Create task definition with JSON.
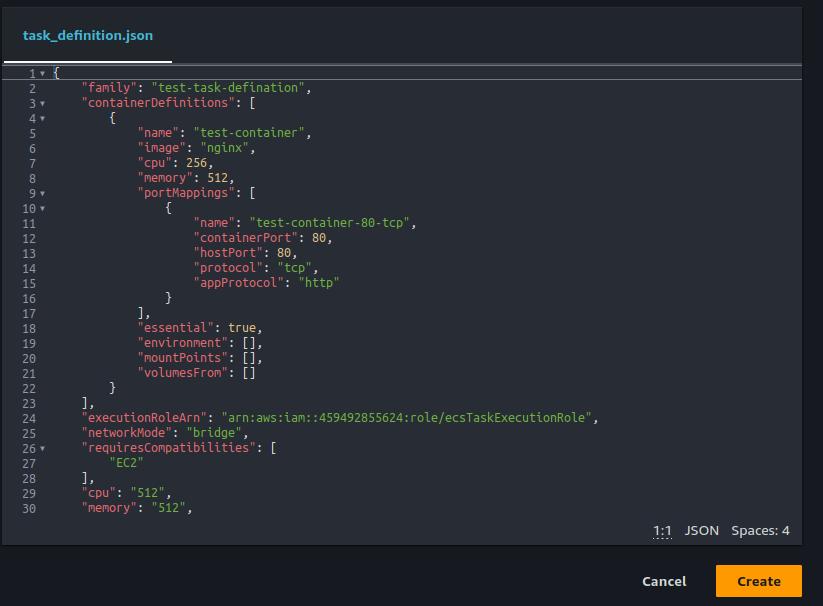
Paste your JSON code and then click on the create button.
Sample JSON file:
{
    "family": "task-defination-name",
    "containerDefinitions": [
        {
            "name": "container-name",
            "image": "image-uri-from-ECR",
            "cpu": 256,
            "portMappings": [
                {
                    "name": "container-name-80-tcp",
                    "containerPort": 80,
                    "hostPort": 80,
                    "protocol": "tcp",
                    "appProtocol": "http"
                }
            ],
            "essential": true,
            "environment": [],
            "environmentFiles": [],
            "mountPoints": [],
            "volumesFrom": [],
            "ulimits": [],
        }
    ],
    "executionRoleArn": "role-arn-should-be-here",
    "networkMode": "bridge",
    "requiresCompatibilities": [
        "EC2"
    ],
    "cpu": "1024",
    "memory": "3072",
    "runtimePlatform": {
        "cpuArchitecture": "X86_64",
        "operatingSystemFamily": "LINUX"
    }
}
Create a Cluster
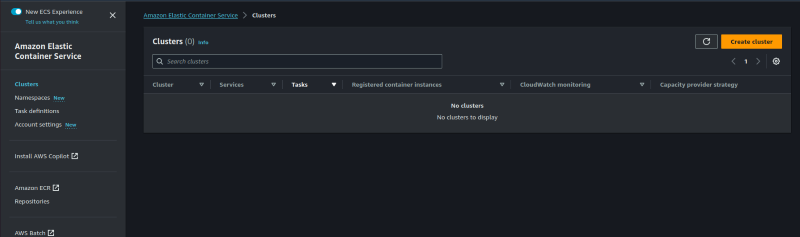
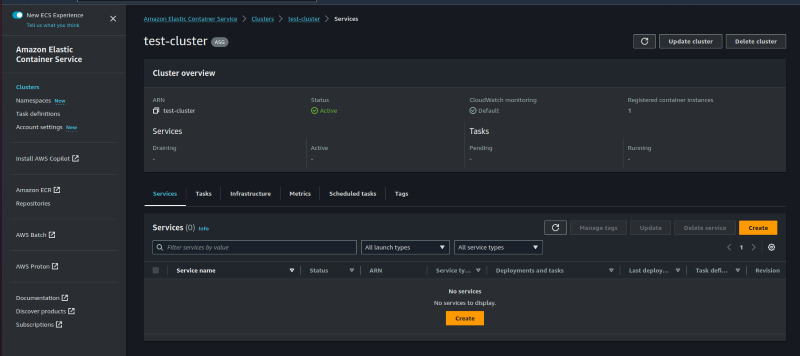
A cluster in Amazon ECS is a logical grouping of container instances (EC2 instances or Fargate tasks) that are managed collectively to run containerized applications. Each cluster can be associated with one or more services and tasks, allowing you to organize and manage your containerized applications effectively. Please follow the below steps to create a cluster.
Step 1: Search for Elastic Container Service and click on it.

Step 2: Click on clusters and create a cluster.
Step 3: Fill Cluster name, and choose infrastructure Here I am deploying an application on ECS using Amazon EC2 instances.

If you already have an Auto scaling group(ASG) then select that ASG otherwise create a new ASG by selecting EC2 instance type, desired capacity, operating system, and SSH key pair.
Step 4: Select a VPC with multiple subnets in which you want to deploy your applications.

Monitoring and Tags are optional. When using Monitoring, there is a cost associated with it.
Step 5: Now click on the Create button.
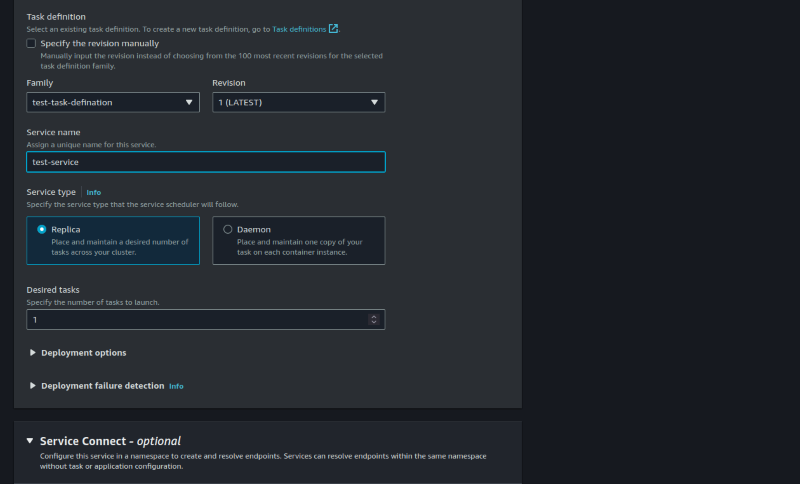
Create a service
In Amazon Elastic Container Service (ECS), a service is a resource that manages and maintains a specified number of instances of a task definition. ECS services define how tasks should be managed, scaled, updated, and distributed across container instances within a cluster. Please follow the below steps to create a service.
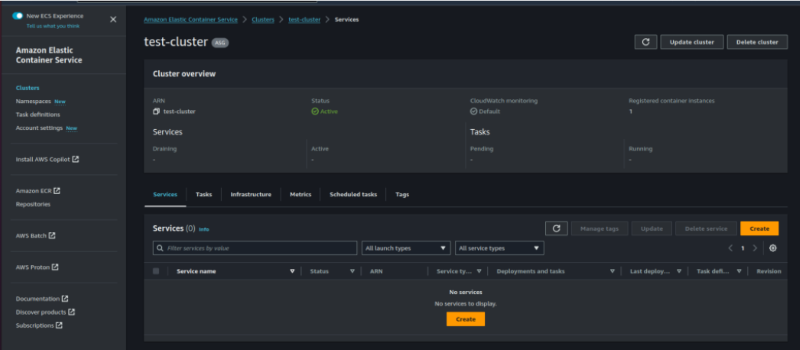
Step 1: In the ECS dashboard, navigate to the cluster where you want to create the service and Click the “Create” button in the “Services” tab.
Step 2: Choose a compute option as per your use case. Here I am choosing the launch type and then selects a launch type (EC2 or Fargate) that matches your cluster type.
Step 3: Select the task definition you want to run as a service and define the service name, service type, number of desired tasks, and deployment configuration.
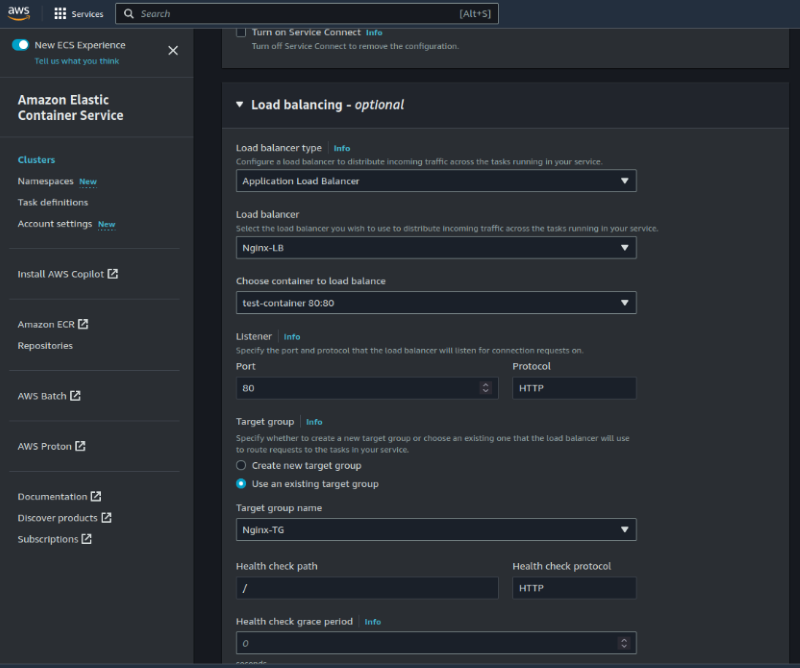
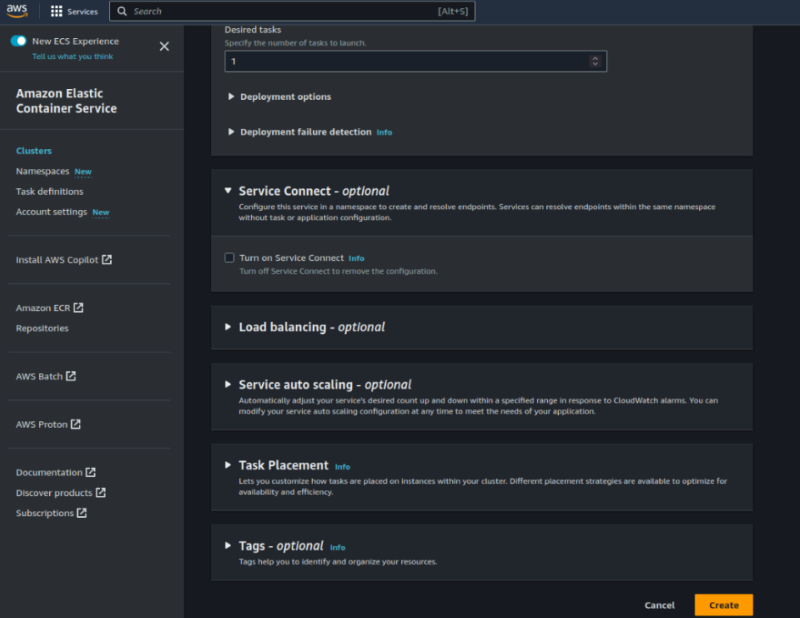
Step 4: Configure load Balancer for the application that you want to deploy in this service. You can also configure auto-scaling options if needed.
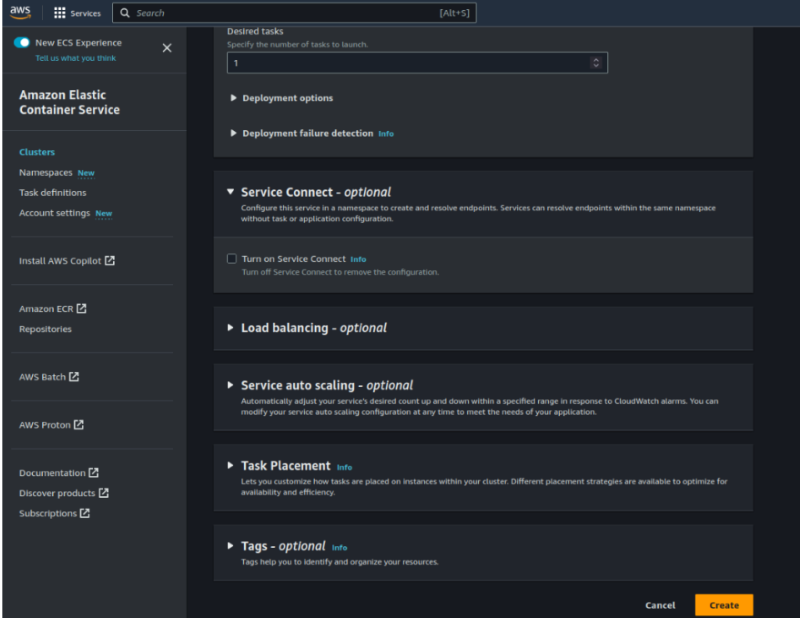
Step 5: Now click on the Create button and your service will be created.
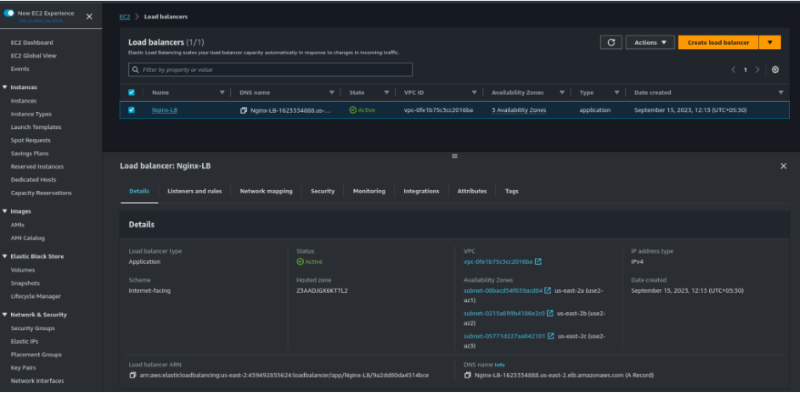
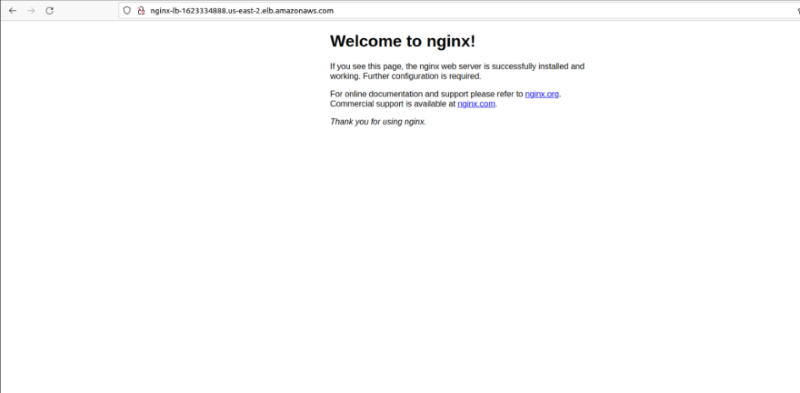
Step 6: Now go to your loadbalancer which you configured in your service and copy DNS name of that loadbalancer and try to hit on your browser and you can find your web service is working.
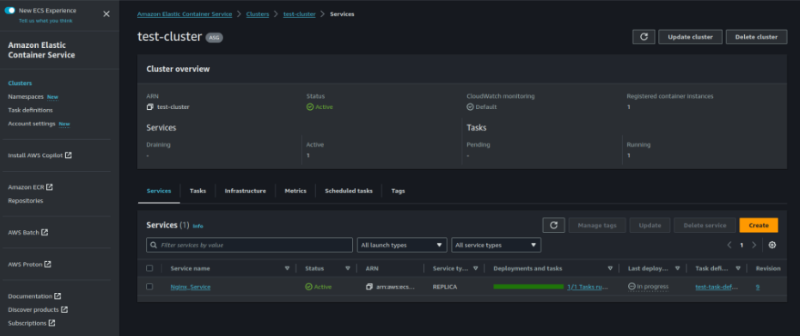
After creating the service, you can monitor its status and the running tasks in the ECS dashboard. The service will automatically maintain the desired number of tasks, as specified in the service configuration, ensuring they are running continuously.
Conclusion:
ECS is a valuable service for modern application development and deployment in the AWS cloud. Hosting applications on ECS empowers organizations to leverage the benefits of containerization while simplifying the complexities of orchestration and infrastructure management. It provides a scalable and efficient platform for running containerized applications.
Blog Pundits: Prakash Jha and Sandeep Rawat
OpsTree is an End-to-End DevOps Solution Provider.
Related Searches – AWS Consulting Services | Database Migration Services