Introduction
Providing OAuth 2.0 user authentication directly or using Google+ Sign-in helps us to achieve a modern authentication method. It also provides a trusted and secure login system that’s familiar to users, consistent across devices, and removes the burden of users having to remember another username and password. One of the hurdles in implementing a Gmail authentication is that the Google developer console and your Jenkins server should be in the same network or in simple terms they can talk to each other.
What is SSO ?
SSO stands for Single Sign-On, which is a method of authentication that allows users to access multiple applications and services with a single set of login credentials.
With SSO, users are only required to enter their login credentials once, and they can then access all the applications and services that are part of the SSO system. This simplifies the authentication process, improves user experience, and reduces the risk of security breaches.
Working Without SSO
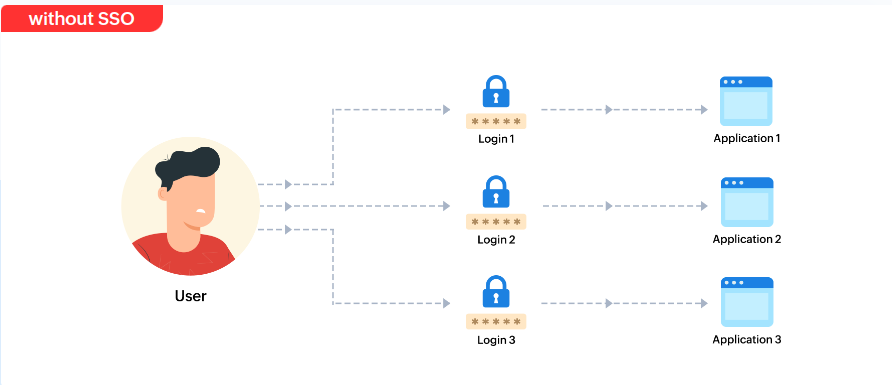
After facing these issues of logging again and again in each and every application SSO comes to resolve this issue
Now let’s check why sso is important
Why we need SSO?
We can use SSO for multiple uses and it gives us various features :-
Improved User Experience: SSO simplifies the authentication process for users, as they only need to remember a single set of login credentials.
Enhanced Security: With SSO, users don’t have to remember multiple passwords, reducing the risk of weak passwords, password reuse, or forgotten passwords.
Increased Productivity: SSO can increase productivity by reducing the time it takes for users to log in to multiple applications.
Simplified Administration: SSO can simplify administration by allowing IT administrators to manage access to multiple applications and services from a single location.
Overall, it is an important authentication method for organizations of all sizes and types, particularly those with a large number of applications and services that require secure access.
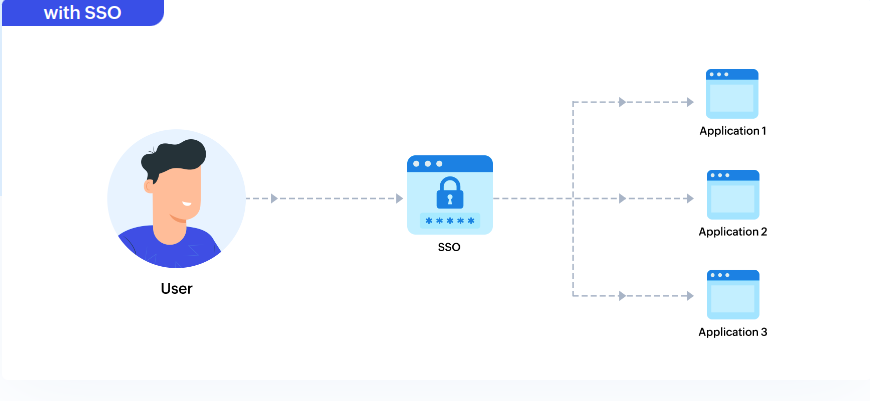
This is how SSO works
Now we are going to implement sso on our jenkins
Resources used
- Privately Hosted Jenkins
- Aws Load Balancer(for DNS)
- Google Devloper Console
In this blog, I’m trying to explain how to integrate Gmail authentication(SSO) feature in your Jenkins server so that you are freed from filling out the form at the time of creating a new user.
Setup 1 : AWS Load Balancer (For DNS)
So basically, I am working on AWS cloud platform if you want to use any other cloud you can use it.
So here comes a question in your mind why load balancer is needed in SSO setup? Because Google OAuth needs a Domain in its configuration while setting up sso on Google Developers Console. So we all know the domain is not free of cost that’s why we are using a load balancer for setting up SSO. A load balancer provides a DNS that we can use for setting up OAuth credentials configurations for SSO.
So after this information now it’s time to move for implementation!
Step 1 :-
- Go to your AWS account and Create a Load Balancer
- click on create load balancer

We will use Application Load Balancer.
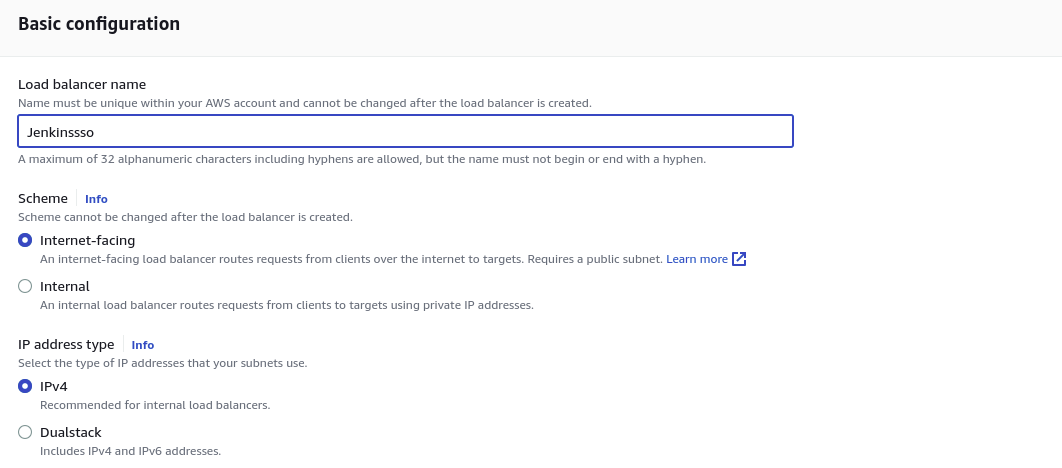
Step 2:-
- Provide configurations to your load balancer
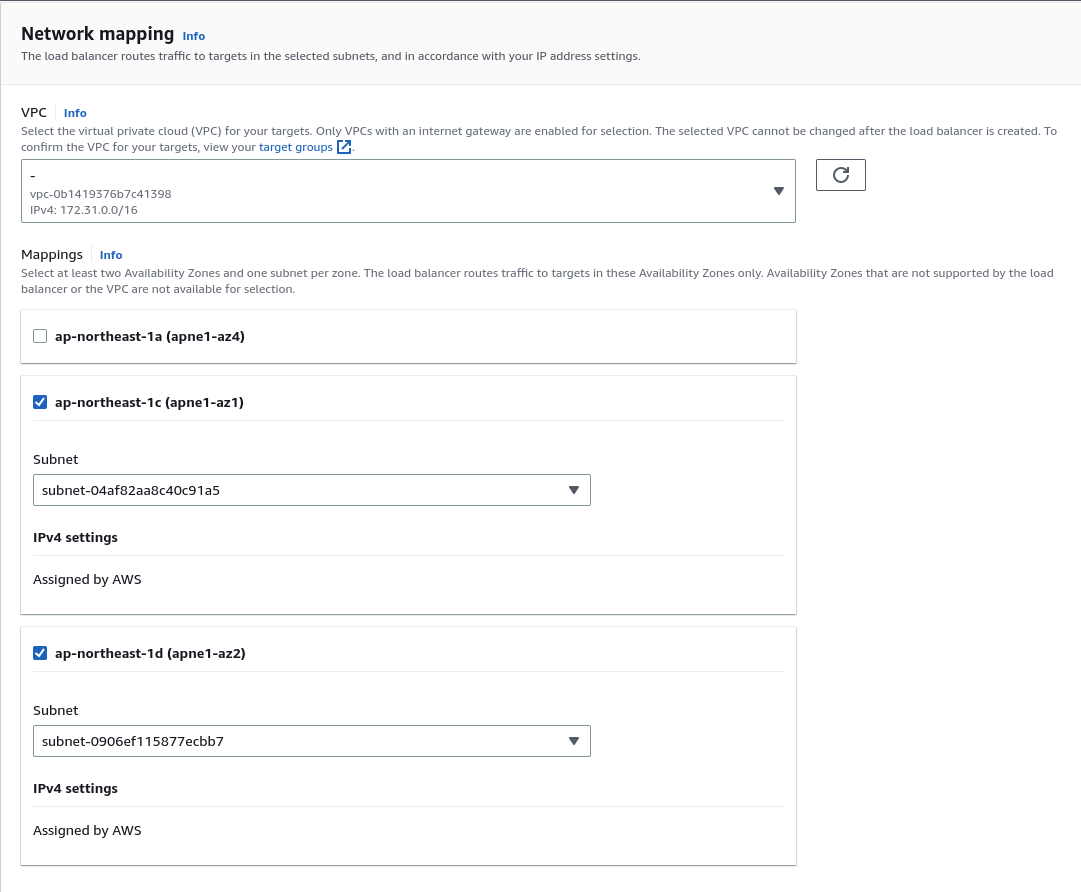
- Now Create a Target Group for Load balancer
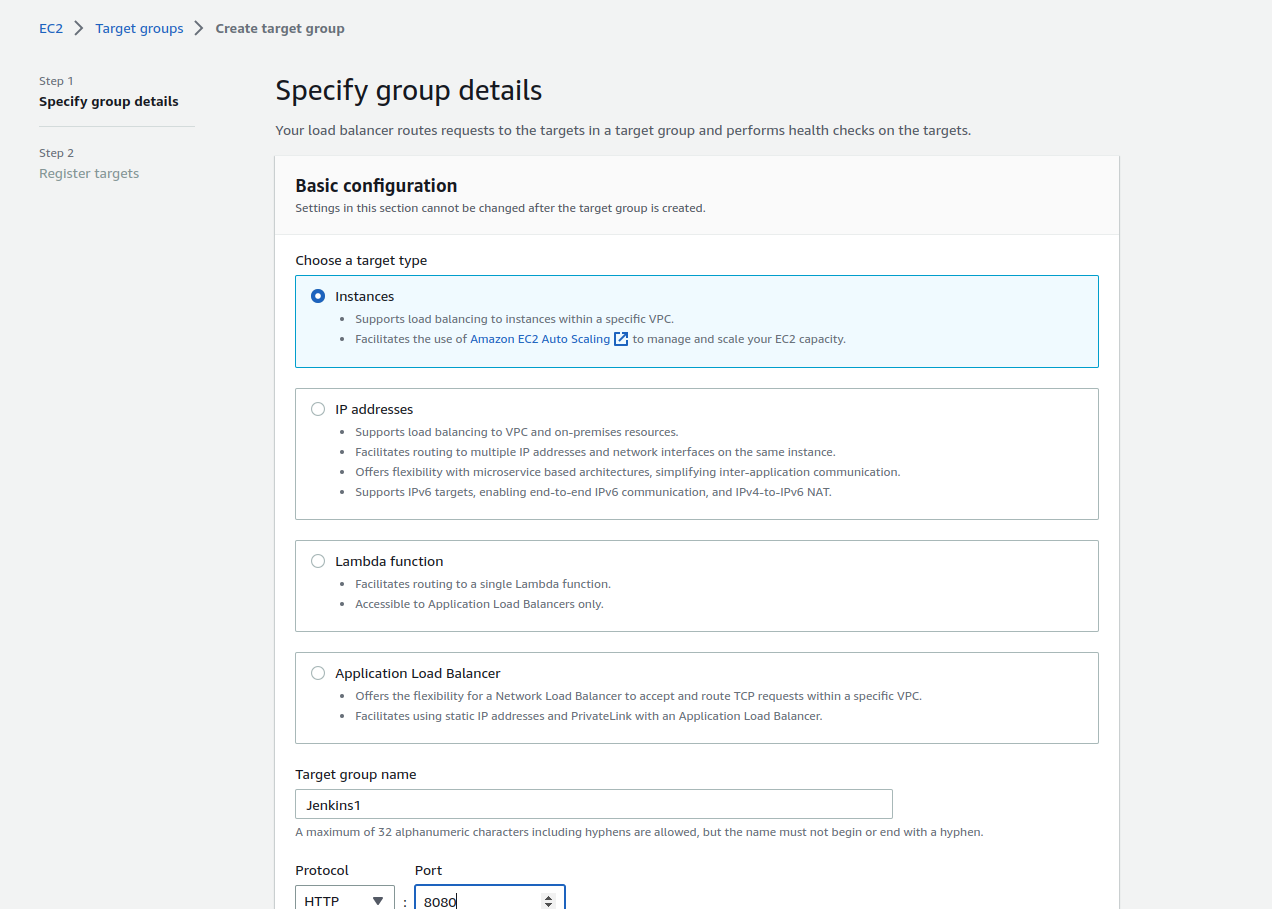
- Click on create target group
- Choose Instances as a target type
- Give a particular name to your target group for identifying
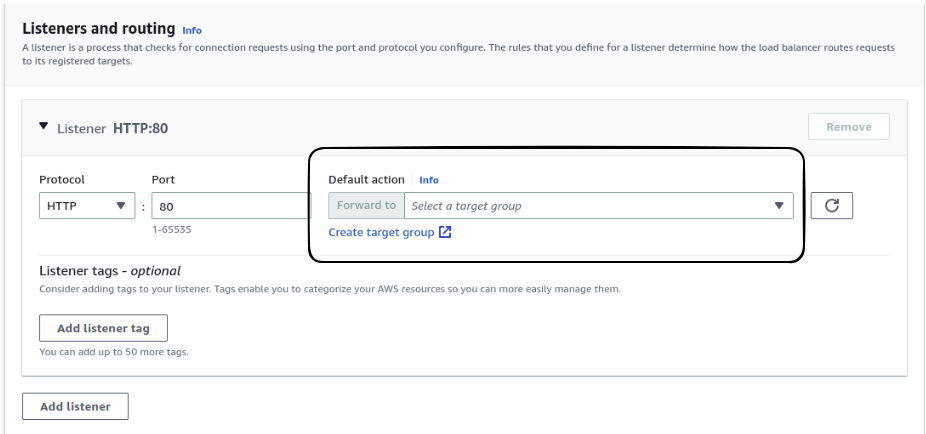
- Choose listener protocol HTTP and port 8080 (Because jenkins runs on 8080 port)
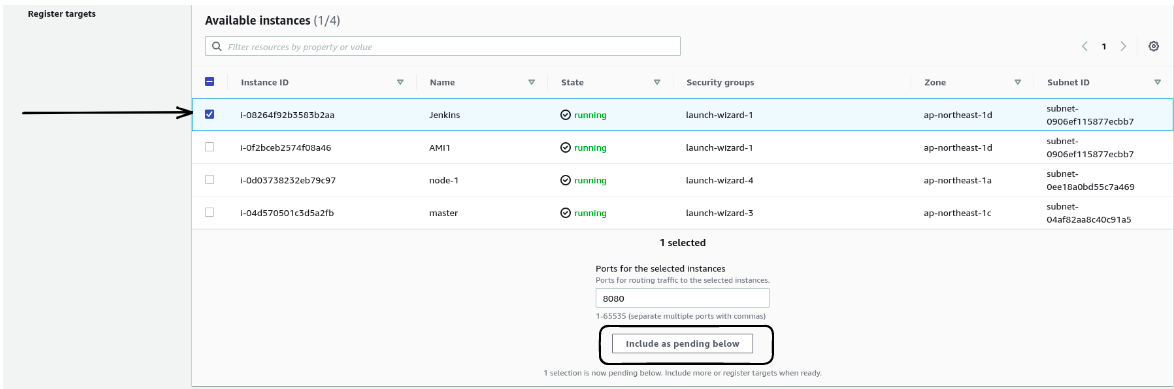
- Now you have to register target in your target group
- Choose your jenkins server and after choosing click on Include as pending below
- Now just click on create target group & associate that target group with your load balancer
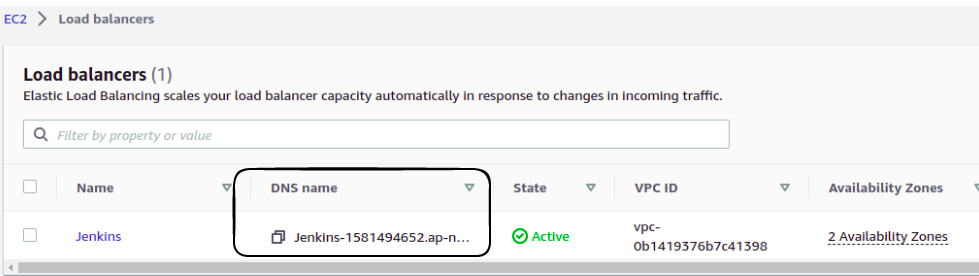
- Now you get a DNS
Setup 2 : Google Devlopers Console
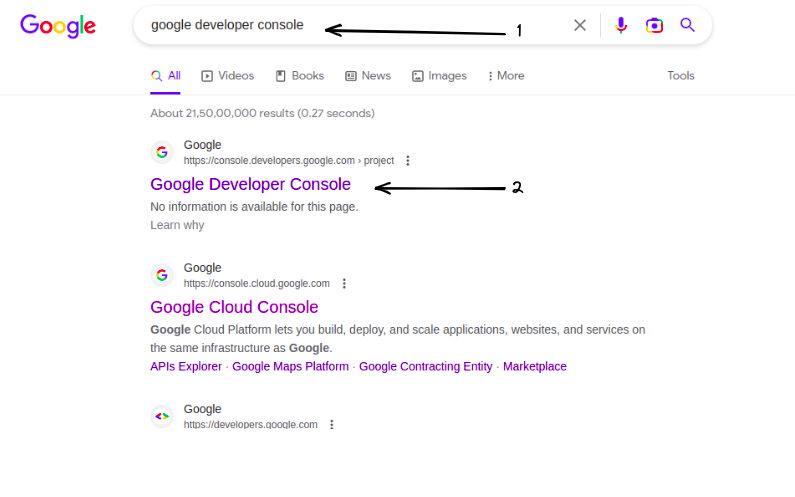
Step 1 :- Go to your browser and search for Google Devlopers Console
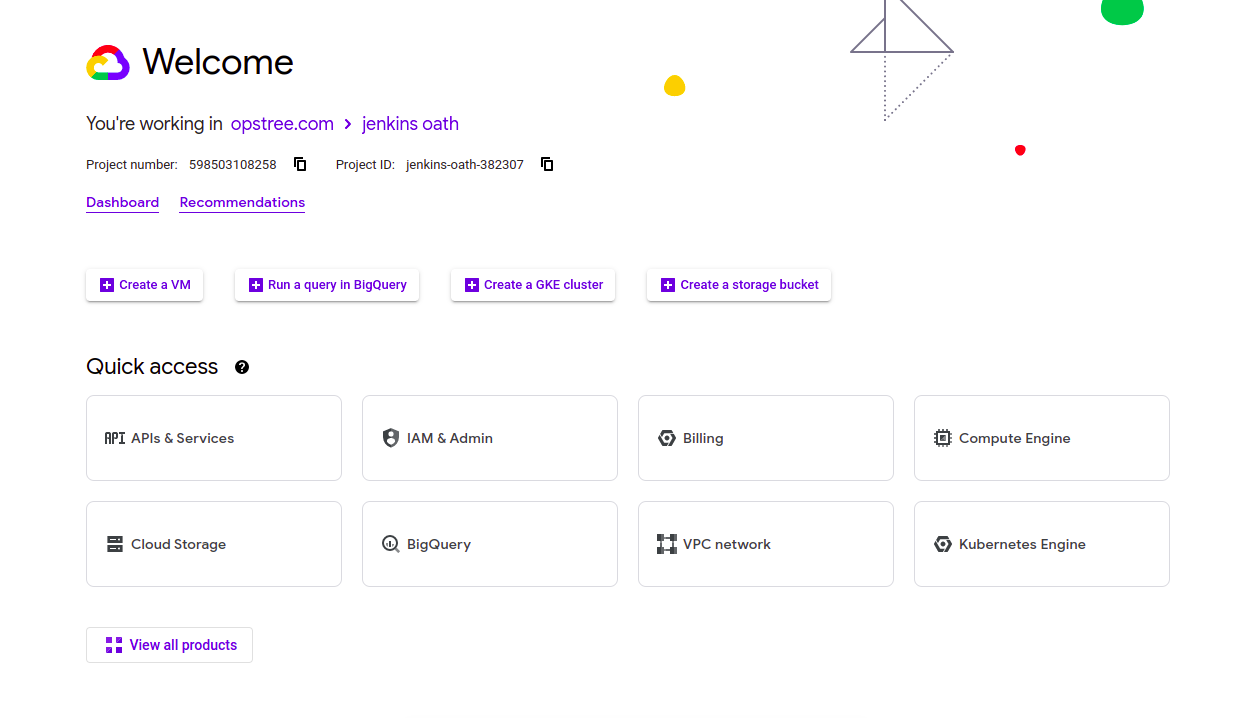
- After sign in into google developer console, we will redirect to Google developer console UI screen.
- Go to APIs & Services
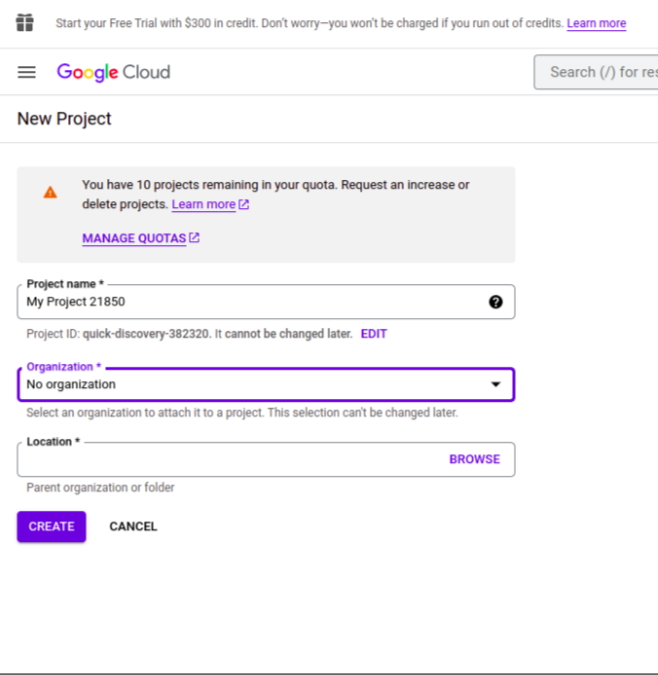
Go to Select a project → New Project
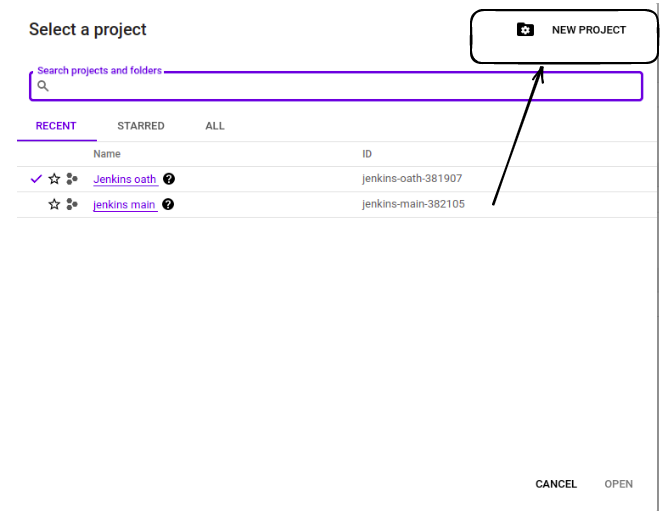
- Give Project Name, here I will use “Jenkins-demo” and create a project. Creating a project takes 1 or 2 minutes.
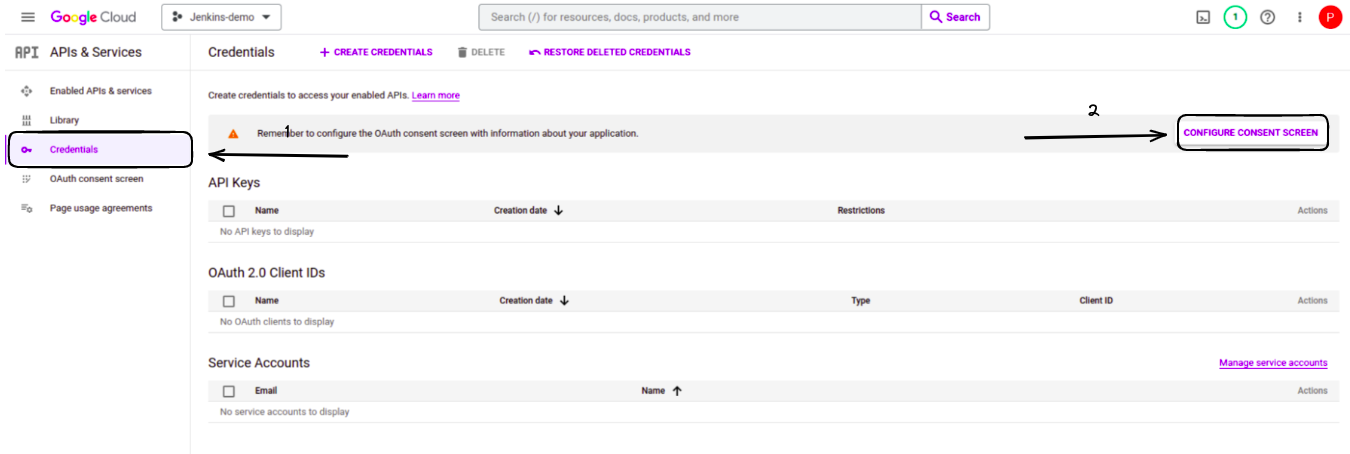
- After Project created, we will be redirected to the UI page as shown below. Now click on on the “Credentials” Tab on the left slide bar & now click on “Configure Consent Screen”.
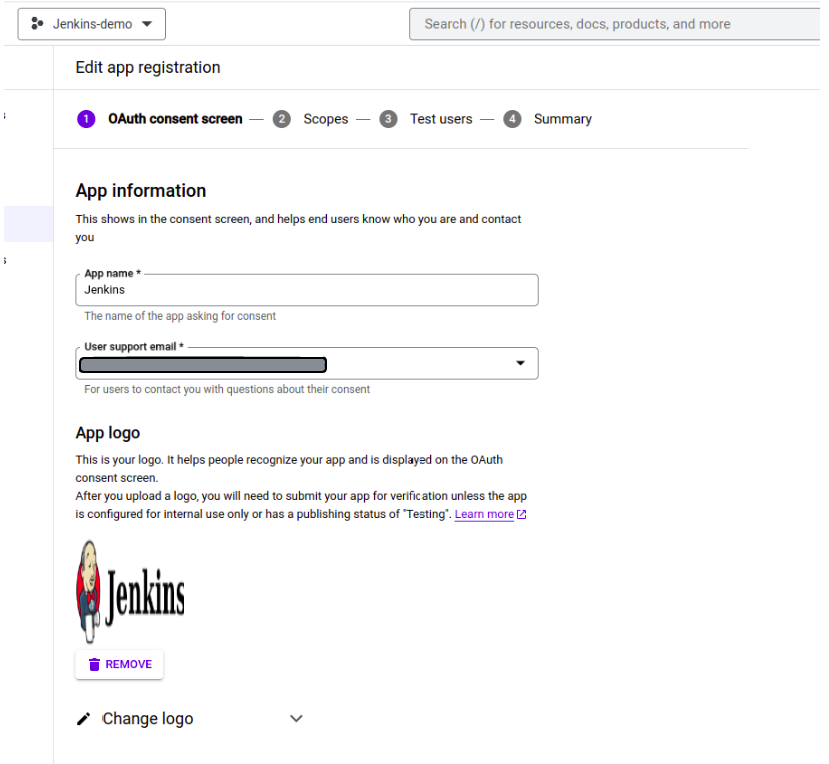
- After Go to the OAuth consent screen tab and give the below entries. Here I will give Application name to “Jenkins”.
- The important part of the Google developer console isDNS we created using Load Balancer. Copy DNS in Authorized domains .

- After Setting OAuth consent screen, Go to “Credentials Tab”→ Create Credentials→OAuthClientID
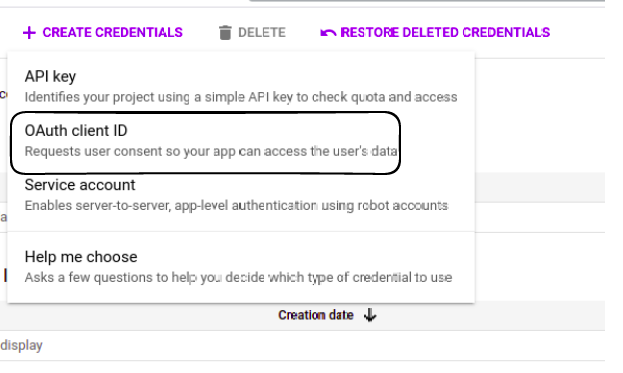
- Select Application type as Web Application, give the name “JenkinsSSO”.
- Major Part of Create Credential has Authorized JavaScript origins and Authorized redirect URIs.
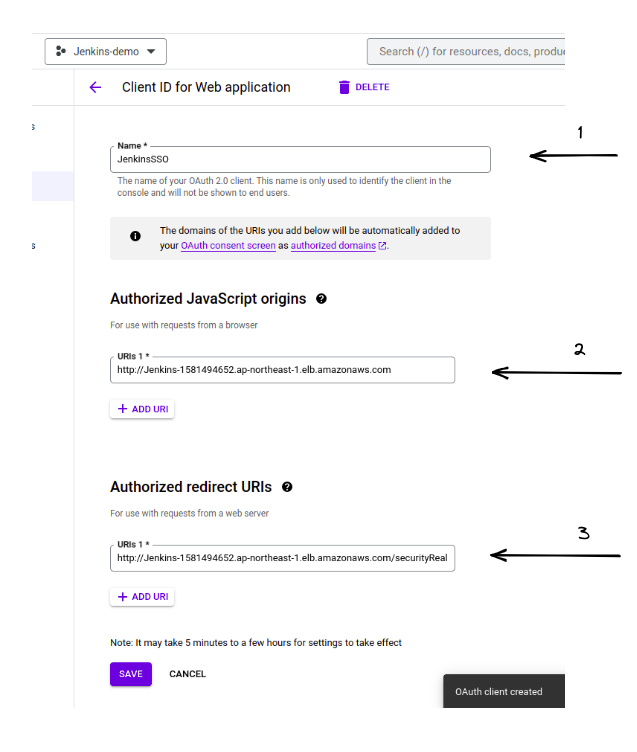
- In Authroized Javascript origins Paste the DNS which you created in aws
- In Authorized redirect Urls Paste the same DNS just add “securityRealm/finishLogin“
- Copy Client ID and Client Secret because we are going to use these in Jenkins.
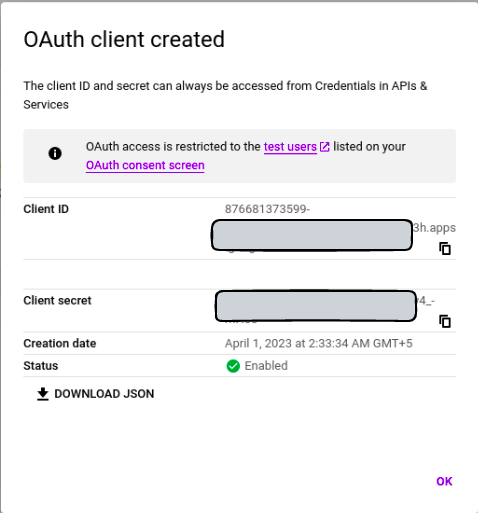
You can also download your Id and password in JSON format
Step 3: Configure Jenkins
I am assuming that Jenkins is already installed in your system.
- Go to Manage Jenkins → Manage Plugins→ Available
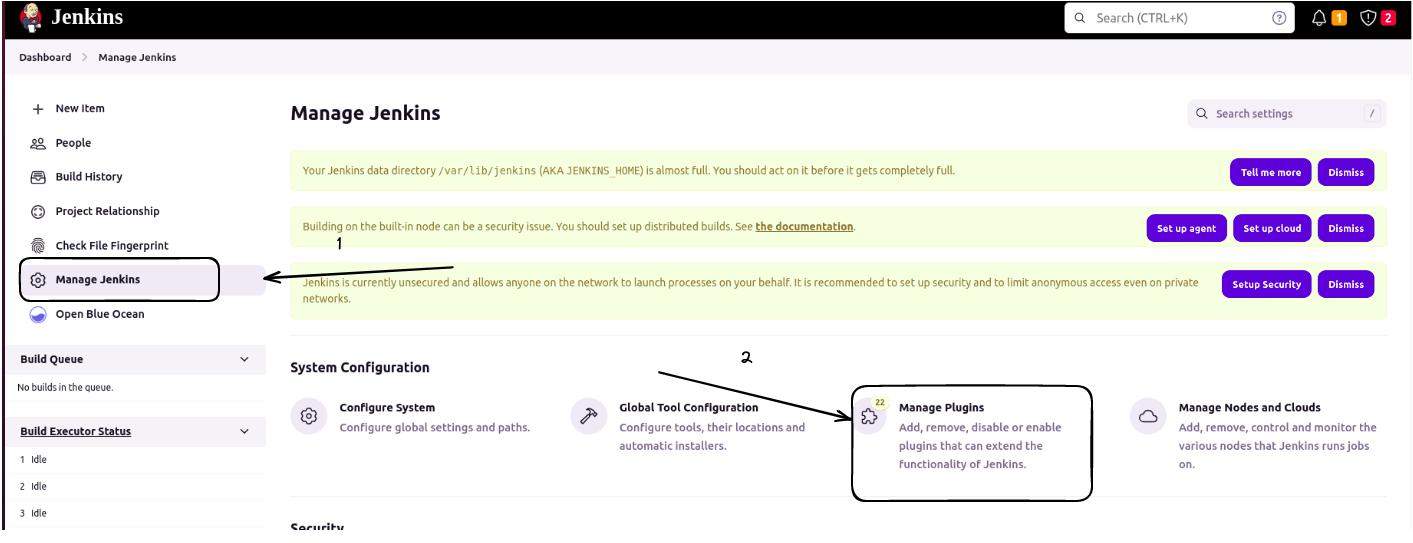
- Search for “Google Login Plugin” and add it.

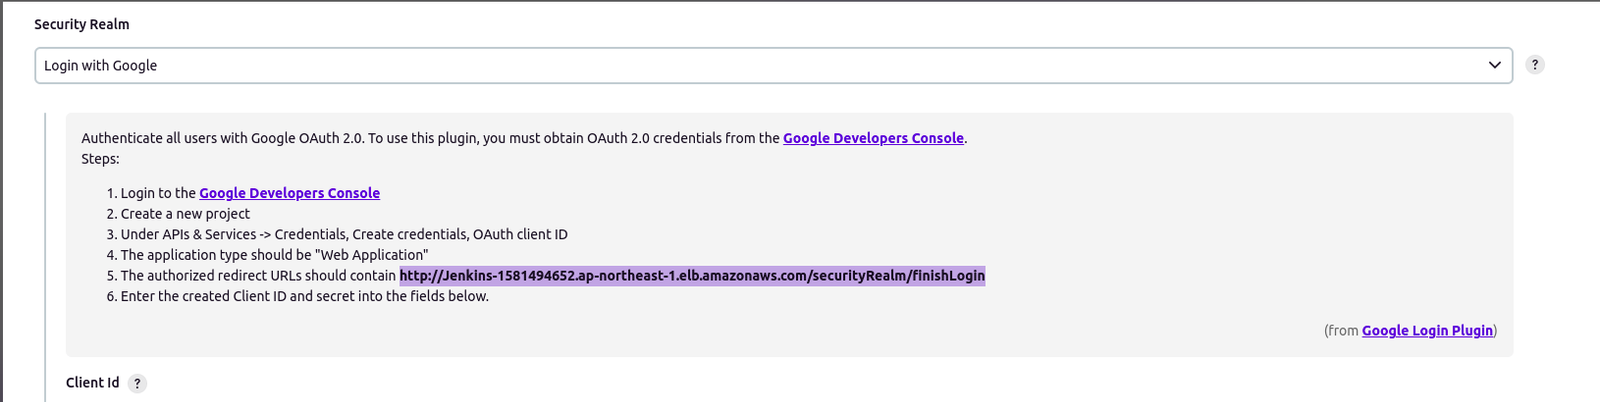
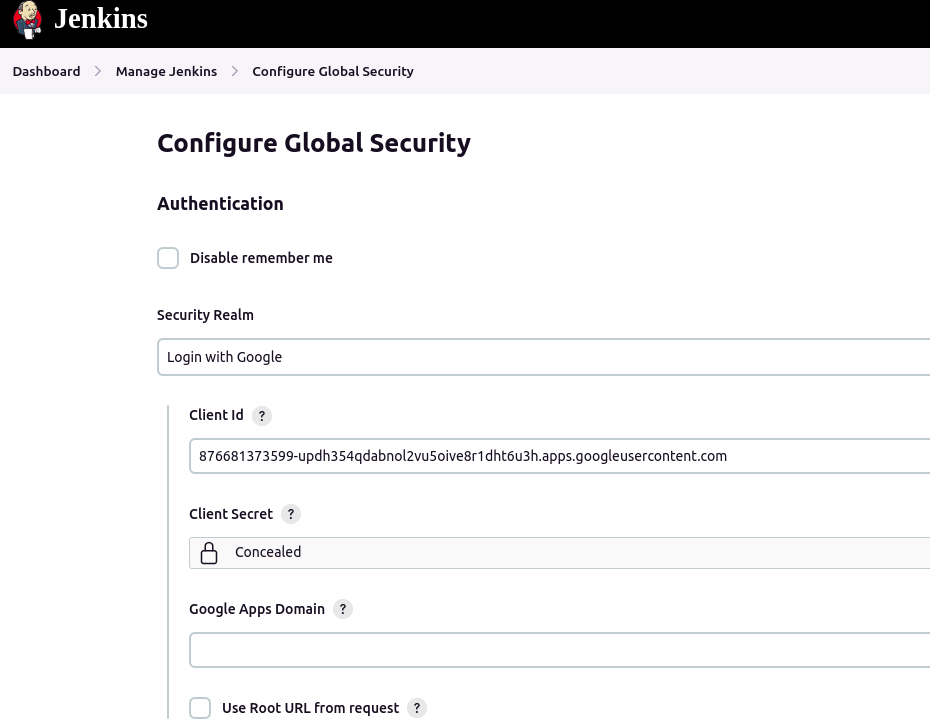
- Go to Manage Jenkins → Configure Global Security
The major part of Jenkins Setup is to Configure Global Security.
- Check the Enable security → Login with Google and Paste the Client ID and Client secret generated in Create Credential Step on Developers Console and Save.
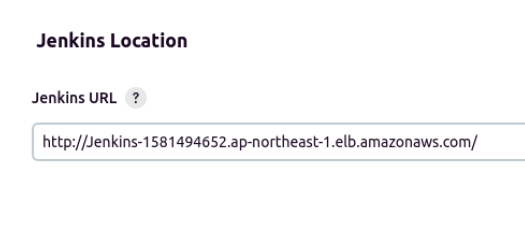
- So now the last task is Go to manage jenkins → Configure System →Jenkins locations, and paste the DNS in that column
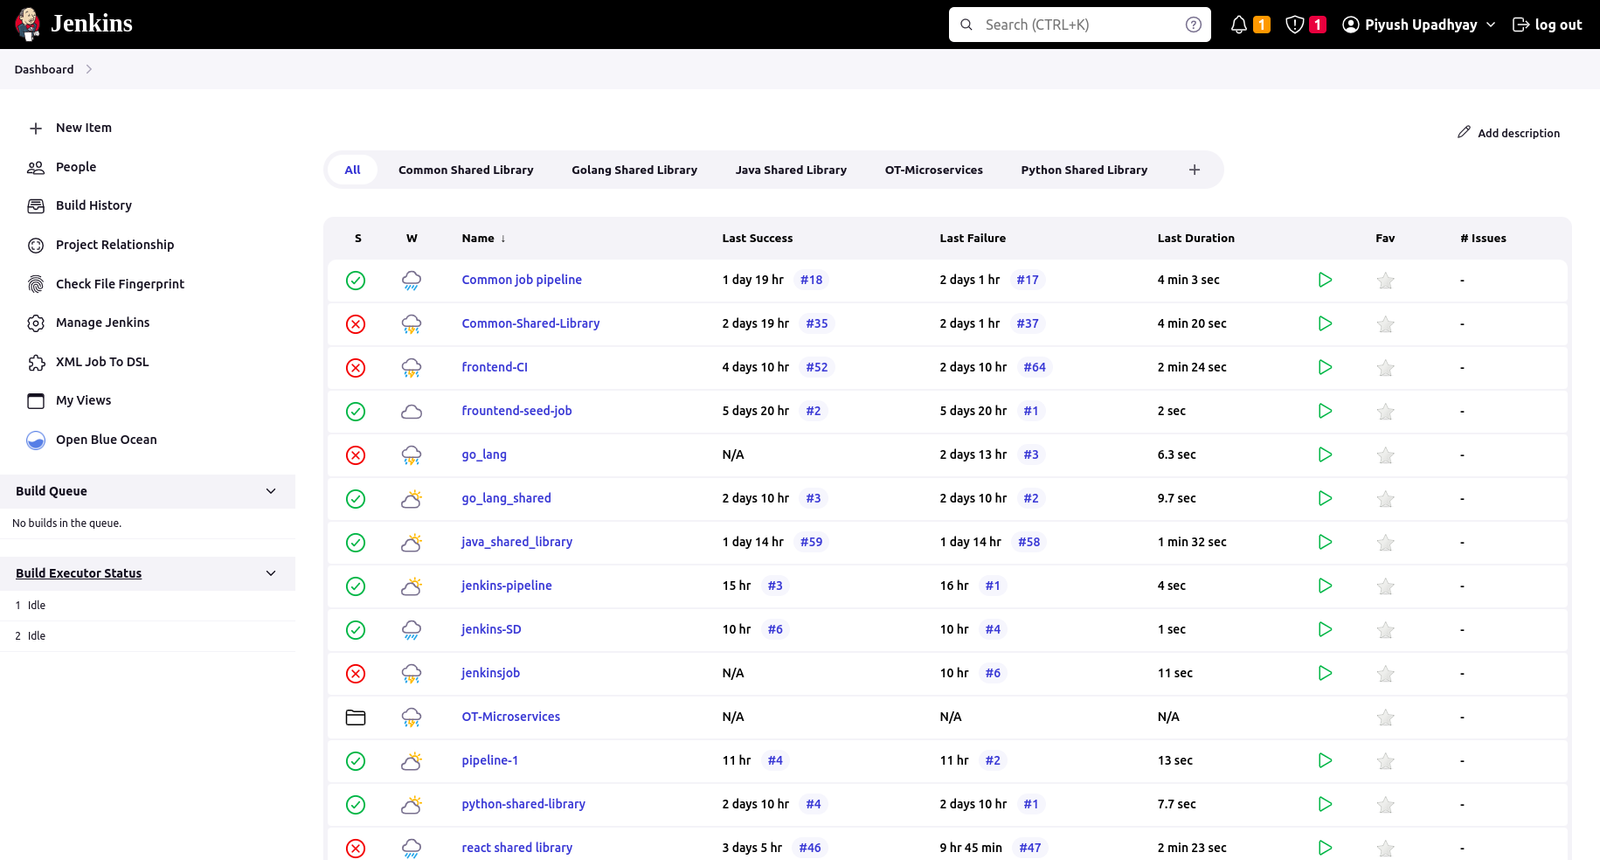
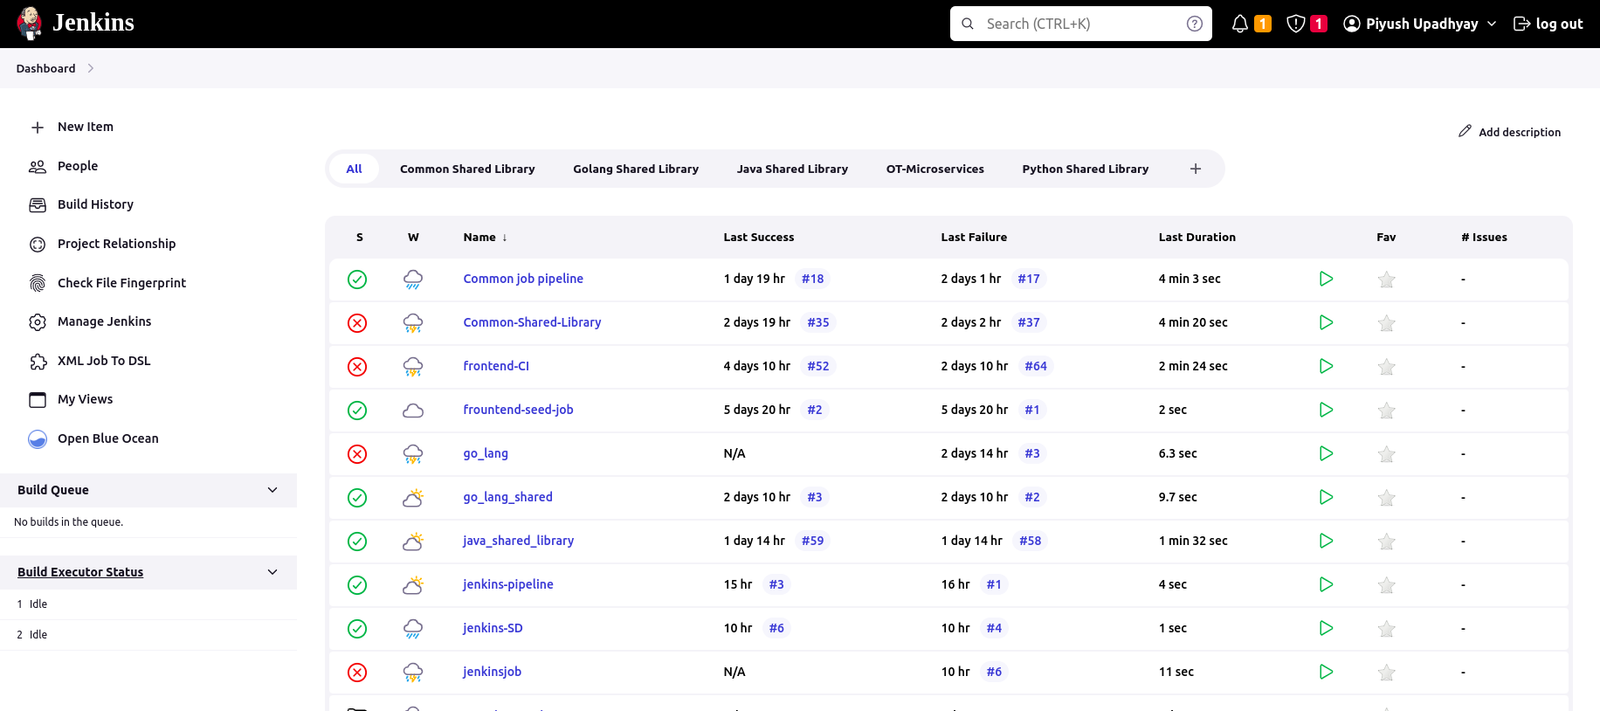
- Up to here, we are done with the Setup part. Now Click on login button on Jenkins UI, you will redirect to Gmail for login.

- Select the account from which you want to log in.

- After selecting Account you will redirect to Jenkins and you are logged in as the selected user.
- You may be facing a problem when you log in again. Log out from the current user and log in again.
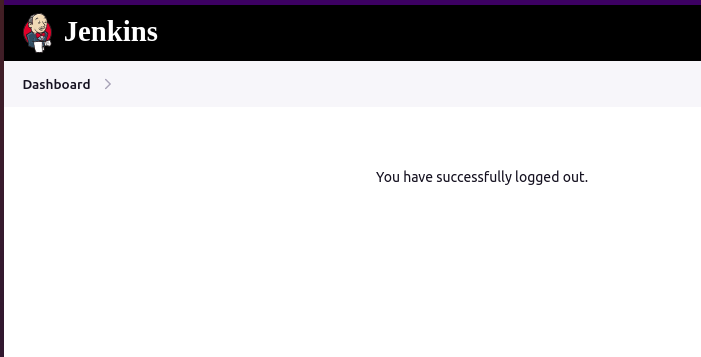
- After redirected to Gmail select another user. After selecting user you will be redirected to Error Page showing: HTTP ERROR 404.
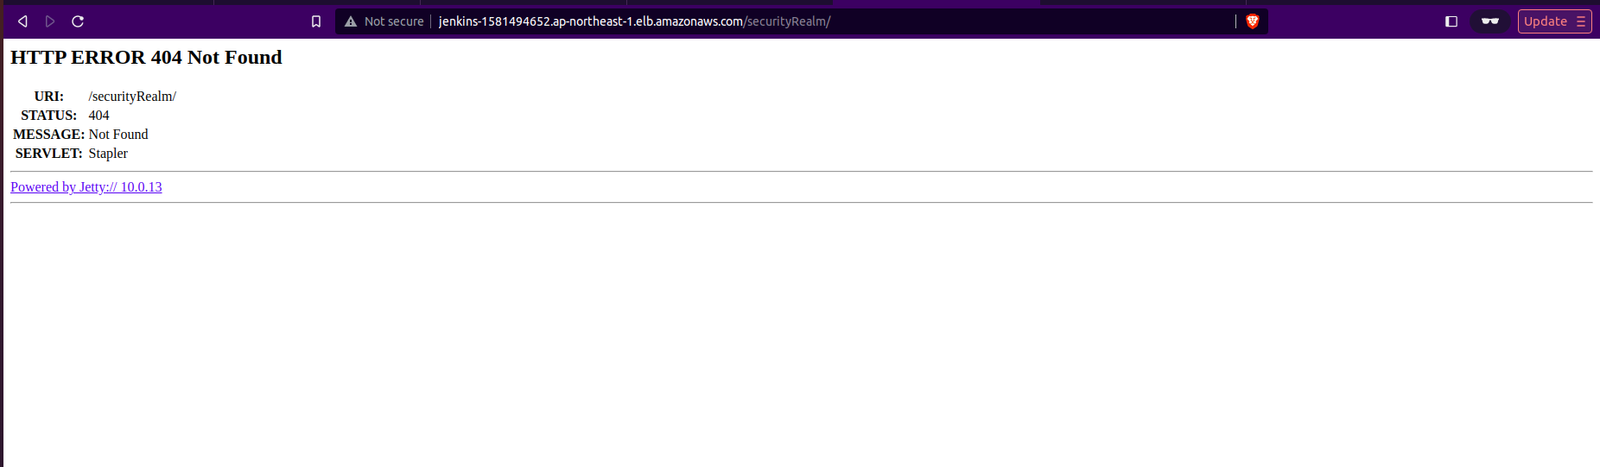
Don’t worry, you have to just remove “securityRealm/” or enter again “DNS”.

You are logged in with the selected user.
So now you know how to do Gmail Authentication between Google developer console and Jenkins when they are not directly reachable to each other.
Here the main bridge between both is AWS Load Balancer for providing DNS which host our Jenkins to outer internet.
Conclusion
So in this article, we get to learn about how to set up SSO on Jenkins which helps us to enhance our security on the Jenkins server and gives us easy-to-use features, that save time and also provide a more secure way of logging in. This means now you don’t have to share your password with multiple sites.
Overall, SSO is a powerful tool that can simplify the login process for users and help organizations to better manage their IT infrastructure.
Next time we will meet with some new tool concepts.
Blog Pundits: Deepak Gupta and Sandeep Rawat
Opstree is an End to End DevOps solution provider.
Connect with Us