Redash is a very popular data analytics tool that is used to visualize, explore, and query data from multiple data sources. It also provides SAML based authentication option which can be used to set up Single Sign-in [SSO] with different kinds of SAML based options. It gives flexibility to Setup SAML Based Authentication Redash because unlike Azure Active directory, there are lots of software tools that support and provide SAML support. Azure active directory also provides Azure AD SAML Toolkit option, which organizations can utilize to create SAML based authentication with Redash.
Azure Active Directory Setup
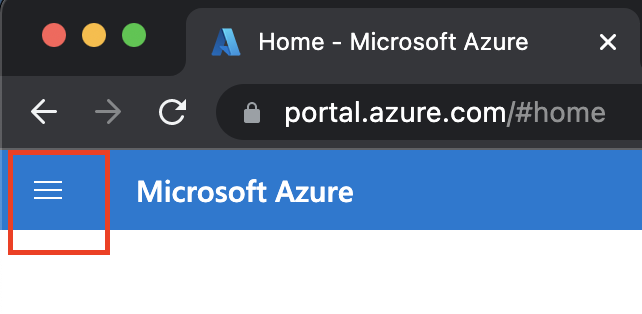
Step 1: Click on the Left top bar to get a List of options provided by Microsoft Azure.
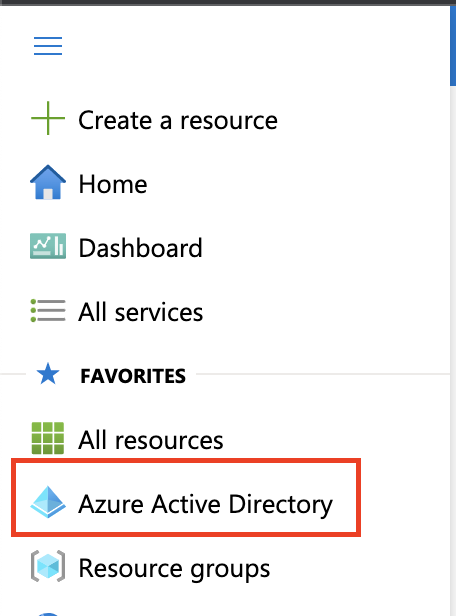
Step 2: Click on Azure Active Directory
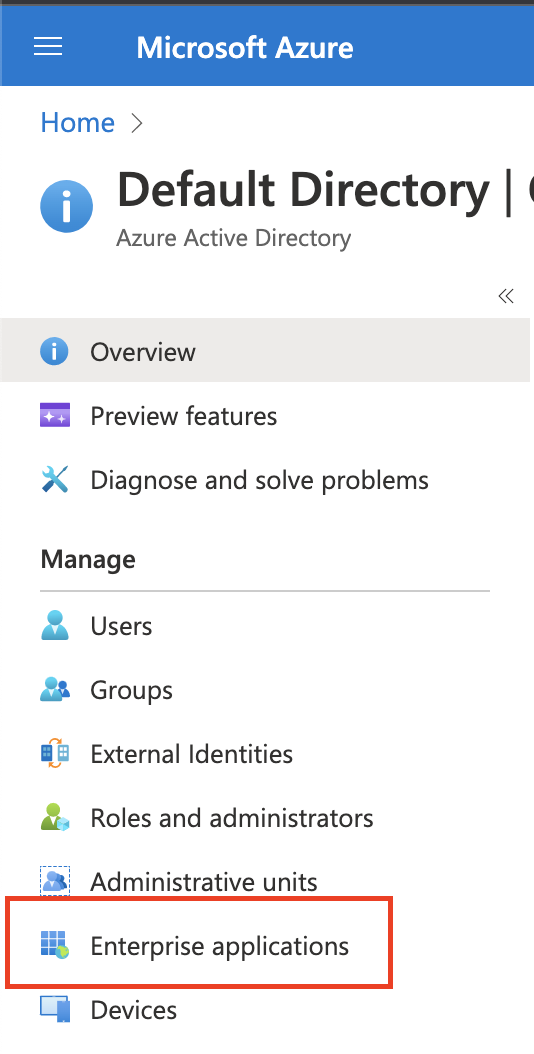
Step 3: Once you get all the options, Under the Manage section, you will see Enterprise applications, Click on Enterprise applications
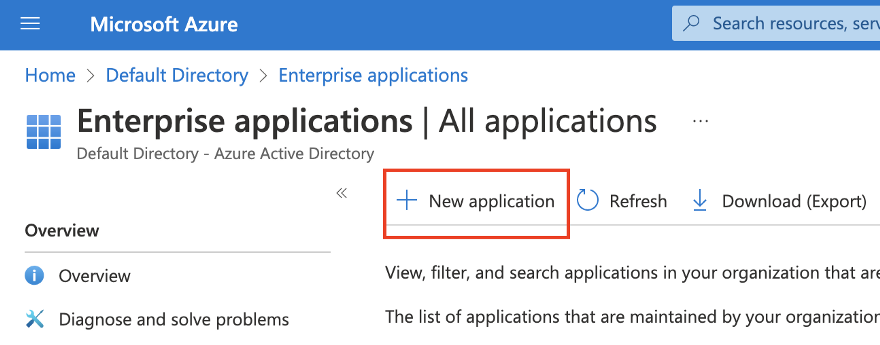
Step 4: Now, we need to create a new application, Click on + New Application
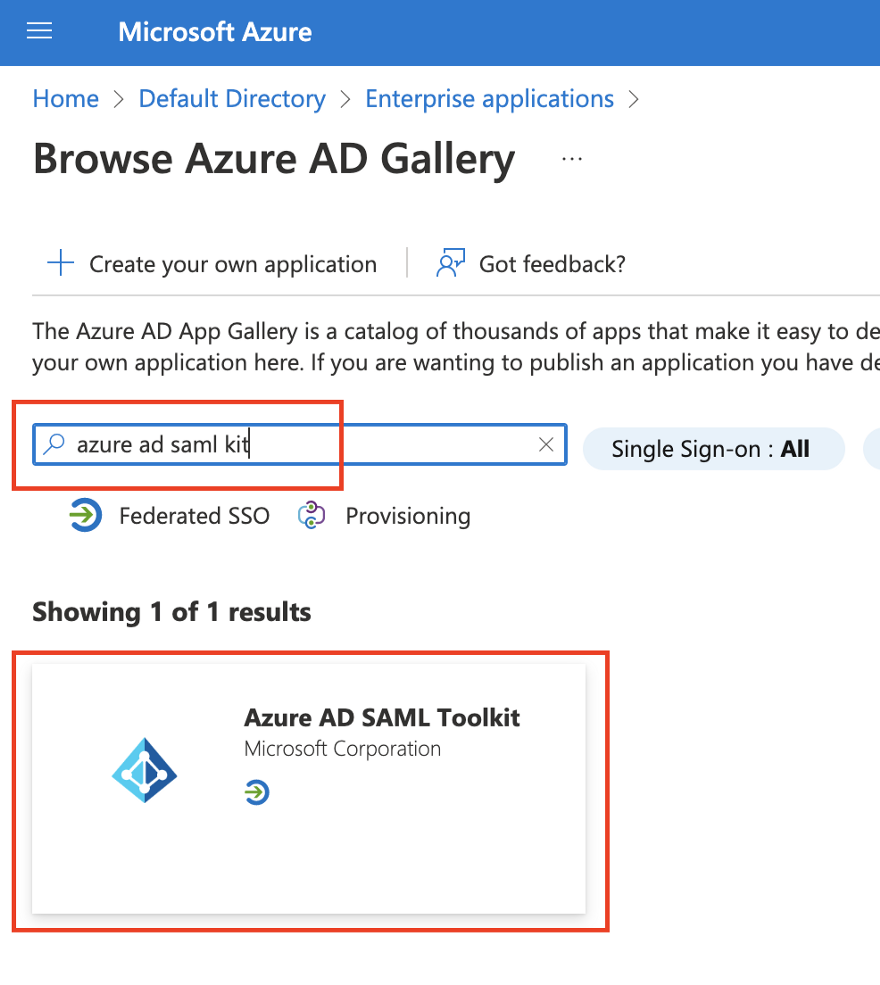
Step 5: Now, under the search section, search for azure ad SAML toolkit, and click on the first result as shown below
Step 6: Now, give a proper name
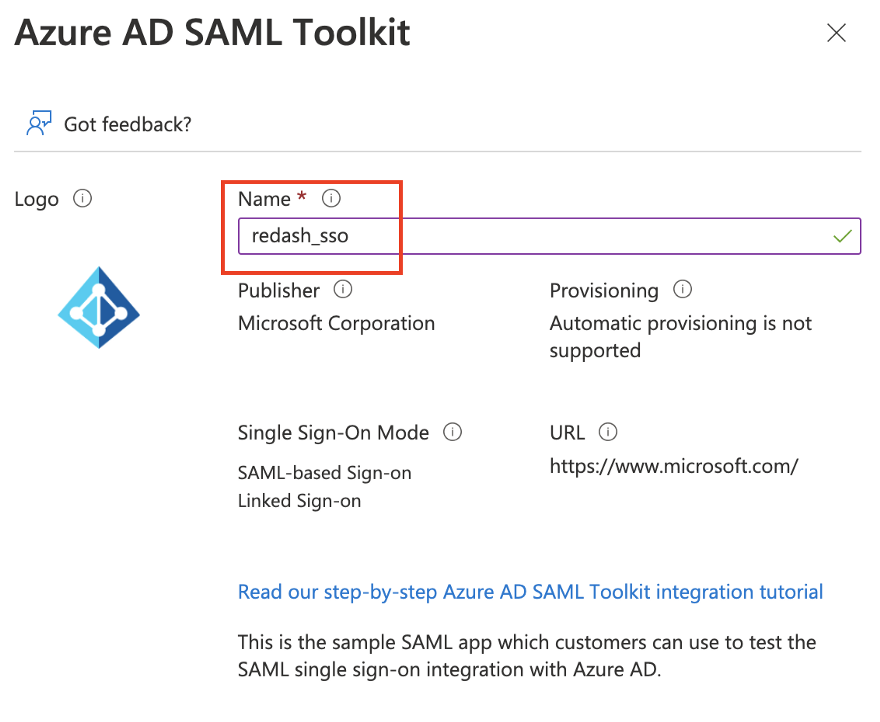
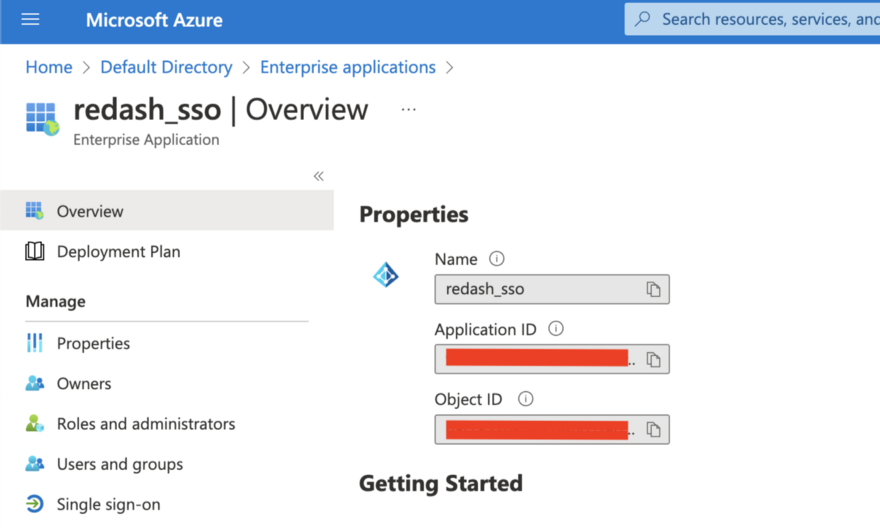
Step 7: Once, you provide all information, create a New application
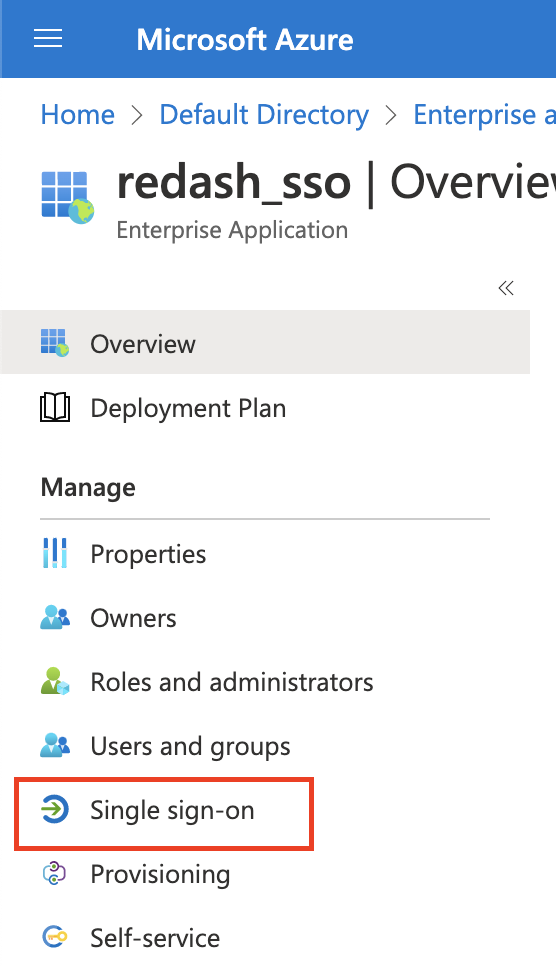
Step 8: Now, Under the Manage section of the enterprise application that you created, click on Single sign-on
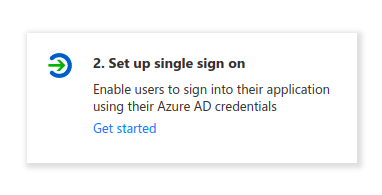
Step 9: Click on Set up single sign on to create single sign on.
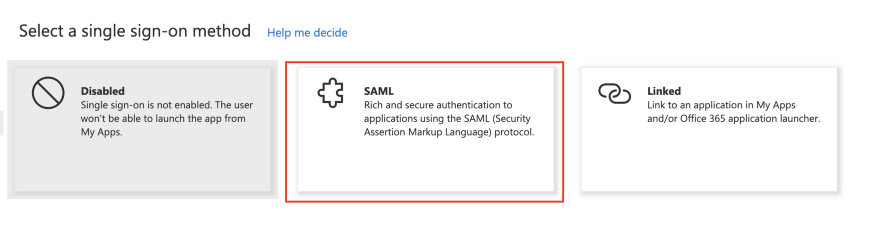
Step 10: Now, click on Security Assertion Markup Language (SAML)
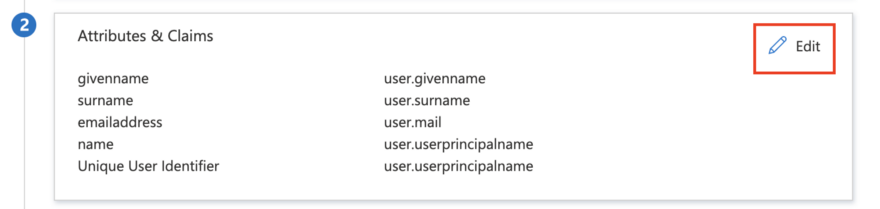
Step 11: Once you click on SAML, you will see the option of Attributes & Claims, click to set up new claims which are required for Redash.
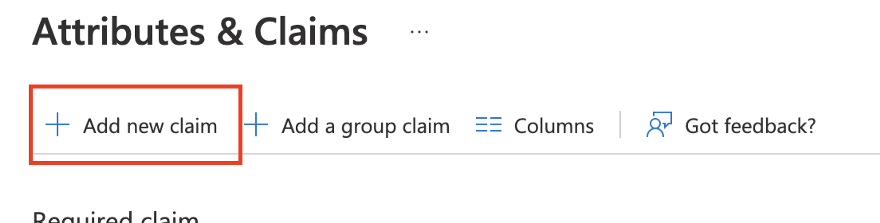
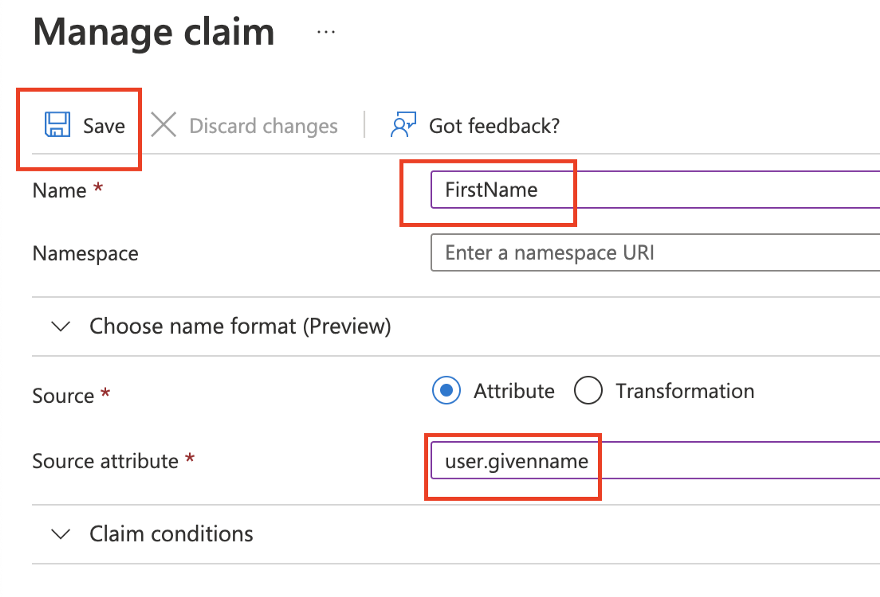
Step 12: Now, click on Add new claim to add a new claim
Step 13: Now, add the Name & Source attribute as shown in the below diagram.
Name - FirstName
Source Attribute - user.givenname
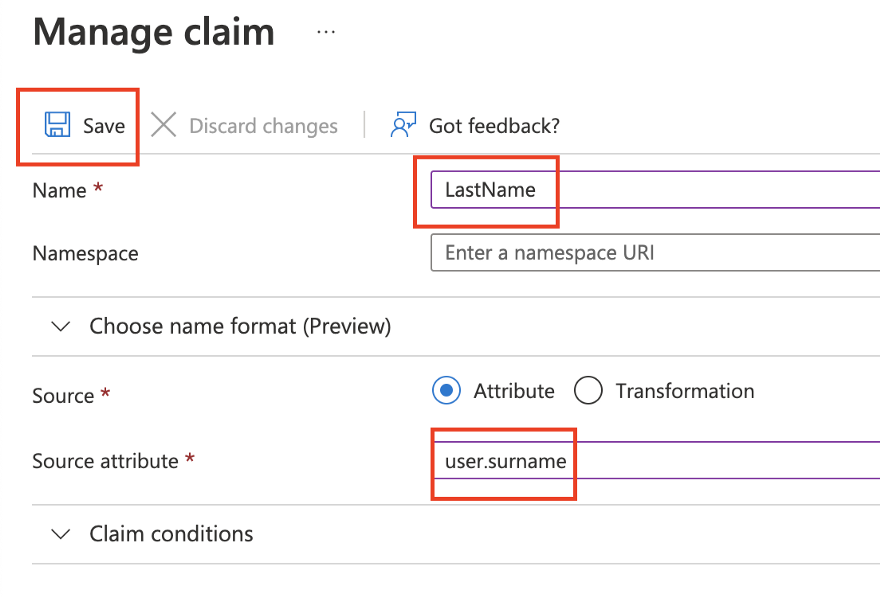
Step 14: Once you save for the FirstName claim, repeat Step 12 to create a new claim for a different source attribute.
Name - LastName
source attribute - user.surname
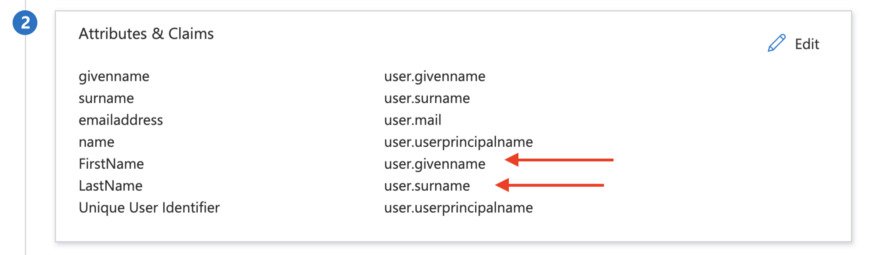
Step 15: Once you add, click on SAML-based Sign-on, to get back to the main menu of the application.

Step 16: Confirm below claim, if not, repeat from step 12.
Step 17: Now, Under SAML Signing Certificate, copy App Federation Metadata Url & Under Setup up <APPLICATION-NAME>, copy Azure AD Identifier

Step 18: Now, create a note or copy the below Value in that note
1. App Federation Metadata URL
https://login.microsoftonline.com/xxxxxx-xxxx-xxxx-xxxx-xxxxxxxxxxxx/federationmetadata/2007-06/federationmetadata.xml?appid=xxxxxx-xxxx-xxxx-xxxx-xxxxxxxxxxxx
2. Azure AD Identifier
https://sts.windows.net/xxxxxx-xxxx-xxxx-xxxx-xxxxxxxxxxxx/
3. self hosted Redash Reply URL
https://redash.domain_name.com/saml/callback?org_slug=default
4. Self hosted Redash URL
https://redash.domain_name.com/
5. SAML Name ID Format
urn:oasis:names:tc:SAML:1.1:nameid-format:emailAddress
NOTE – replace “redash.domain_name.com” with your domain name
Step 19: Now, we are going to use the above value in setting up Basic SAML Configuration, which is a mandatory part of setting up Single Sign On.
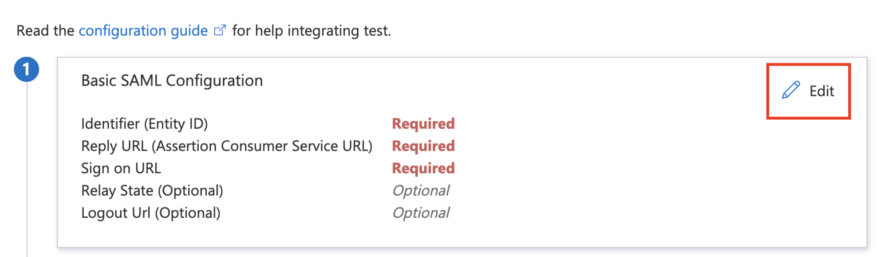
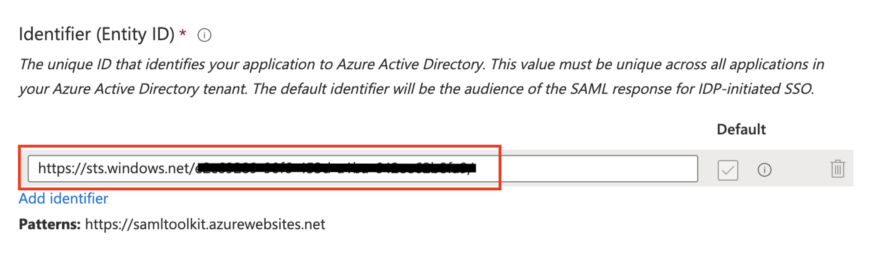
Step 20: Under Identifier (Entity ID), add Azure AD Identifier [ Value 2] from Step 18 that starts with “https://sts”
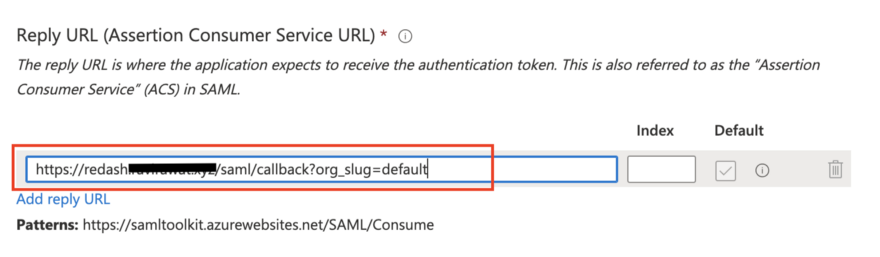
Step 21: Now add Reply URL, Copy value from Step 18 Self-hosted Redash Reply URL [ Value 3]
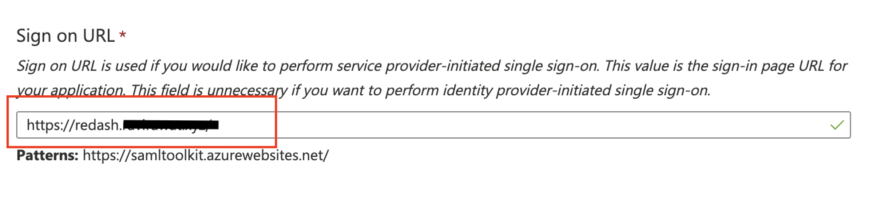
Step 22: Add sign-on URL from Step 18 [Value 4]
NOTE: This is the configuration we are required to set up from the Azure AD part. Now, we will set up the Redash part in which we will integrate between Redash & Azure AD.
Redash
Step 1: Login into a user who has full or Admin permission [This will be required to change the SAML configuration which can be only modified using Admin permission].

Step 2: Once you logged in using Admin user, click on the configuration icon as shown below or go to the Redash configuration console.

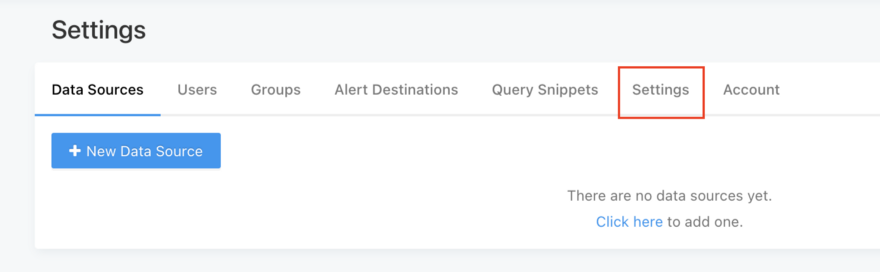
Step 3: Now, click on Settings to set up SAML configuration
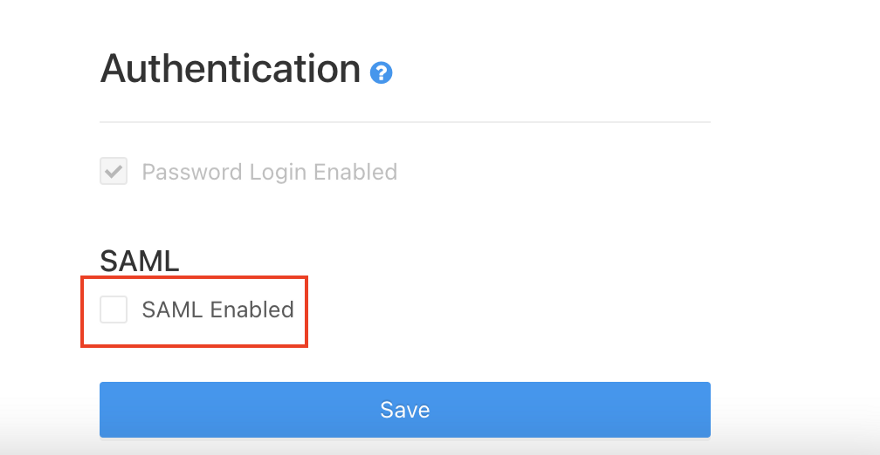
Step 4: Under the Authentication section, you will see the SAML option is disabled by default. To enable SAML, click on the SAML enabled square box.
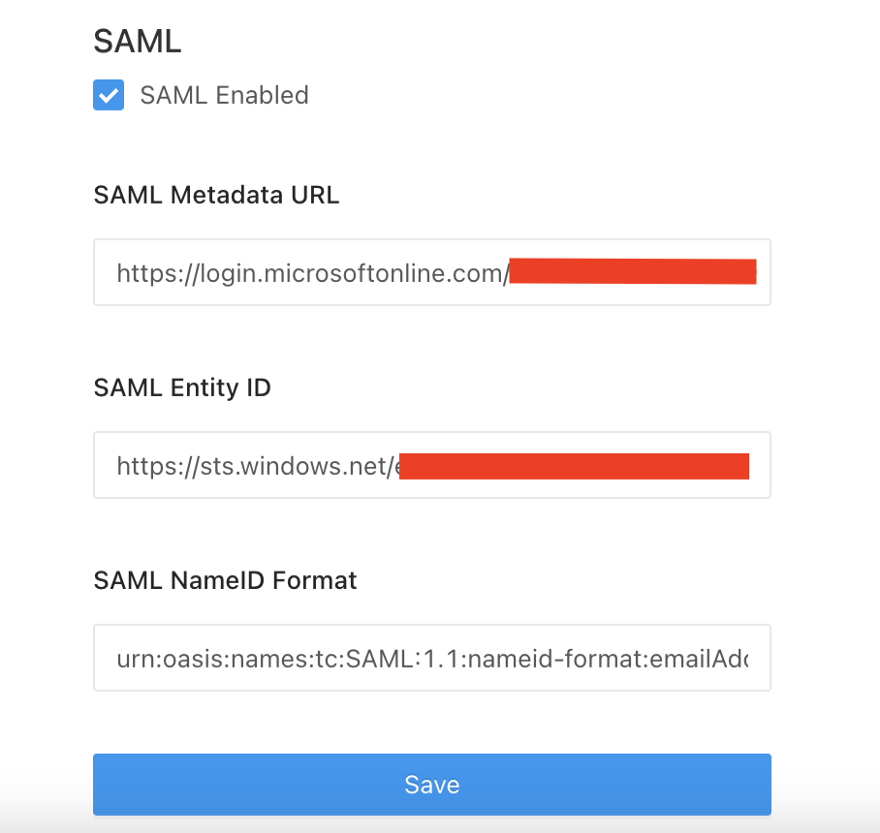
Step 5: Once you enabled SAML, it will ask for a few values as shown below,
SAML Metadata URL [ 1 ]
https://login.microsoftonline.com/xxxxxx-xxxx-xxxx-xxxx-xxxxxxxxxxxx/federationmetadata/2007-06/federationmetadata.xml?appid=xxxxxx-xxxx-xxxx-xxxx-xxxxxxxxxxxx
SAML Entity ID [ 2 ]
https://sts.windows.net/xxxxxx-xxxx-xxxx-xxxx-xxxxxxxxxxxx/
SAML NameID Format [ 5 ]
urn:oasis:names:tc:SAML:1.1:nameid-format:emailAddress
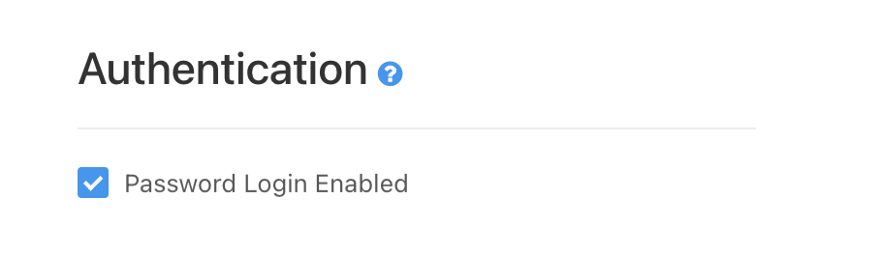
Step 6: Once you provide all the values, click on save. Once it will save that configuration without any error. It will give you the option of Password Login Enabled option under the Authentication section. This will disable or enable the default password login for self-hosted Redash.
NOTE: Once you can confirm that Redash SAML [SSO] is working properly, you can disable password login after Redash SAML confirmation.
User Management
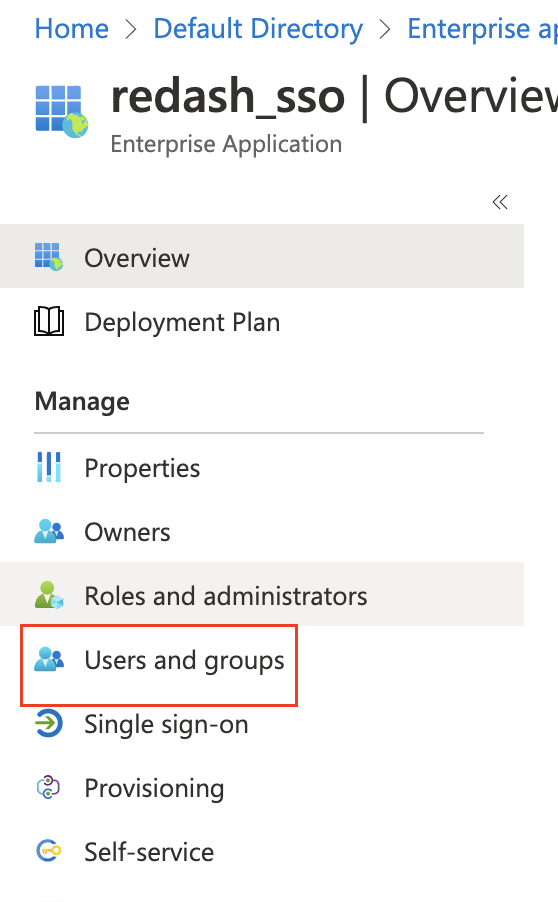
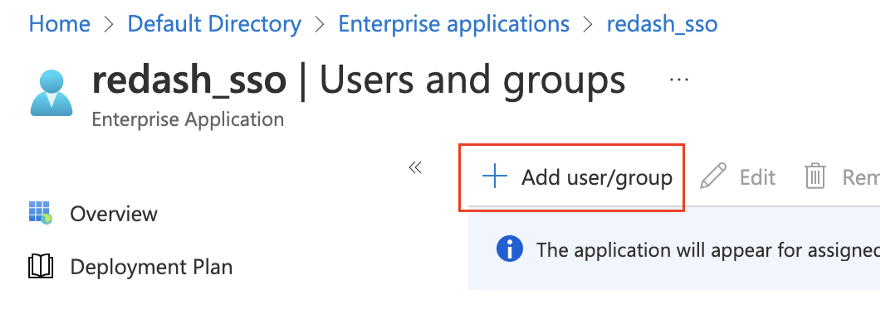
Step 1: To create a user, under the Application that you created, under the manage section, Click on Users and groups,
Step 2: Click on Add user/group to add an existing user or group
Step 3: Under Add Assignment section, click on None Selected to add existing user or group
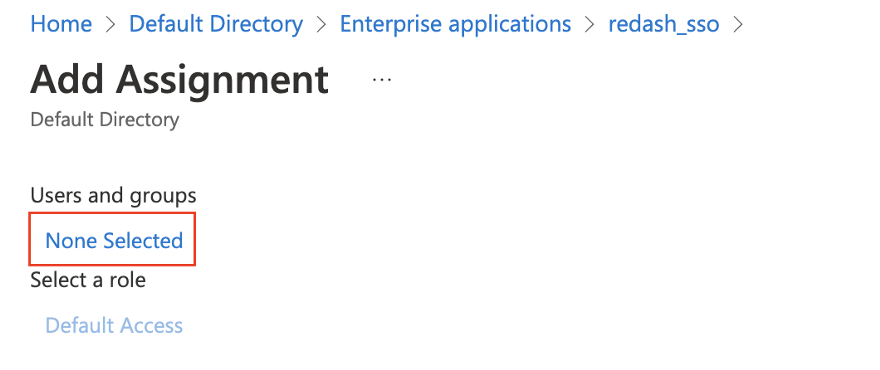
Step 4: Select the user or group which you want to add. Once select all the users, select that user.

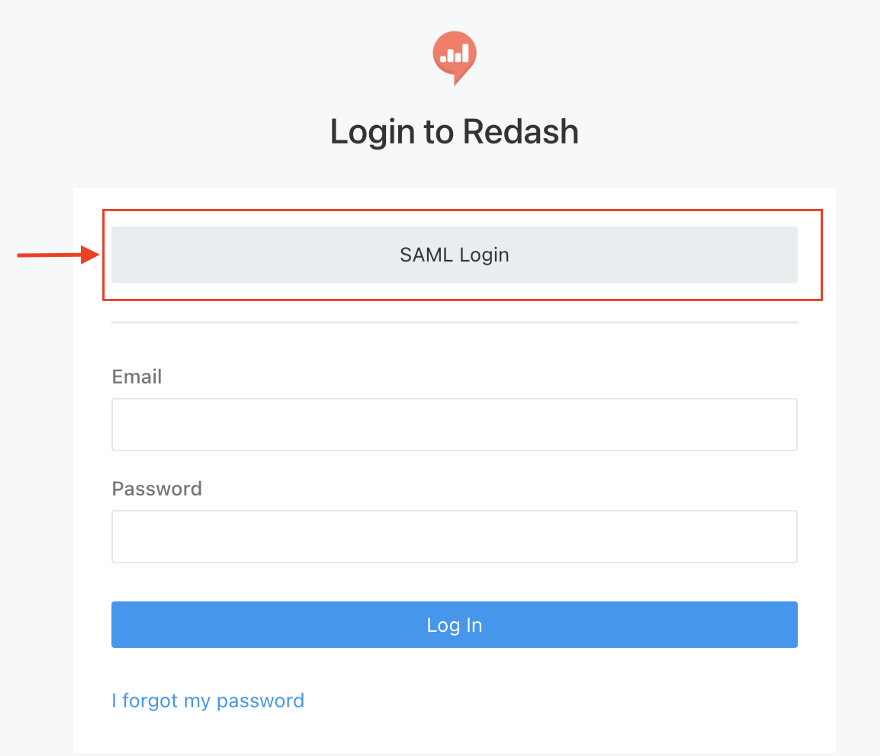
Authentication Testing
Once you completed all the above steps. Open new login or re-login using SAML Login
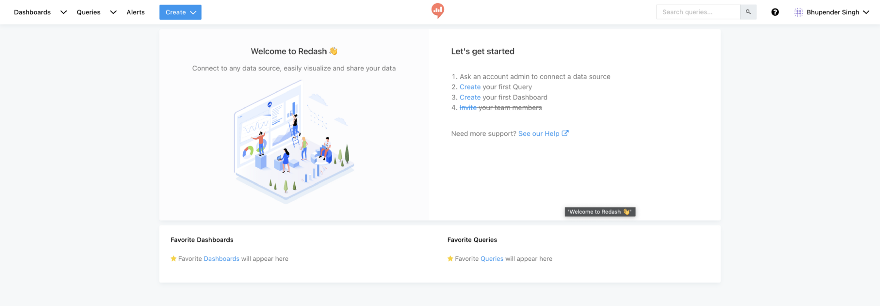
Once you select your current user to login into Redash, it will give you a Redash login page. If not, check the above steps that you performed.
Conclusion
Redash SAML is one of the advanced features provided by Redash. But unfortunately, there is no proper official documentation or community documentation that provides a detailed understanding and configuration of widely Active directory SAML support with Redash. So, we created this blog to provide a detailed step guide through which we can integrate the Azure Active directory with Redash SAML.
References
- https://discuss.redash.io/t/azure-ad-sso-saml-howto-guide/8257
- https://discuss.redash.io/t/azure-ad-saml-reply-url/5823
- https://discuss.redash.io/t/upgrade-to-9-saml-failure/7963
Blog Pundit: Sandeep Rawat
Opstree is an End to End DevOps solution provider.
Connect Us