Problem Statement:
Travel Triangle’s WhatsApp application was experiencing significant performance degradation due to harmful “User Agents,” leading to decreased business and reputational harm. The need to mitigate these risks prompted an exploration of various solutions, culminating in the selection of AWS WAF.
Solution:
AWS WAF was chosen for its ability to effectively block malicious traffic while being cost-efficient. This document outlines the specific steps taken to configure AWS WAF, detailing how it was used to filter and block the harmful “User Agents,” thus protecting the application’s performance and ensuring business continuity.
Introduction
What’s WAF (web application firewall)?
- AWS WAF is a web application firewall that helps you protect your web applications against common web exploits that might affect availability and compromise security.
- AWS WAF gives you control over how traffic reaches your applications by enabling you to create security rules that block common attack patterns like SQL injection and cross-site scripting.
- It only allows the request to reach the server based on the rules or patterns you define.
- Users create their own rules and specify the conditions that AWS WAF searches for in incoming web requests.
- The cost of WAF is only for what you use.
- The pricing is based on how many rules you deploy and how many web requests your application receives.
- For example, you can deploy AWS WAF on Amazon CloudFront with an Application Load Balancer in front of your web servers or servers running on EC2.
Features of WAF
Web traffic filtering using custom rules
- You can create your own rules, depending on your requirements, whether to block or allow incoming and outgoing requests. You can also customize the string that appears in your web request.
Blocking malicious requests
- You can also configure rules in AWS WAF to identify and block web request threats like SQL injections and cross-site scripting.
Tune your rules and monitor traffic
- AWS WAF also allows us to review our rules and customize them to prevent new attacks from reaching the server.
Application Load Balancer (ALB)
- Load Balancer is a service that allows you to distribute the incoming application or network traffic across multiple targets, such as Amazon EC2 instances, containers, and IP addresses, in multiple Availability Zones.
- ALB is used to route the HTTP and HTTPS traffic across the targets based on the rules attached to the target group.
- Rules determine what action is taken when a rule matches a client’s request.
- The target group is used to route requests across registered targets as part of an action rule. Target groups consist of a protocol and target port. We can also configure health checks to monitor the status of the target group. A single ALB can route traffic to multiple target groups.
- Targets consist of EC2 instances that are registered with the ALB as part of a target group.
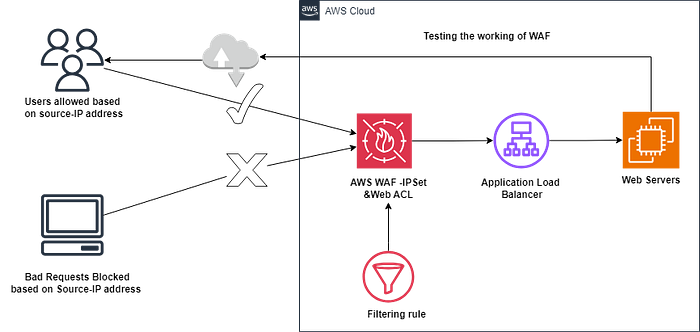
Architecture Diagram
Task Steps
Step 1: Sign in to AWS Management Console
- On the AWS sign-in page ,enter your credentials to log in to your AWS account and click on the Sign in button.
- Once Signed In to the AWS Management Console, Make the default AWS Region as US East (N. Virginia) us-east-1
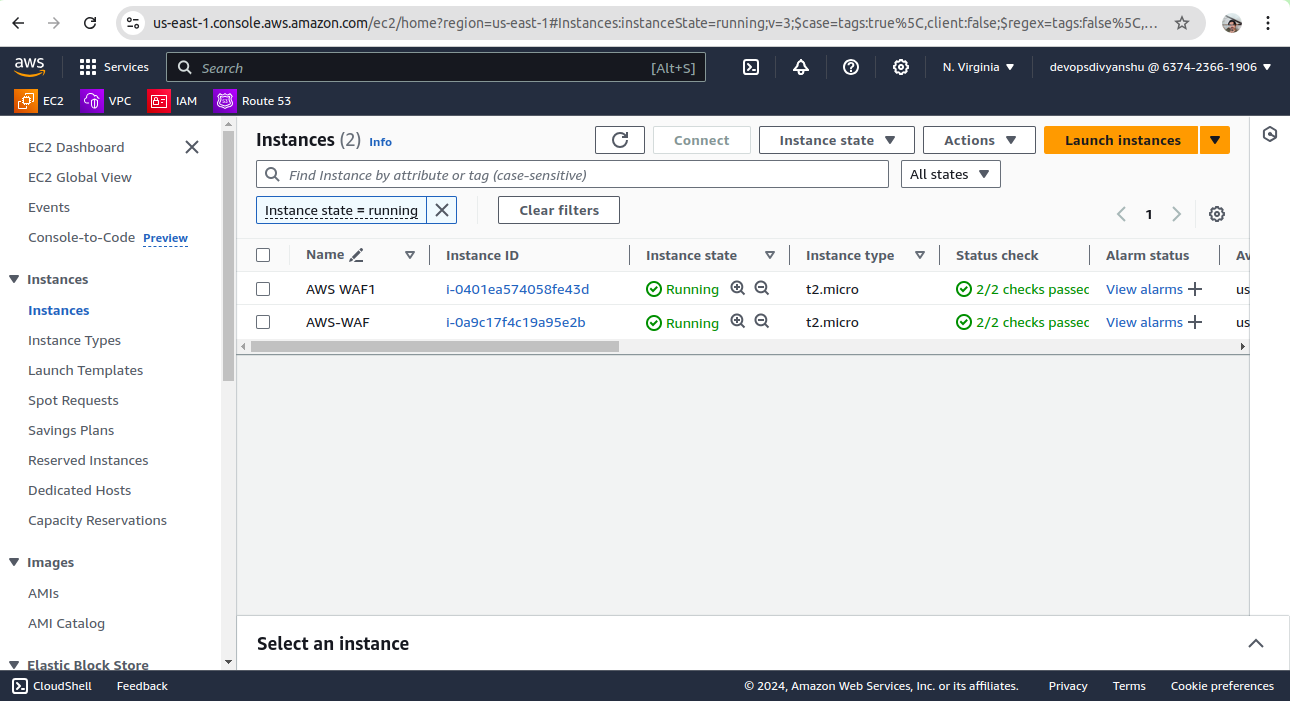
We have our Travel Triangle Whatsapp Application running On these two EC2 instanes and configured them with the Application load balancer ( WAF-LB ) as I will integrate the same to AWS WAF.
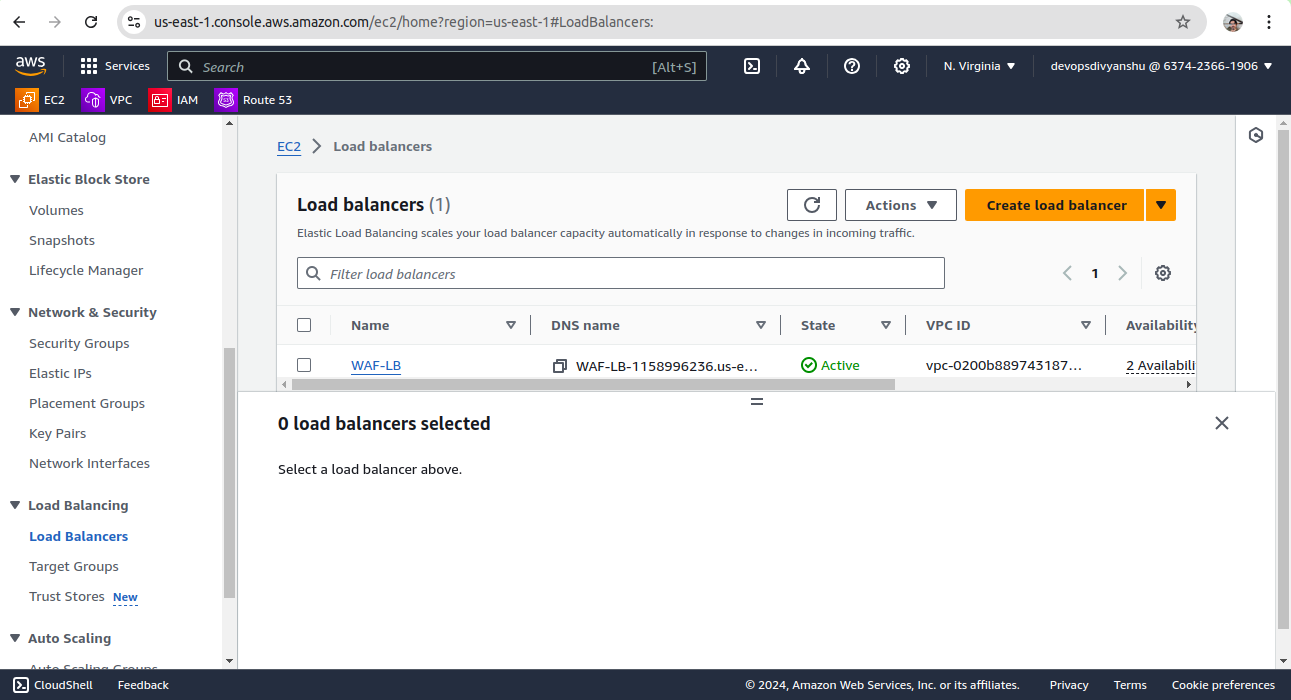
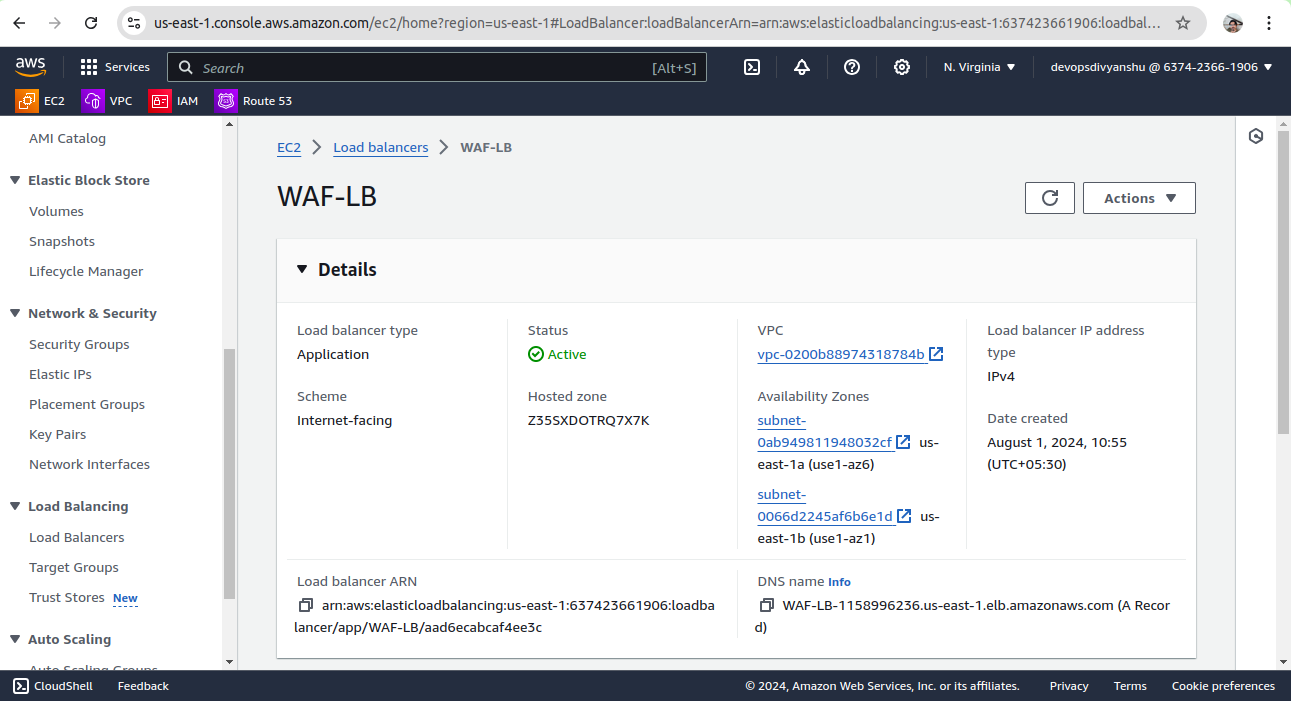
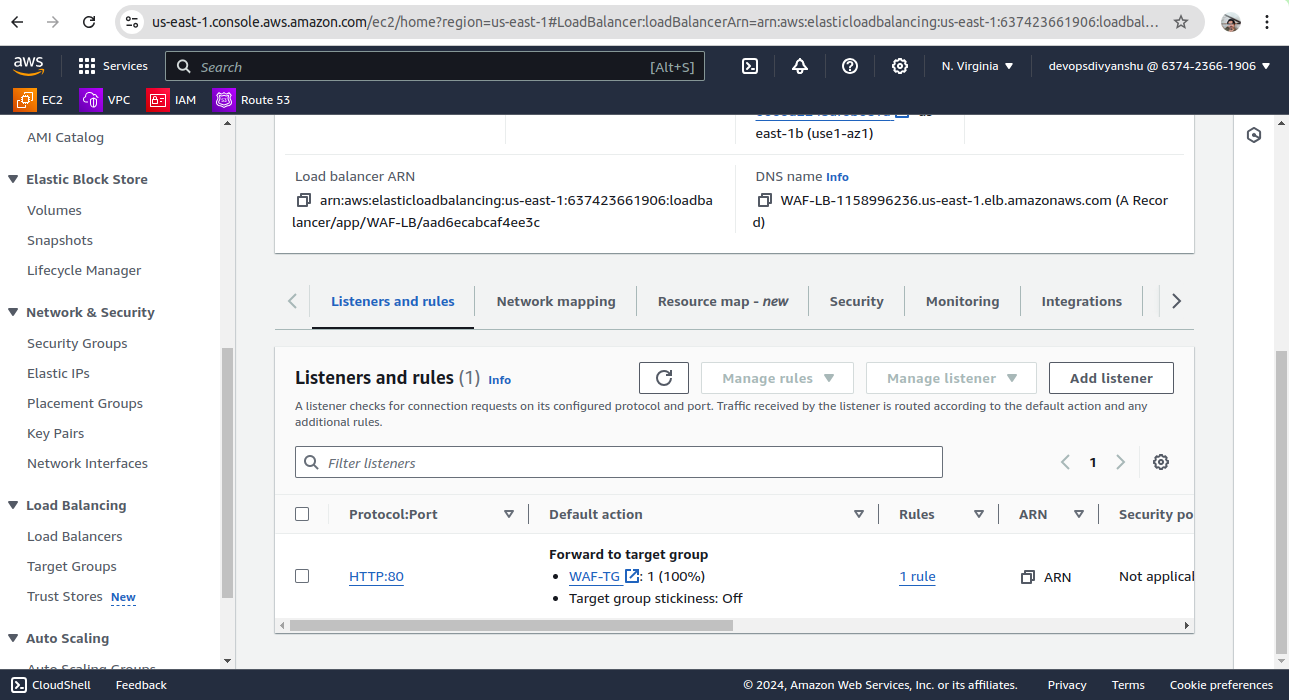
This is the configured application load balancer with both the servers in target group ( WAF-TG ).
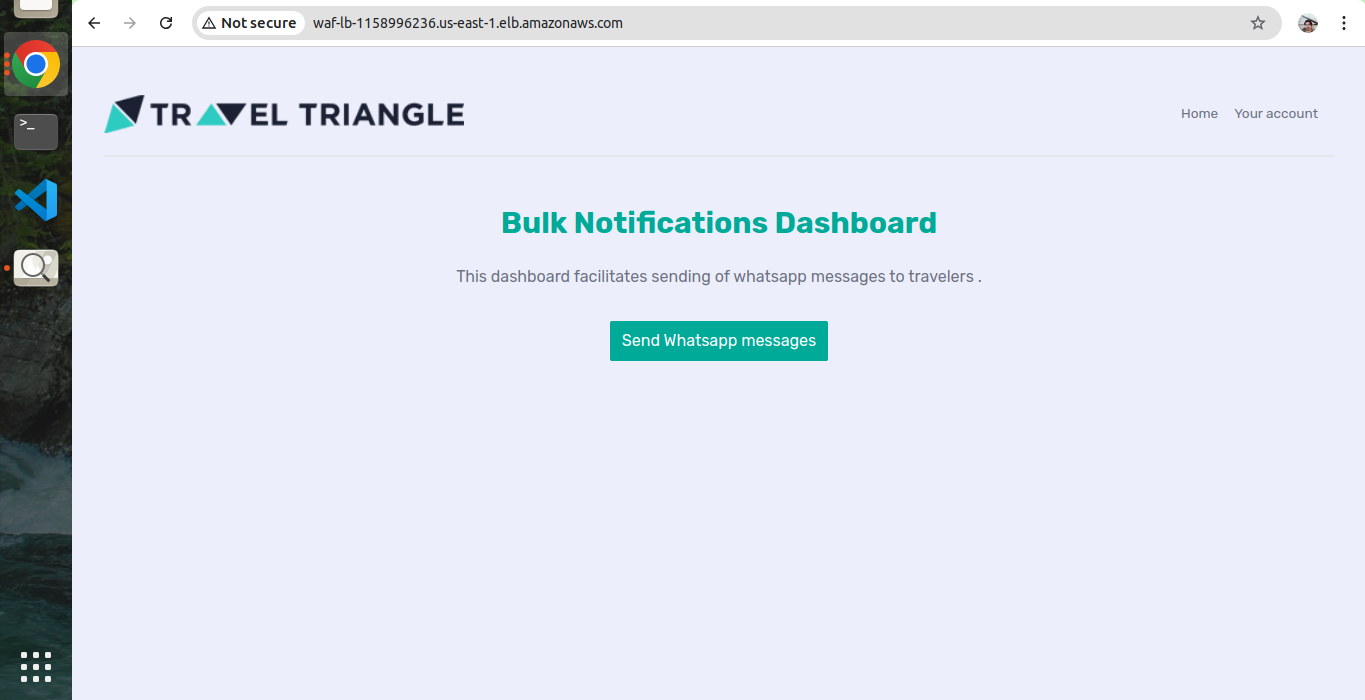
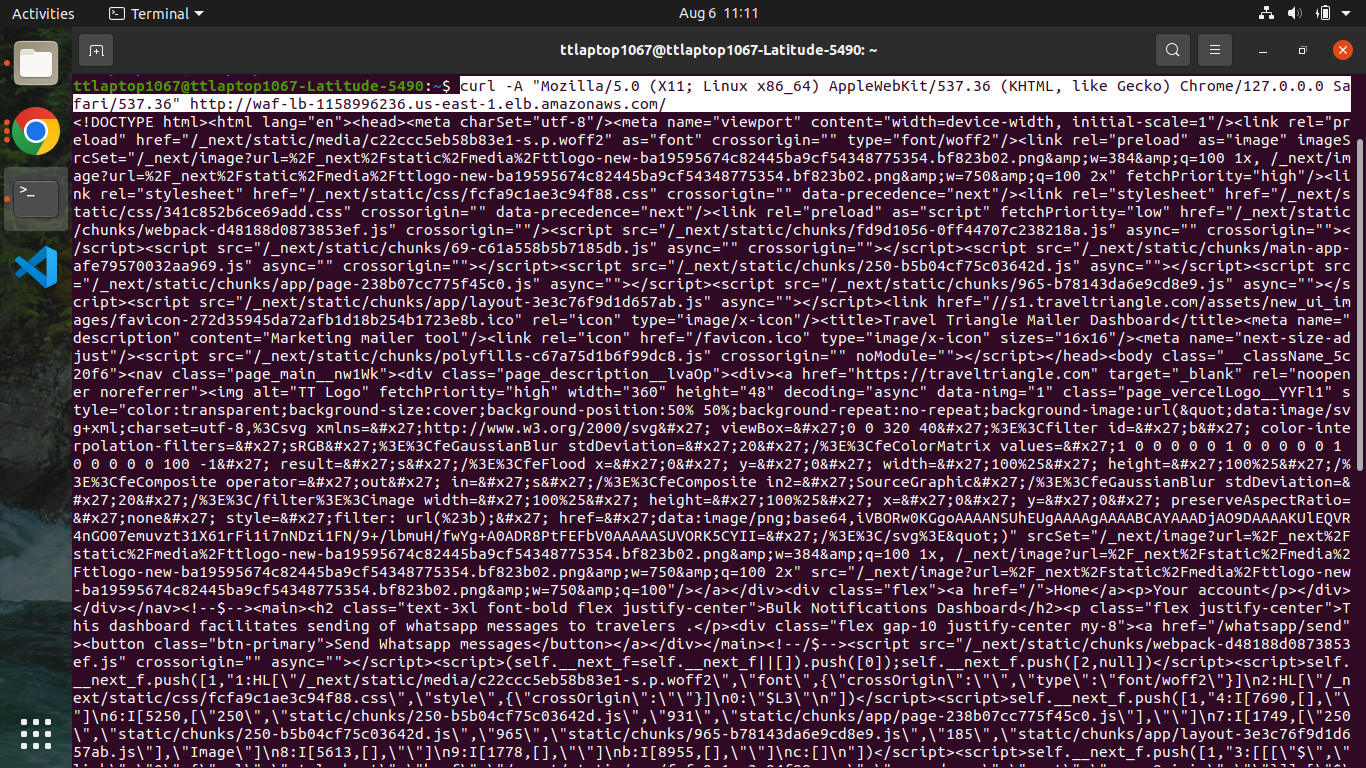
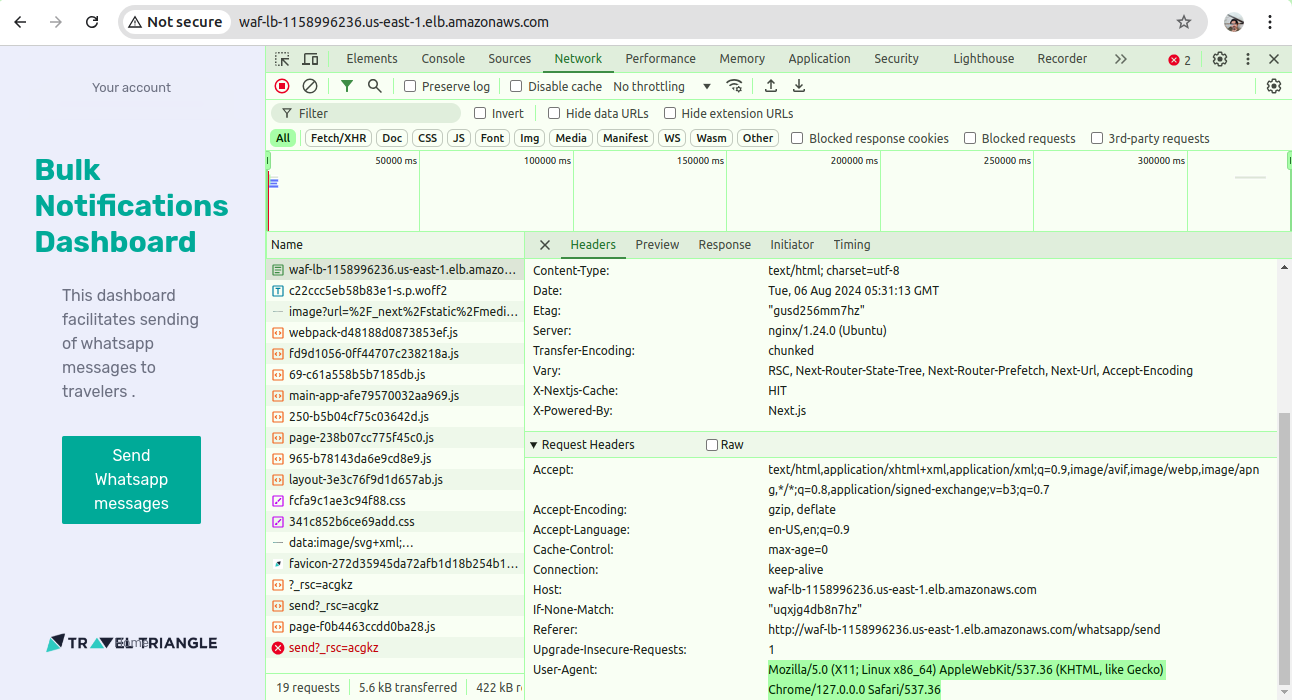
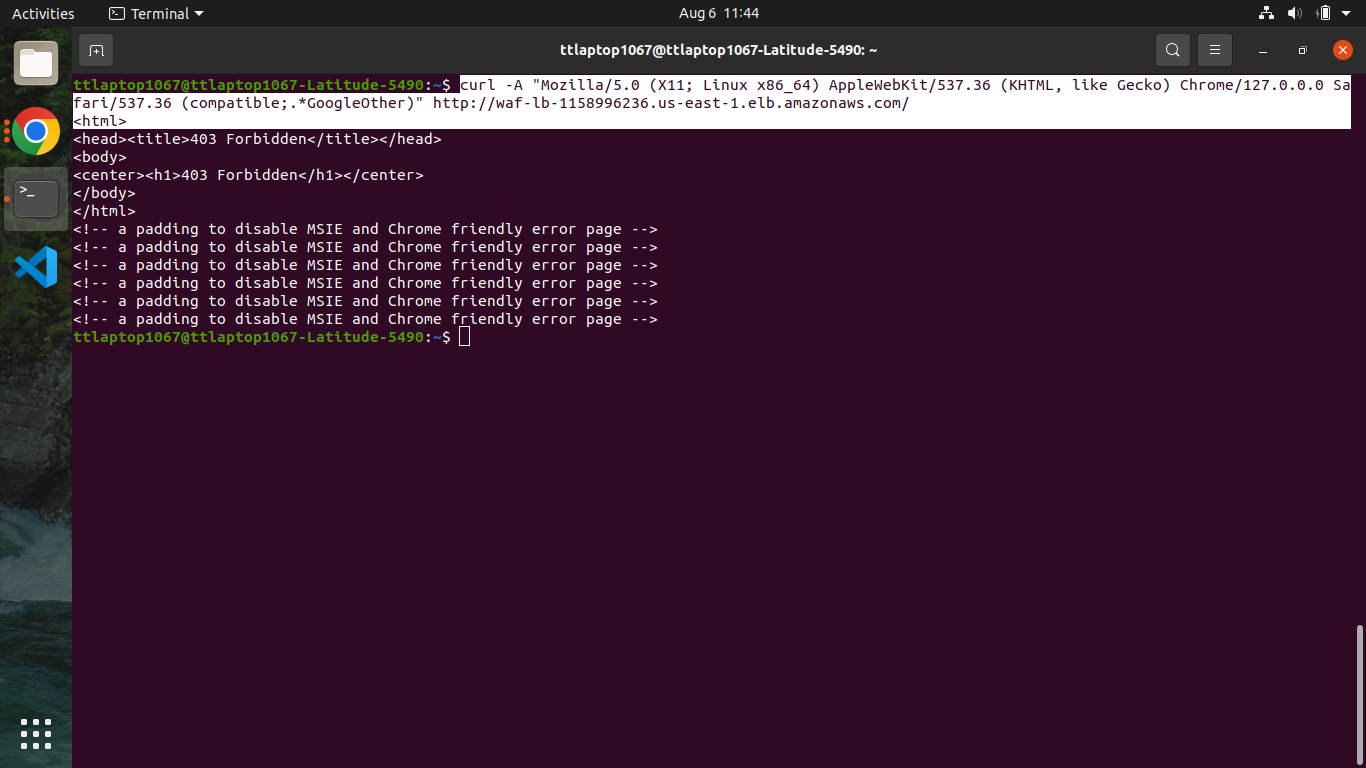
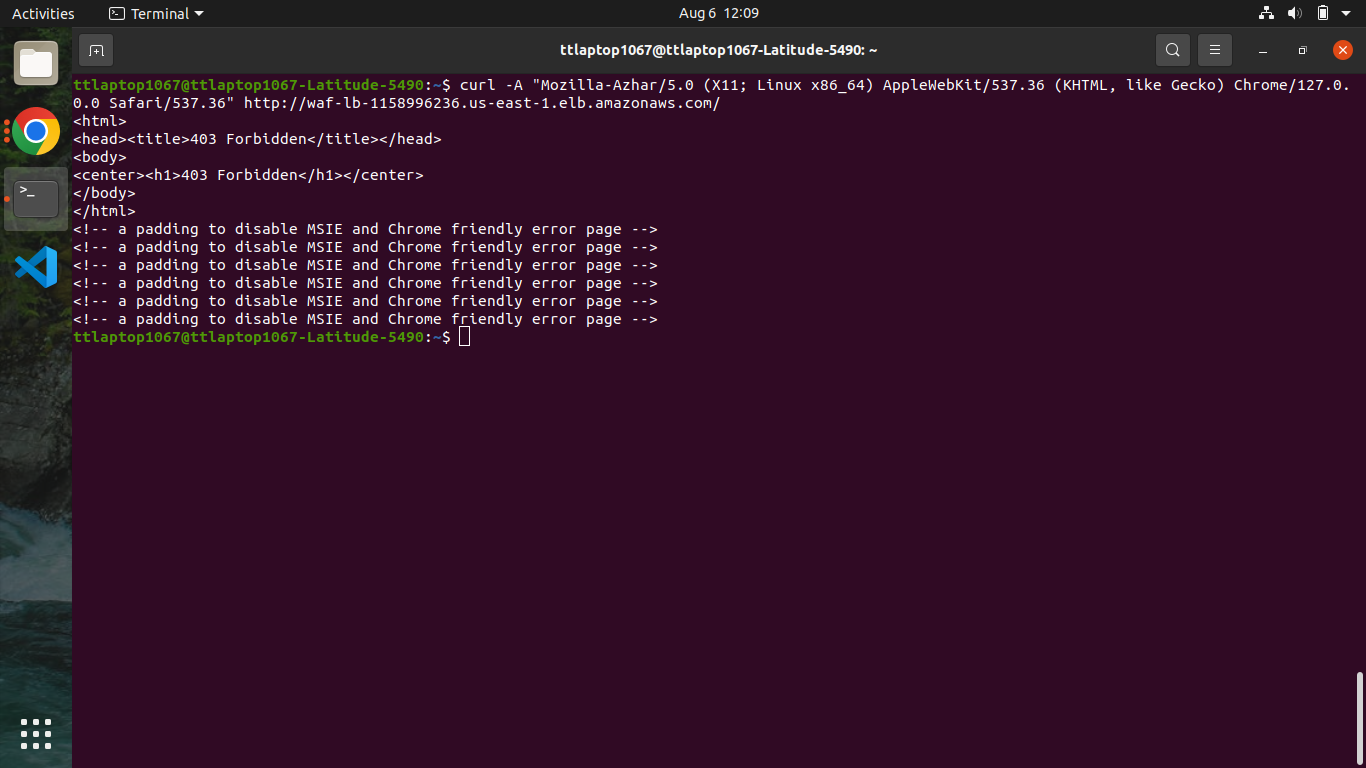
Here we can see that with the help of load balancer DNS Name and by doing curl request the application is easily accessible & the user agent by which we are trying to access it.
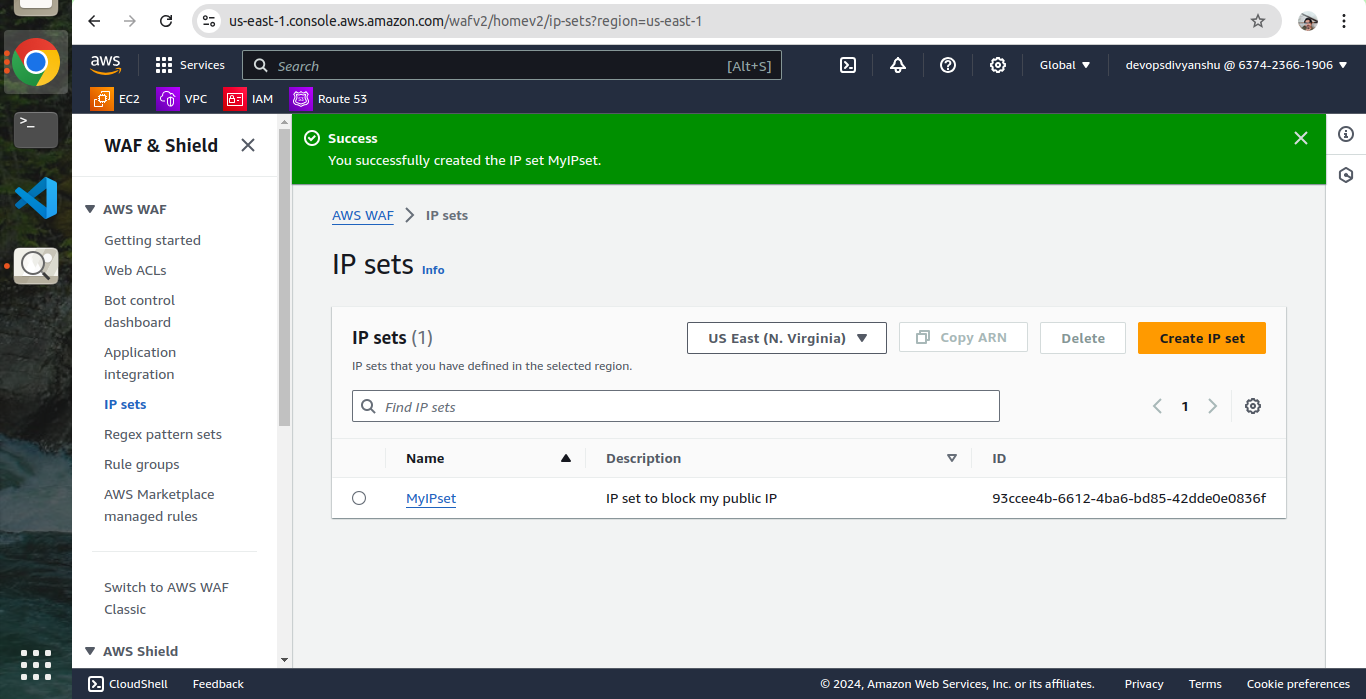
Step 2: Creating an IP set
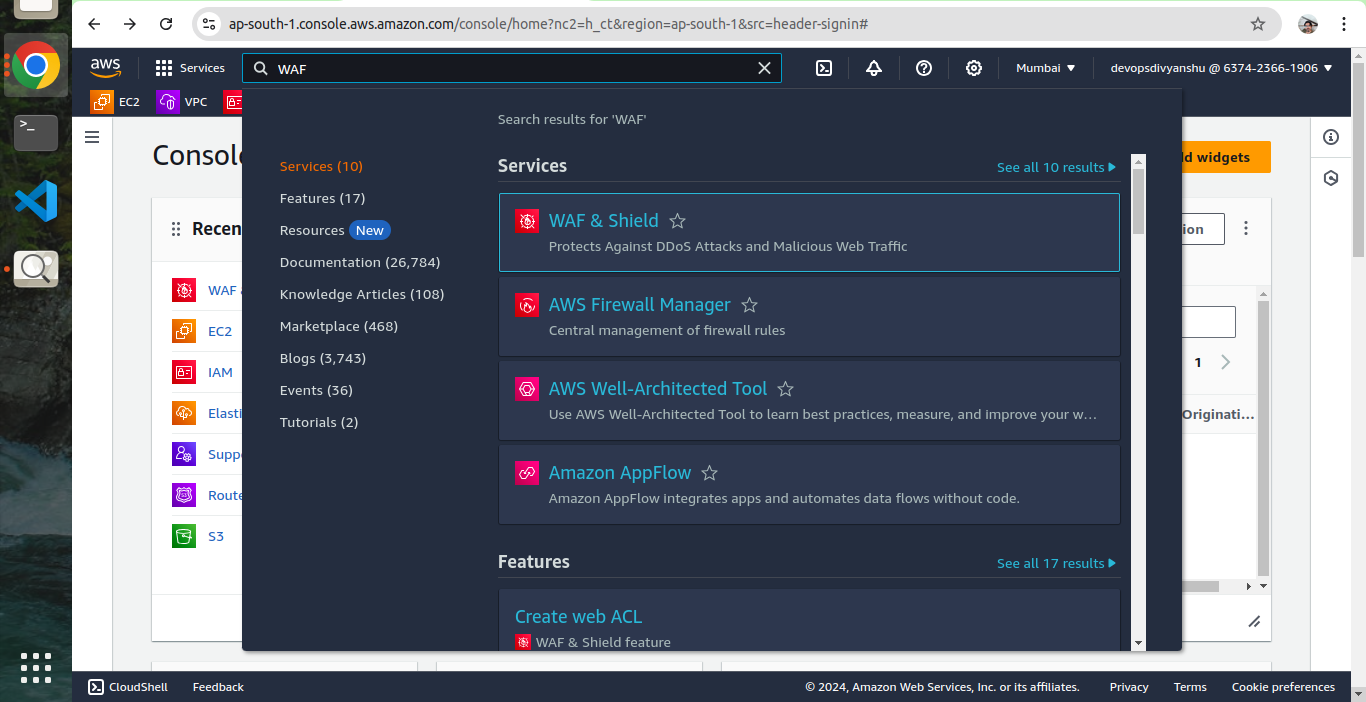
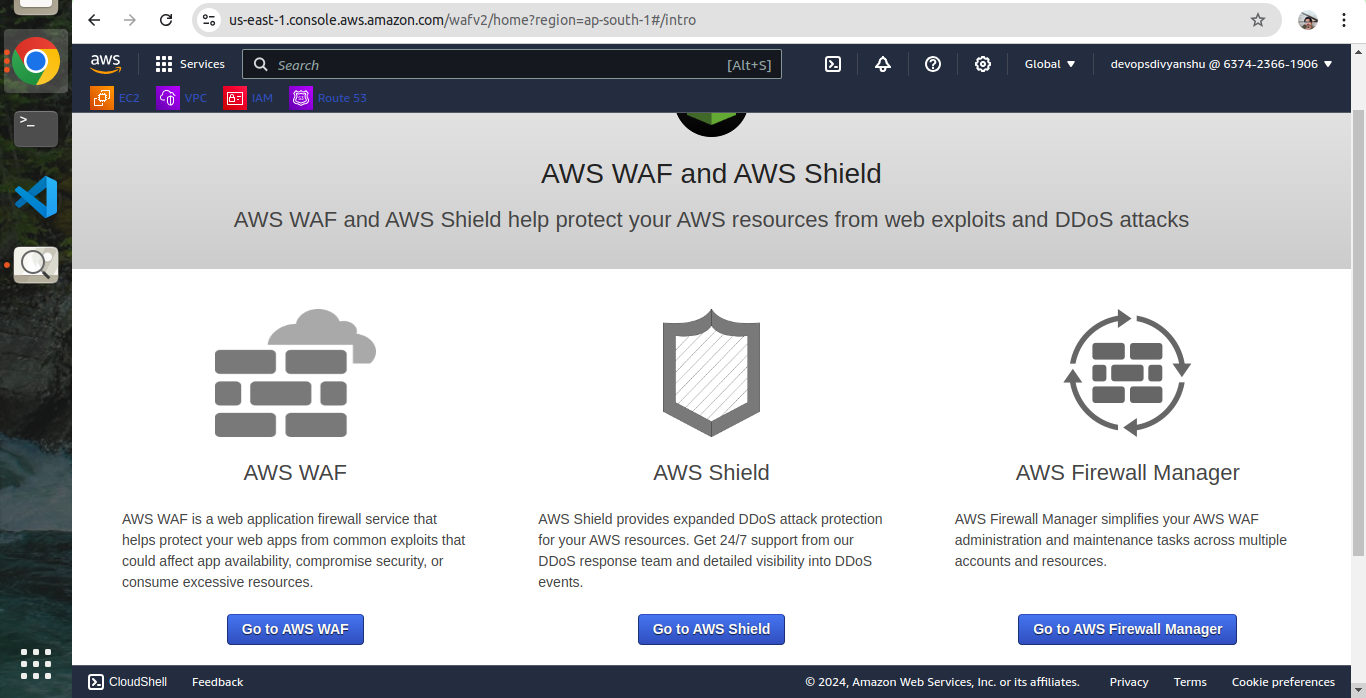
- Click on services and select WAF & Shield under the Security, Identity, & Compliance section.
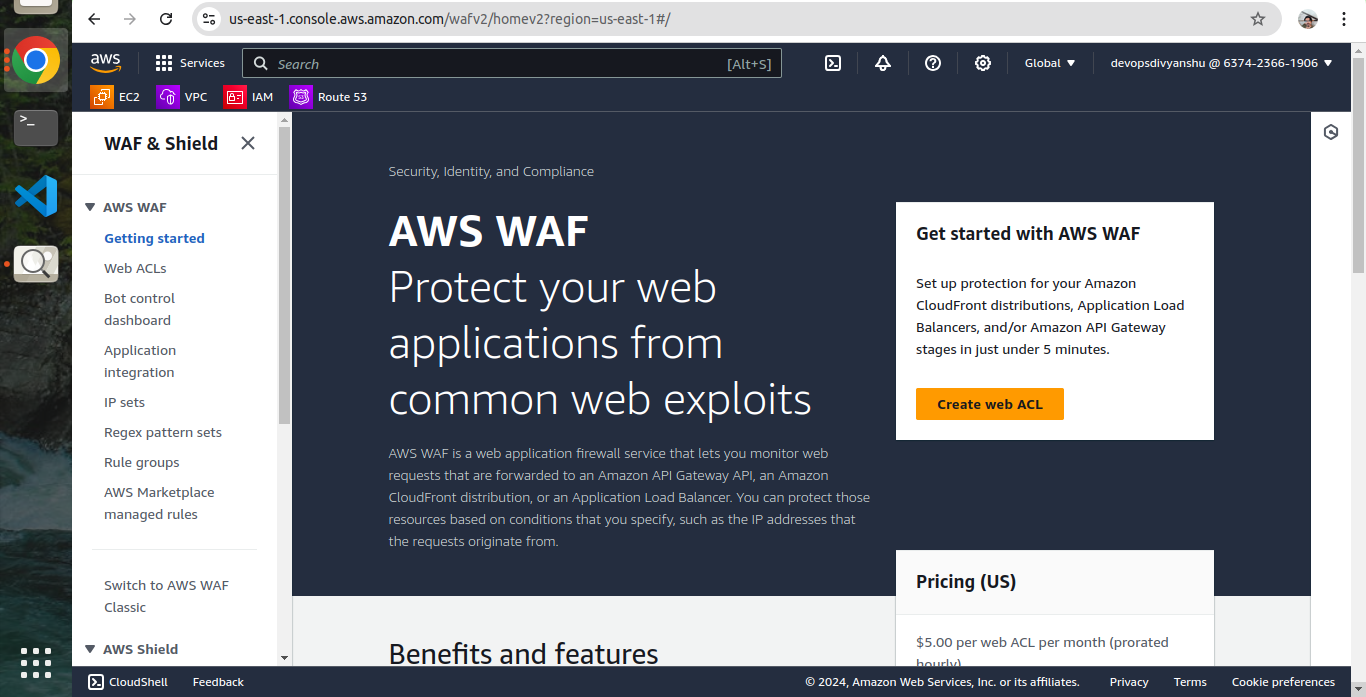
- On the left side, you will be able to see the IP sets menu. Click on IP sets and click on Create IP sets.
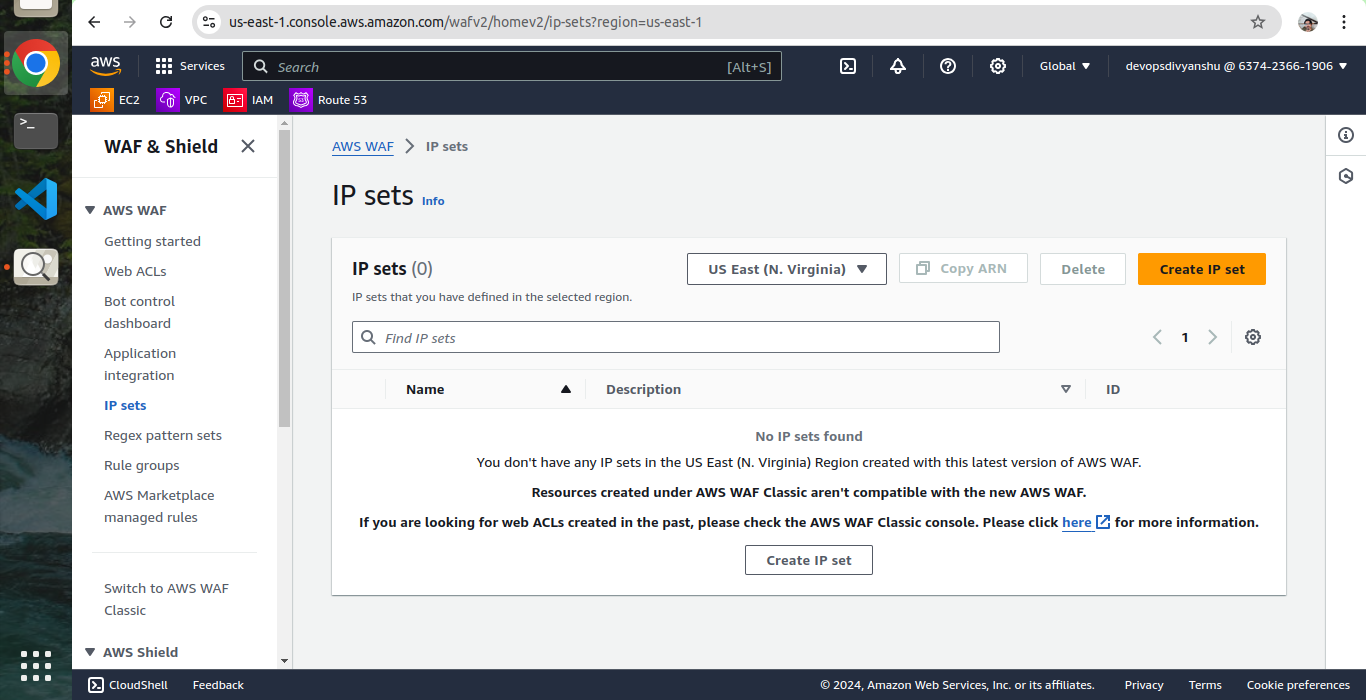
- On the next screen, fill out the following details under Create IP set.
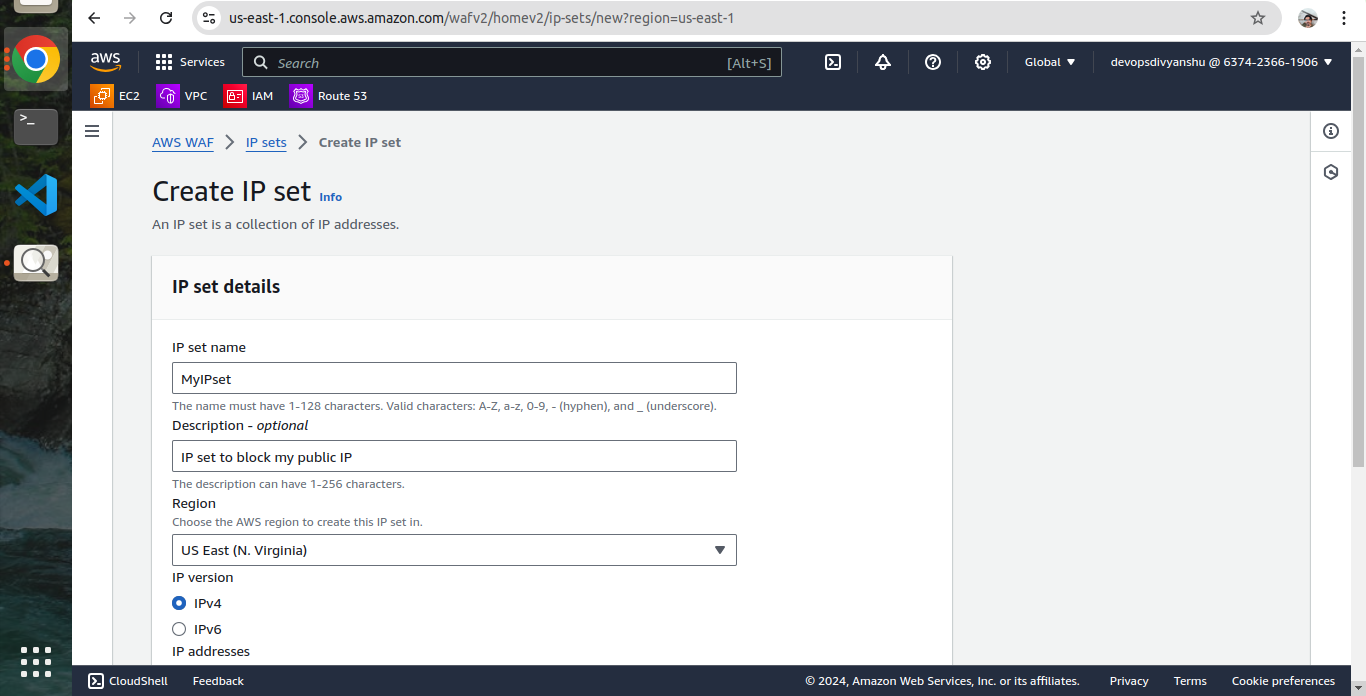
IP set details:
- IP set name: Enter MyIPset
- Description: Enter IP set to block my public IP
- Region: Select US EAST (N.Virginia )
- IP Version: Select IPv4
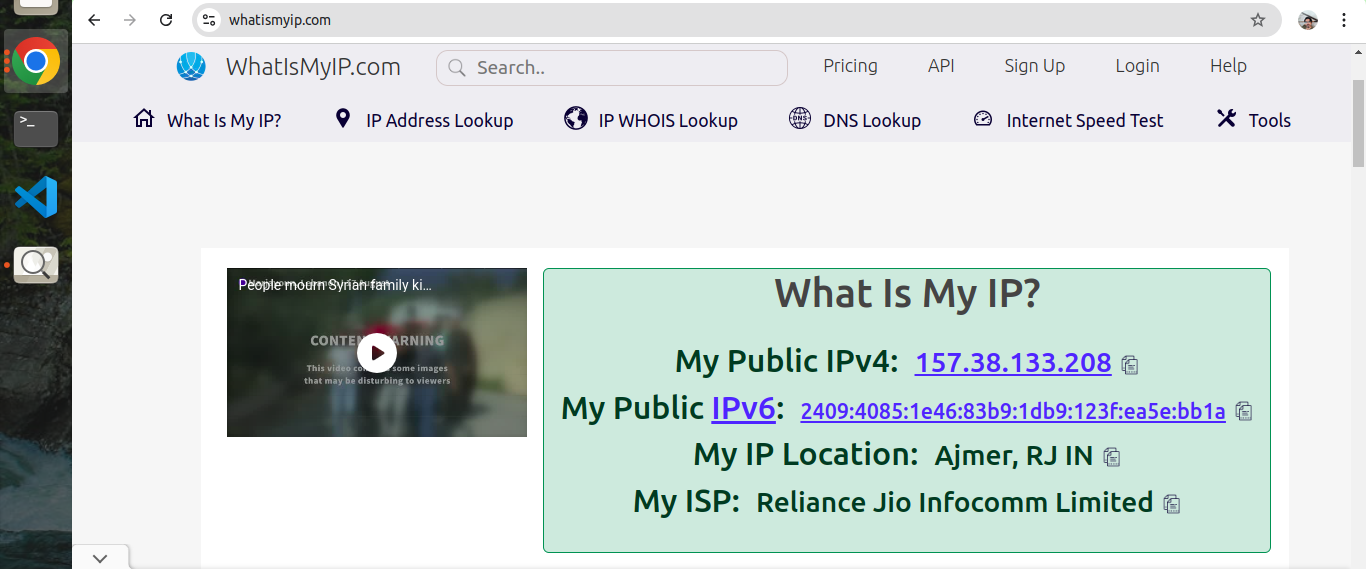
- IP address: Enter the IP of your local network/32 from https://www.whatismyip.com/.
Note: You have to give /32 after the IP is pasted or else you won’t be able to create an IP set.
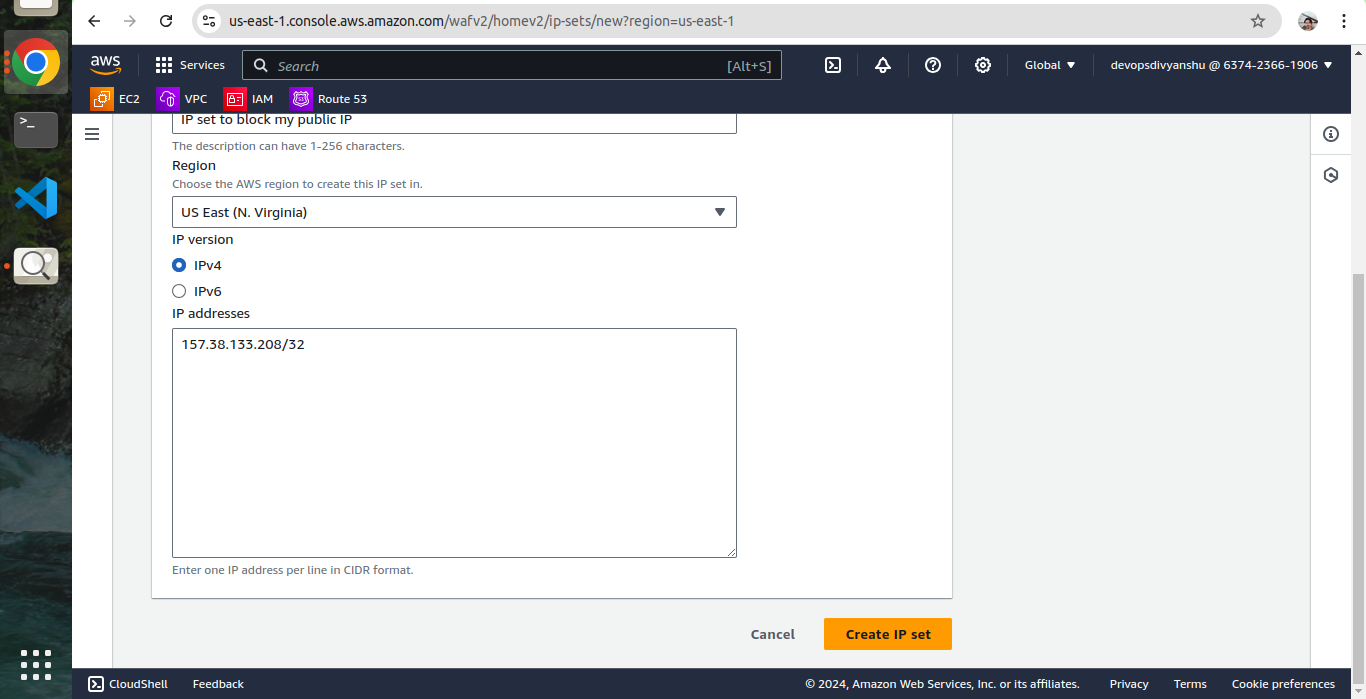
- Once you have provided the above details, click on Create IP set
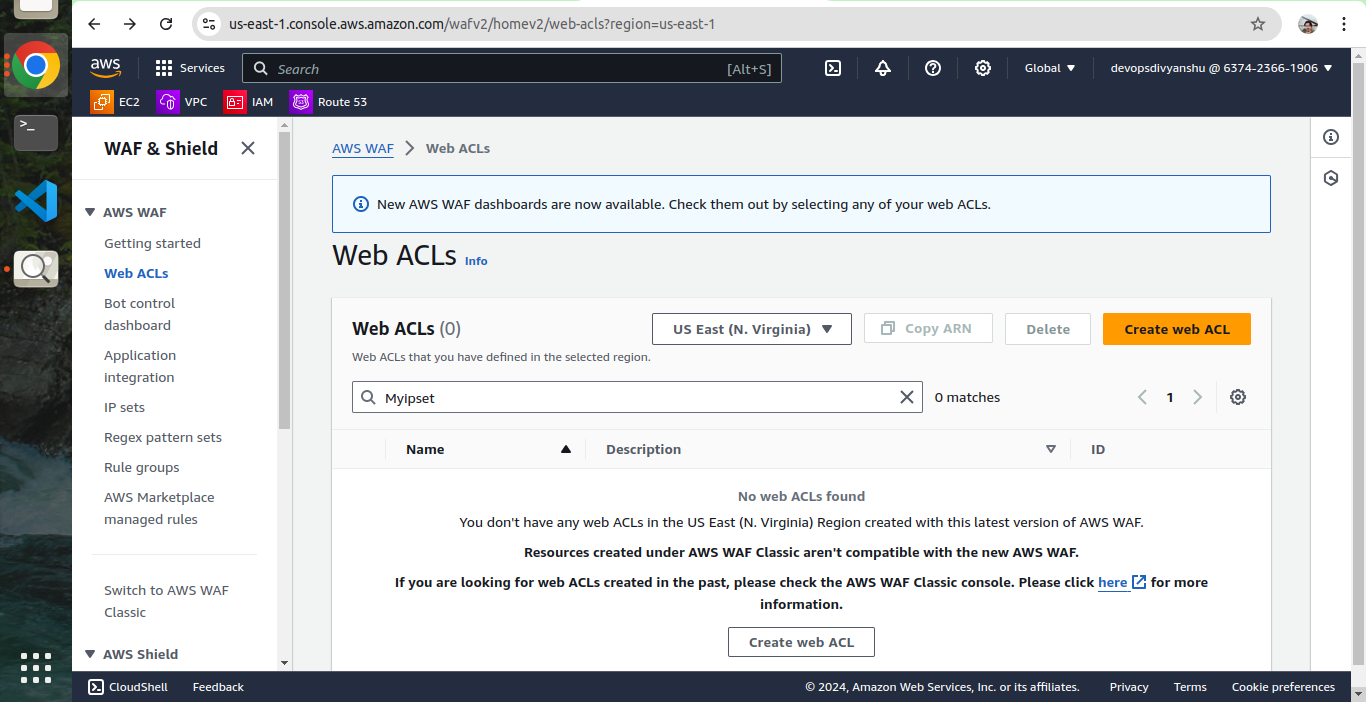
Step 3: Creating a Web ACL
- Web ACL details
- Navigate to the AWS WAF dashboard and select Web ACLs. Click on Create web ACL to create a new web ACL.
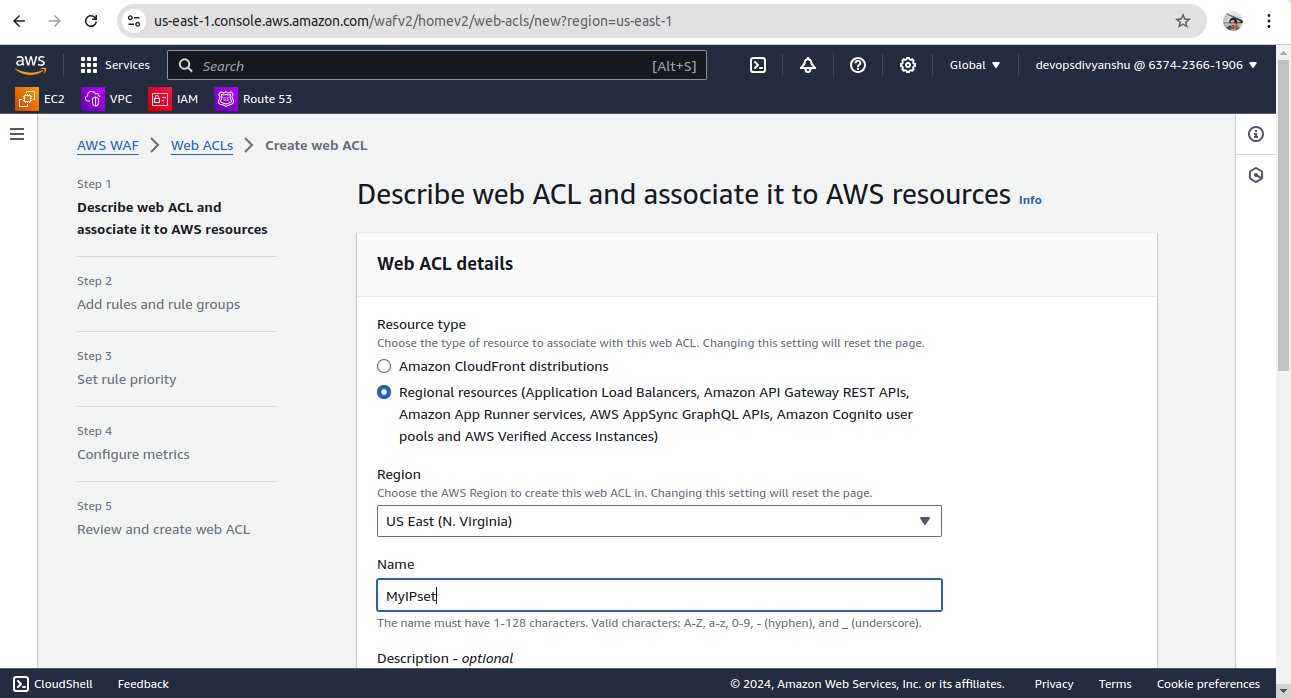
Configure the ACL as below:
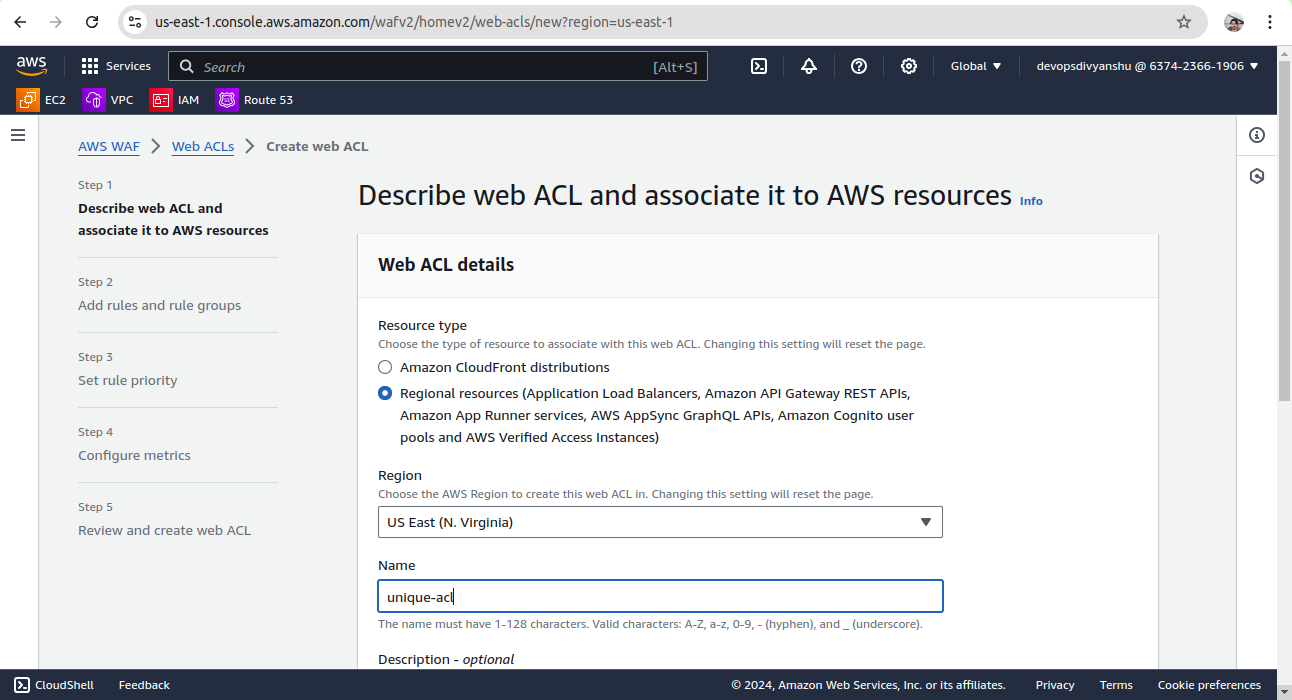
Web ACL details
- Name: Enter Myipset
- Description: Enter ACL to block my public IP
- Resource type: Select Regional resources (Application Load Balancer and API Gateway)
- Region: Select US EAST (N.Virginia)
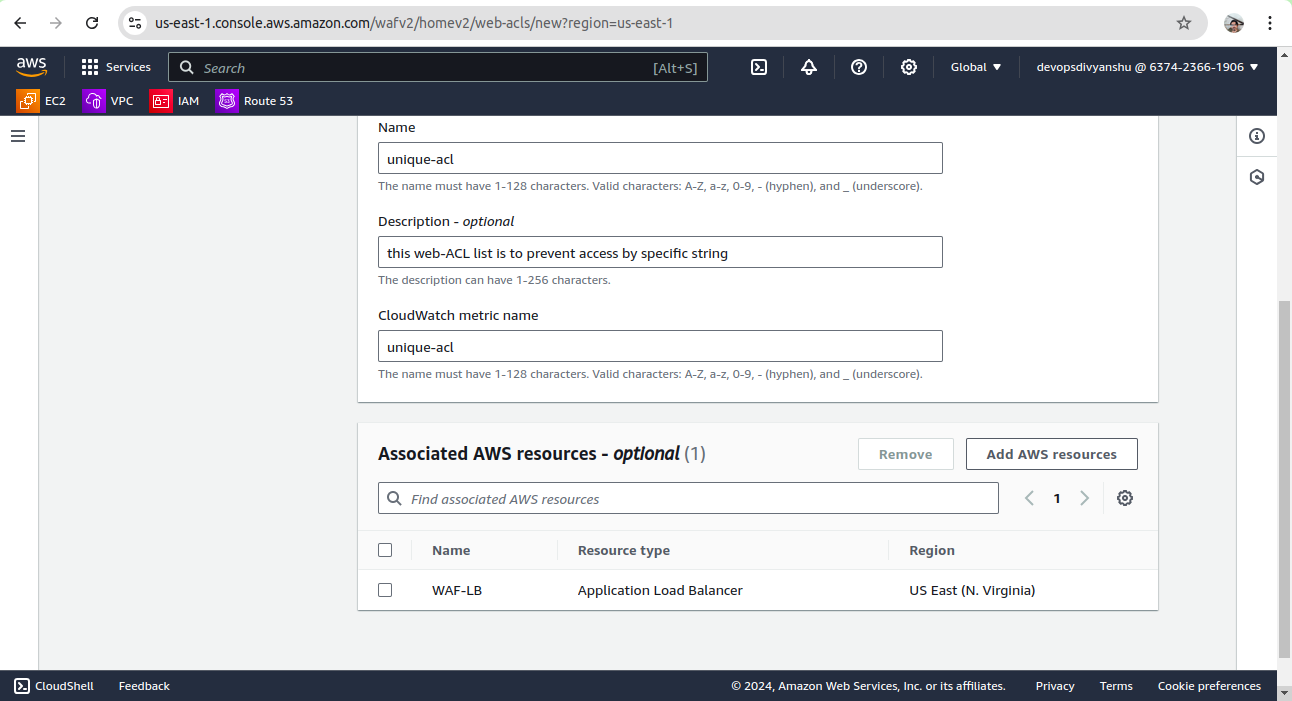
- To associate an AWS resource, click on Add AWS resources .
- In Add AWS resources select Application Load Balancer and select the name of ALB. Click on Add
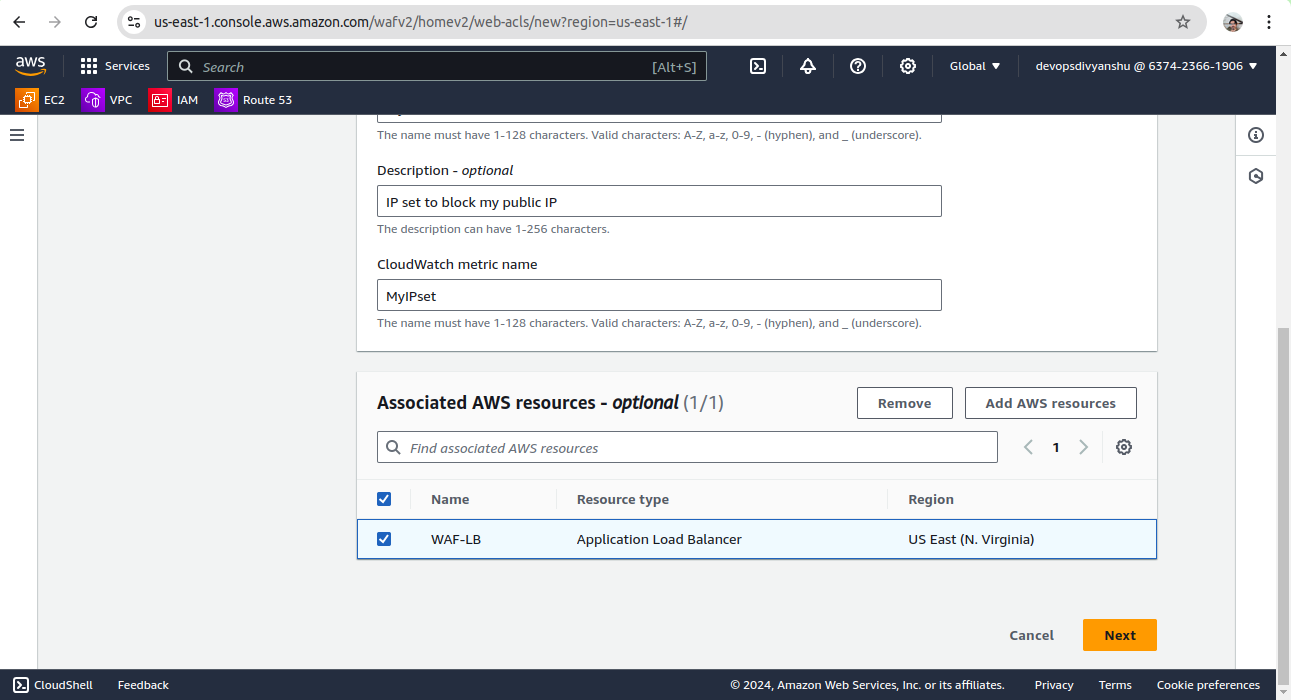
- Lastly, click on the Next button
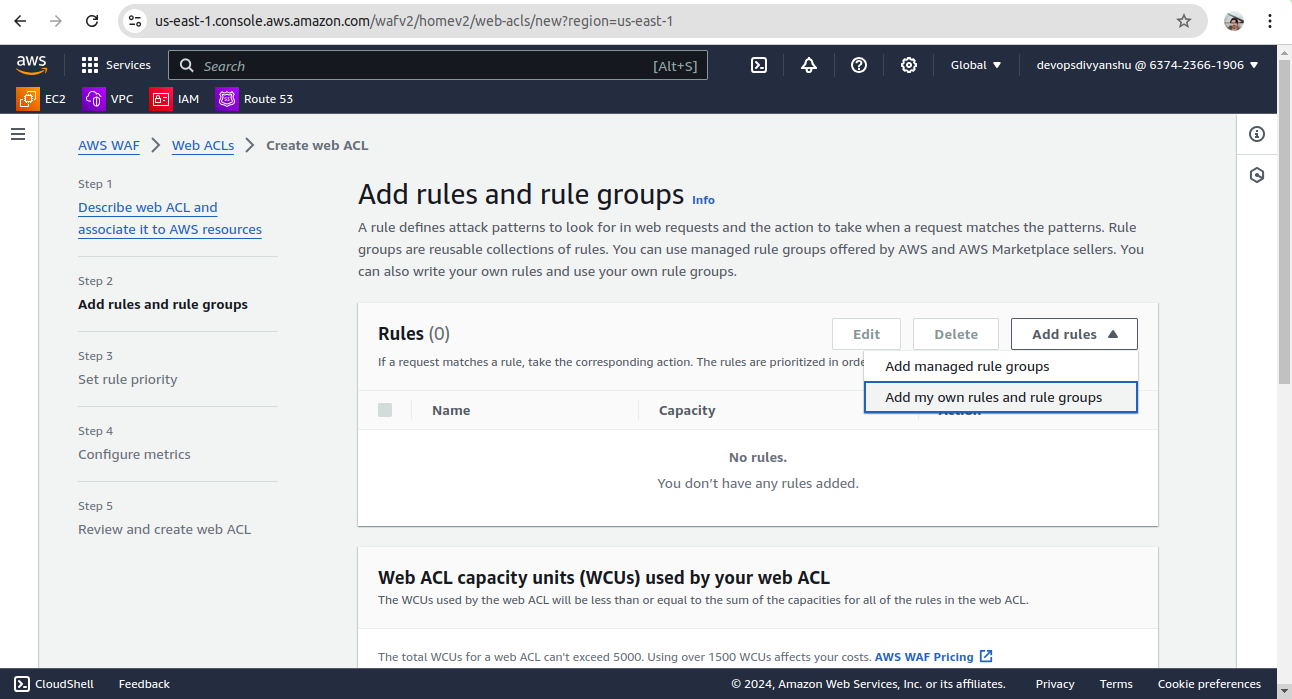
2. Add rules and rule groups
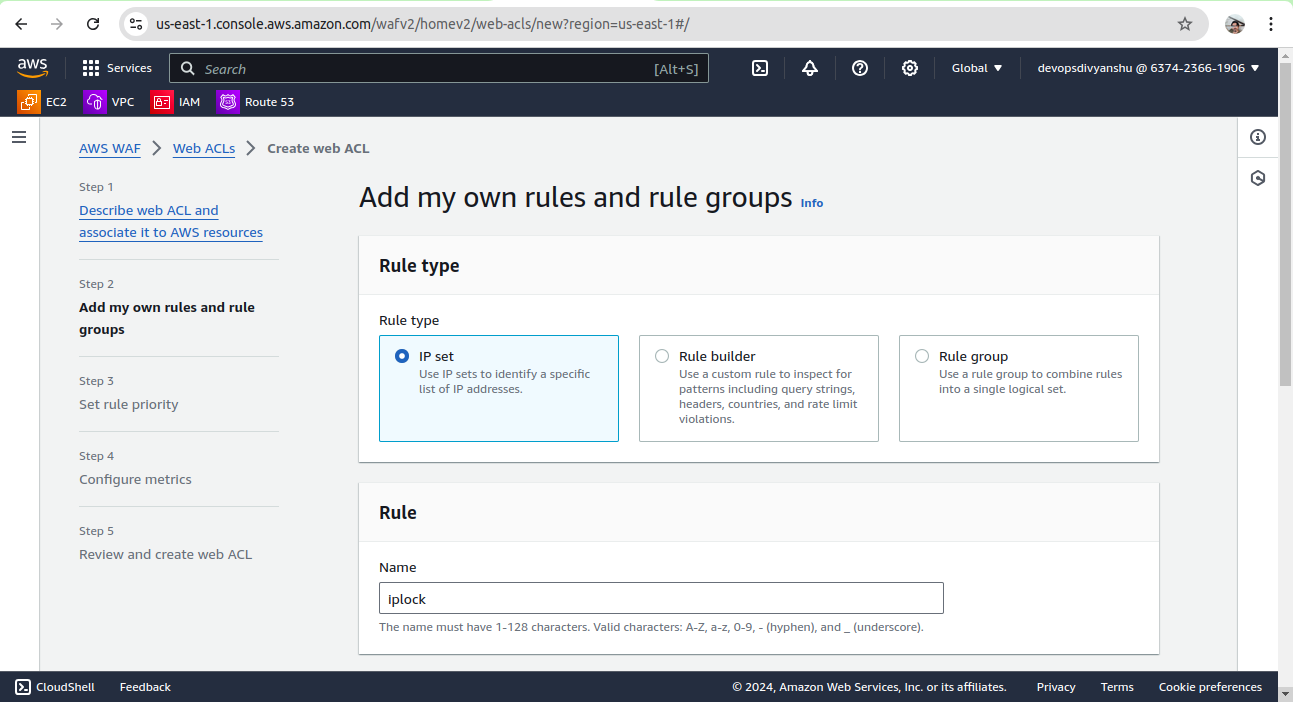
- Under Rules click on Add rule and select Add my own rules and rule groups in the drop-down menu.
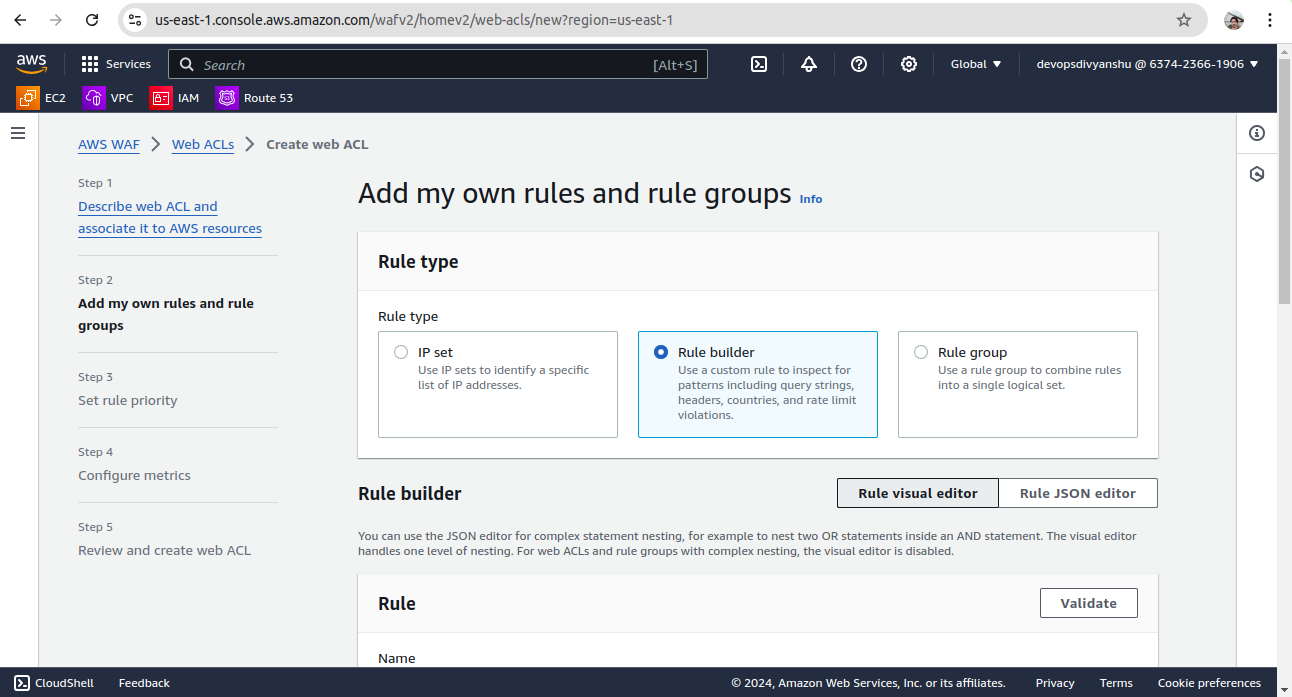
- In Rule type select IP set as shown below and fill in the details as given below:
- Rule type: Select IP set
- Name: Enter ipblock
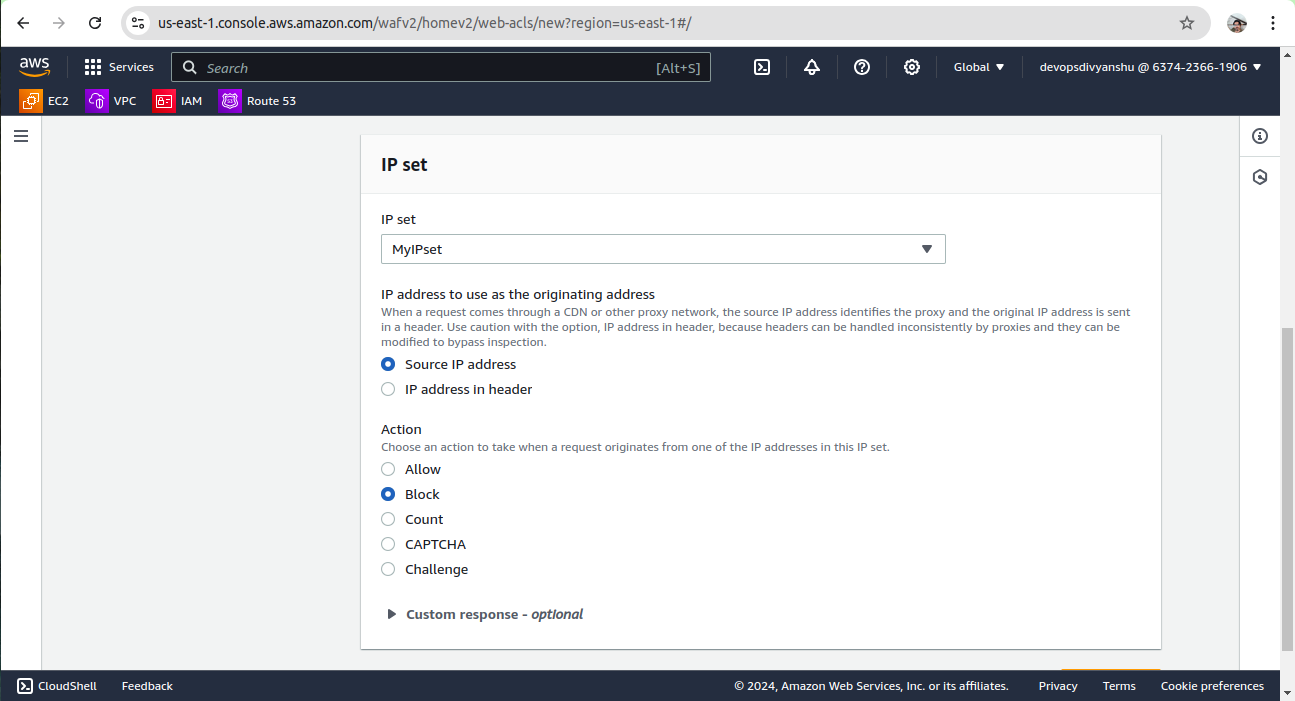
- IP set: select the IP set created Above ( MyIPset )
- IP address to use as the originating address: Source IP address
- Action: Select Block
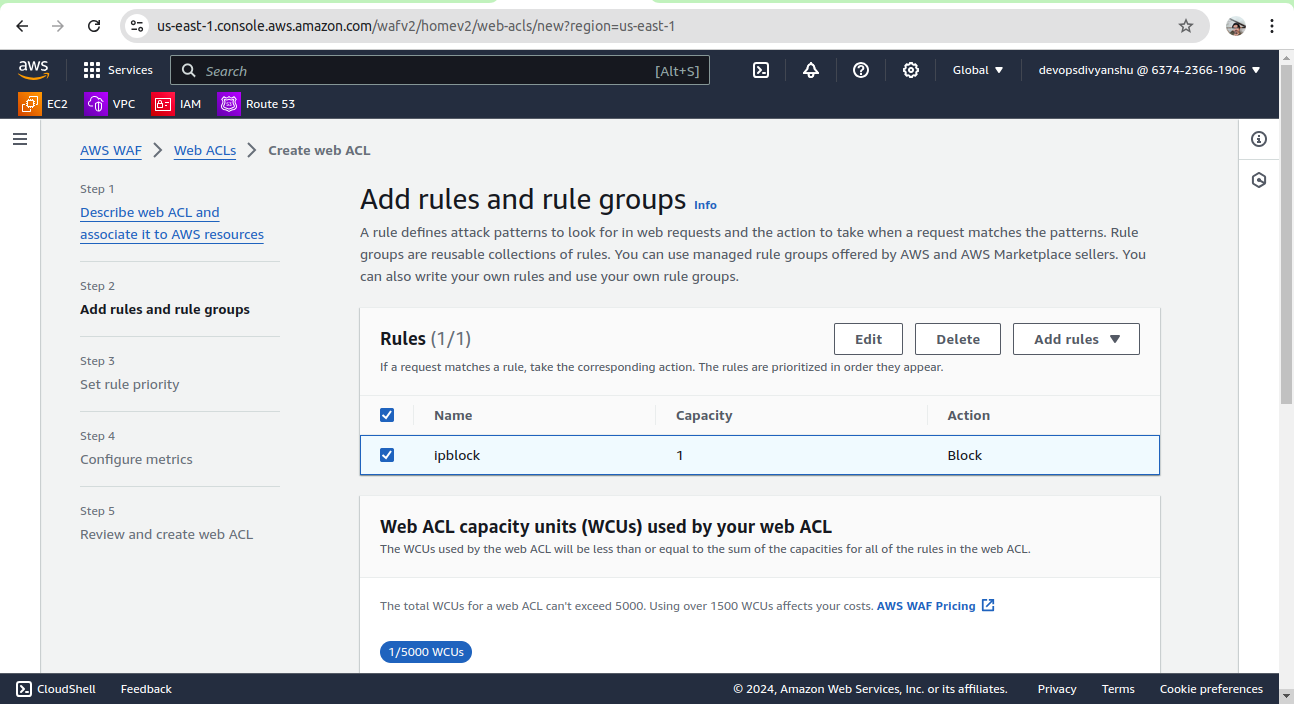
- Once you provide the above details, click on the Add rule.
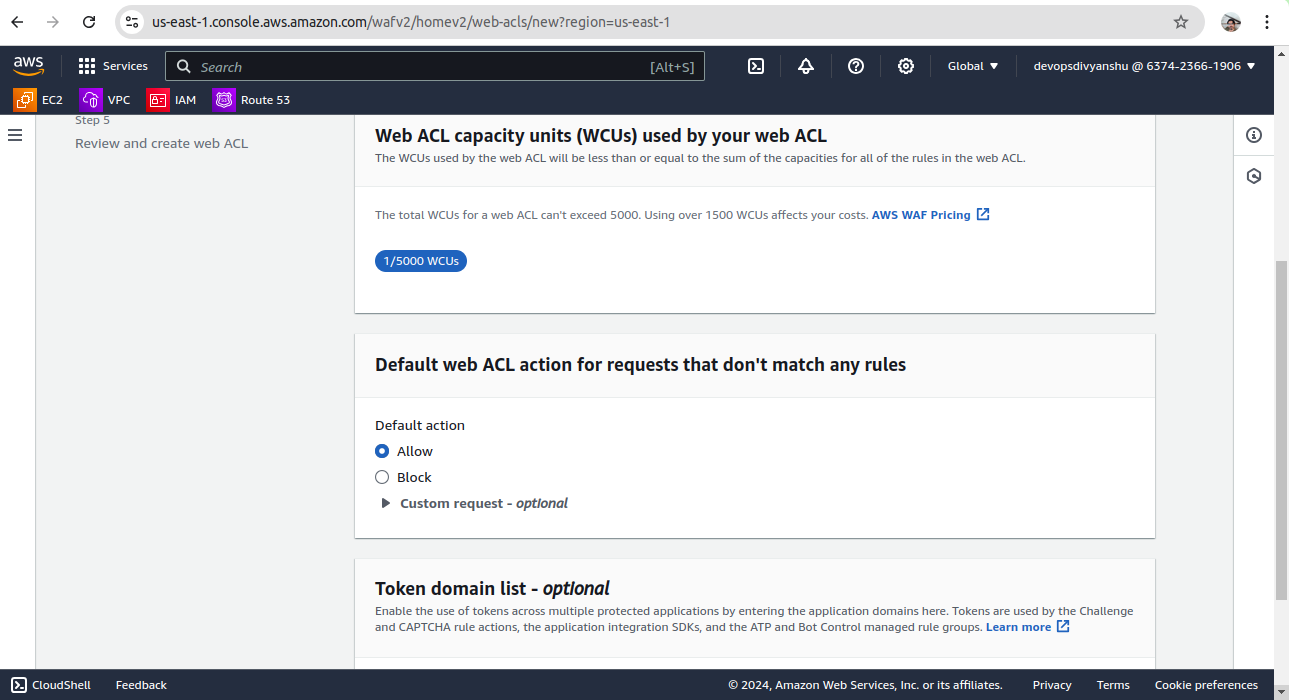
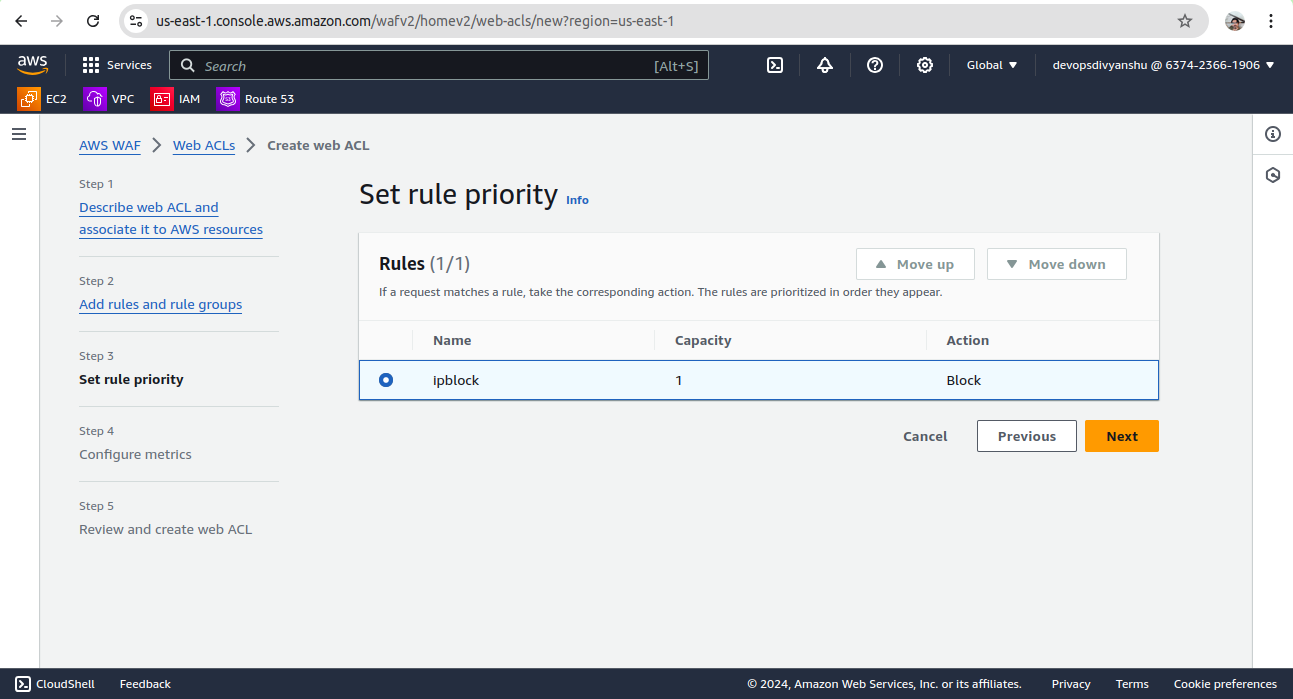
3. Set rule priority
- Leave as default and click on Next.
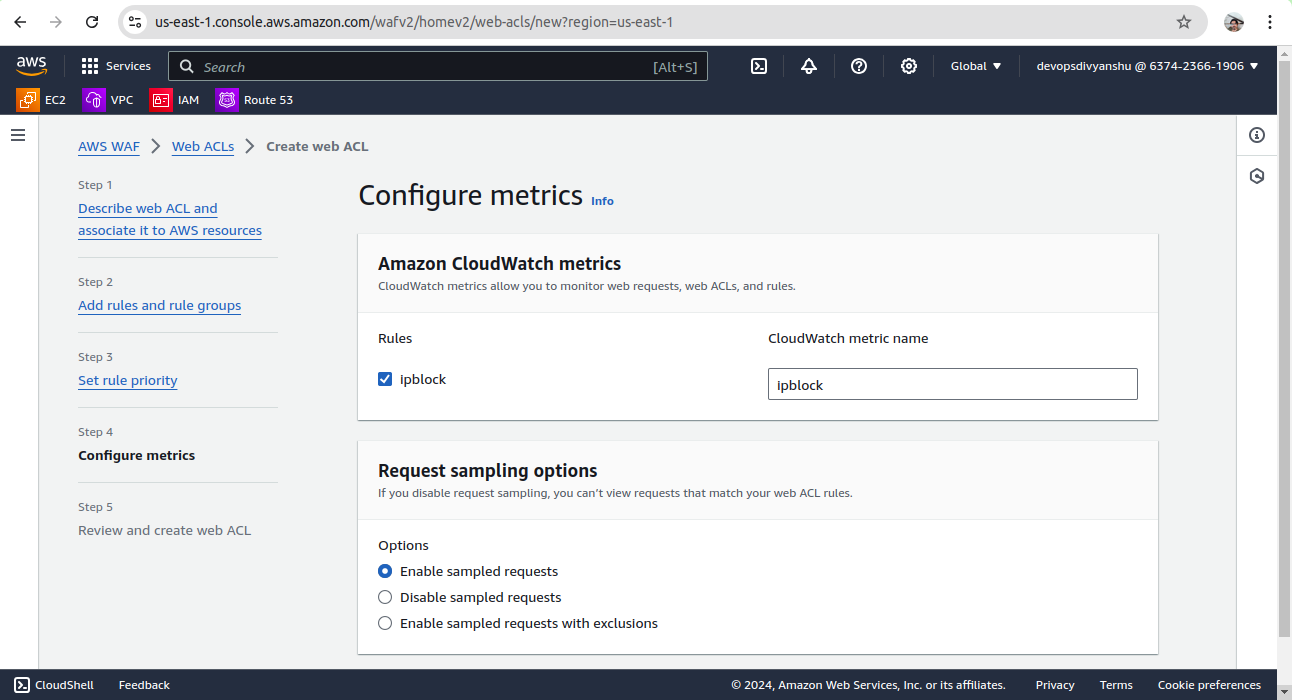
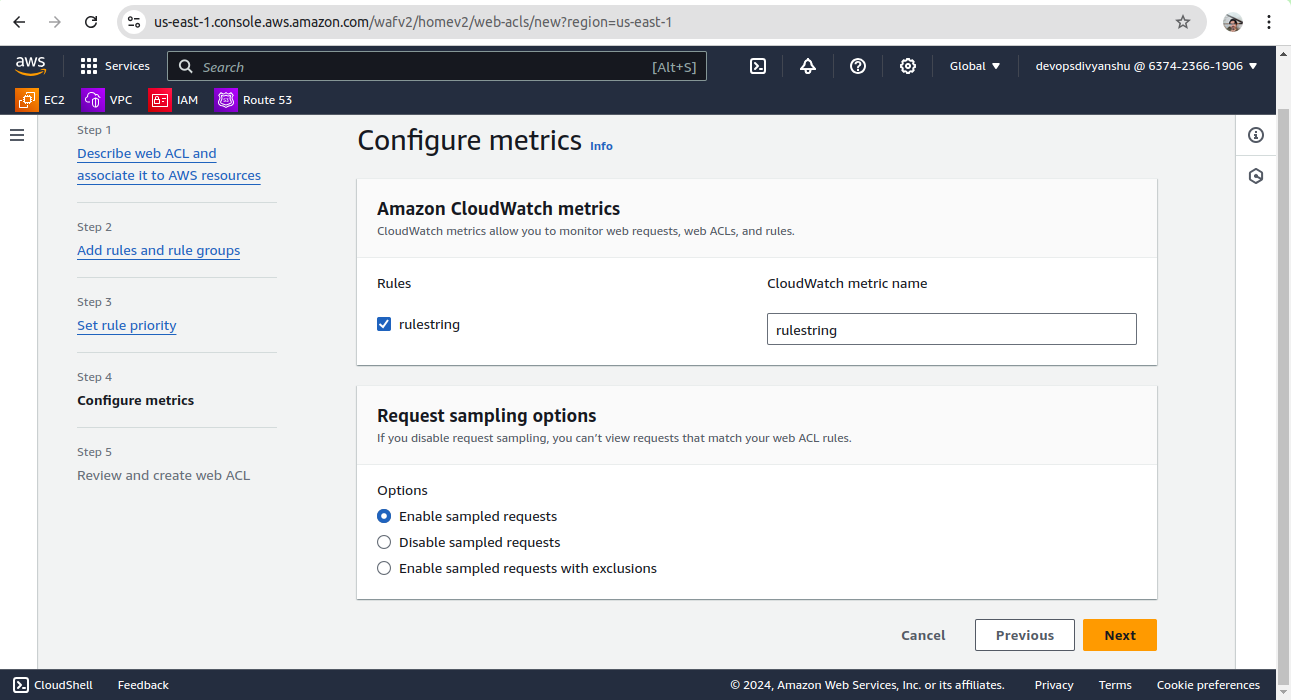
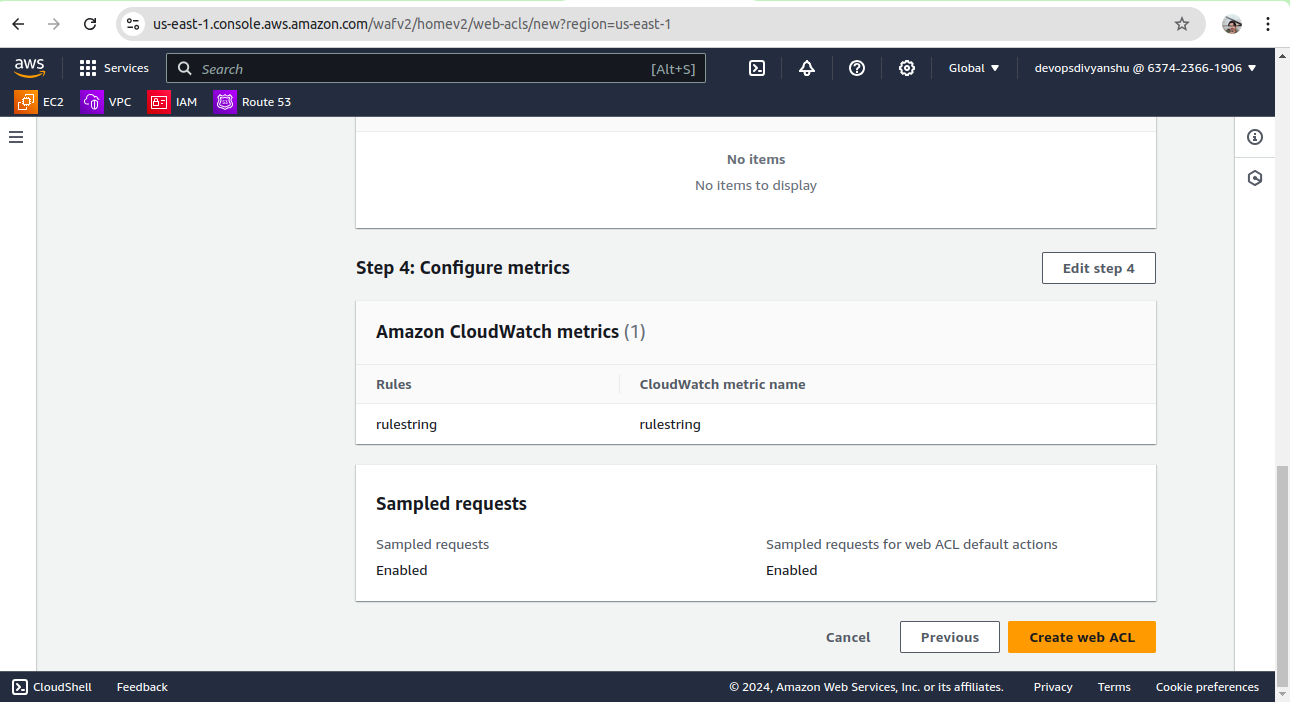
4. Configure metrics
- Leave as default and click on Next.
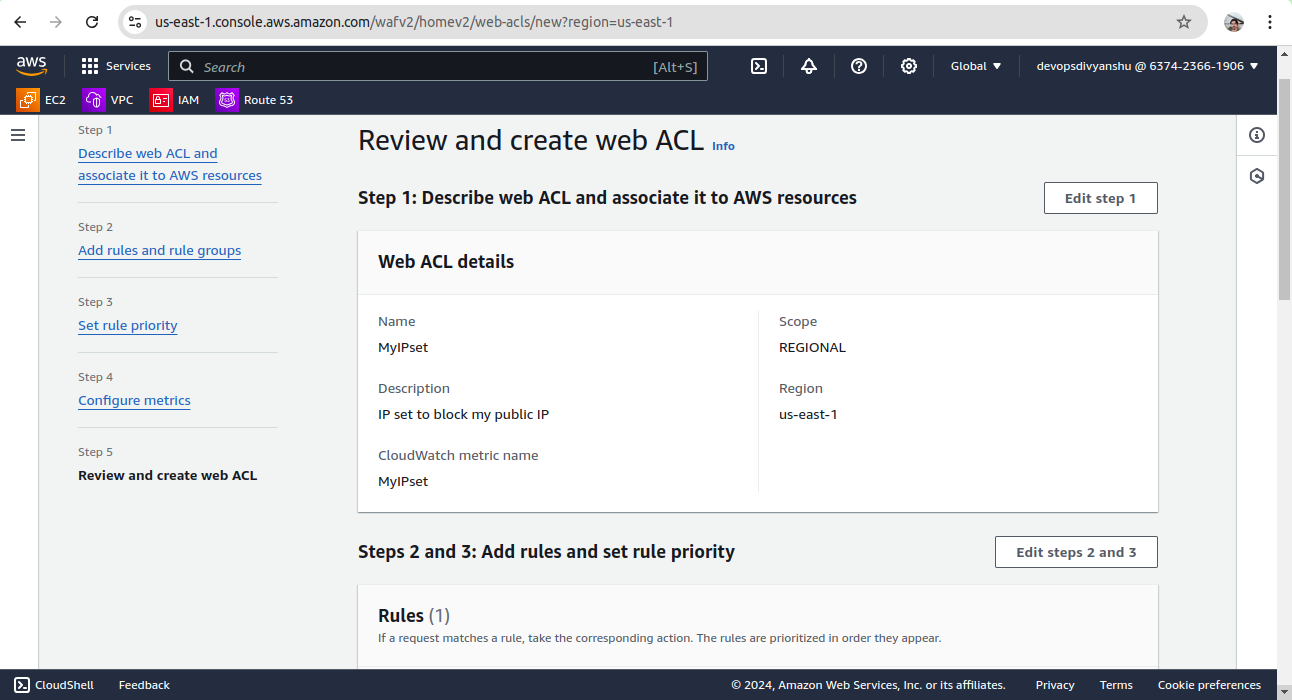
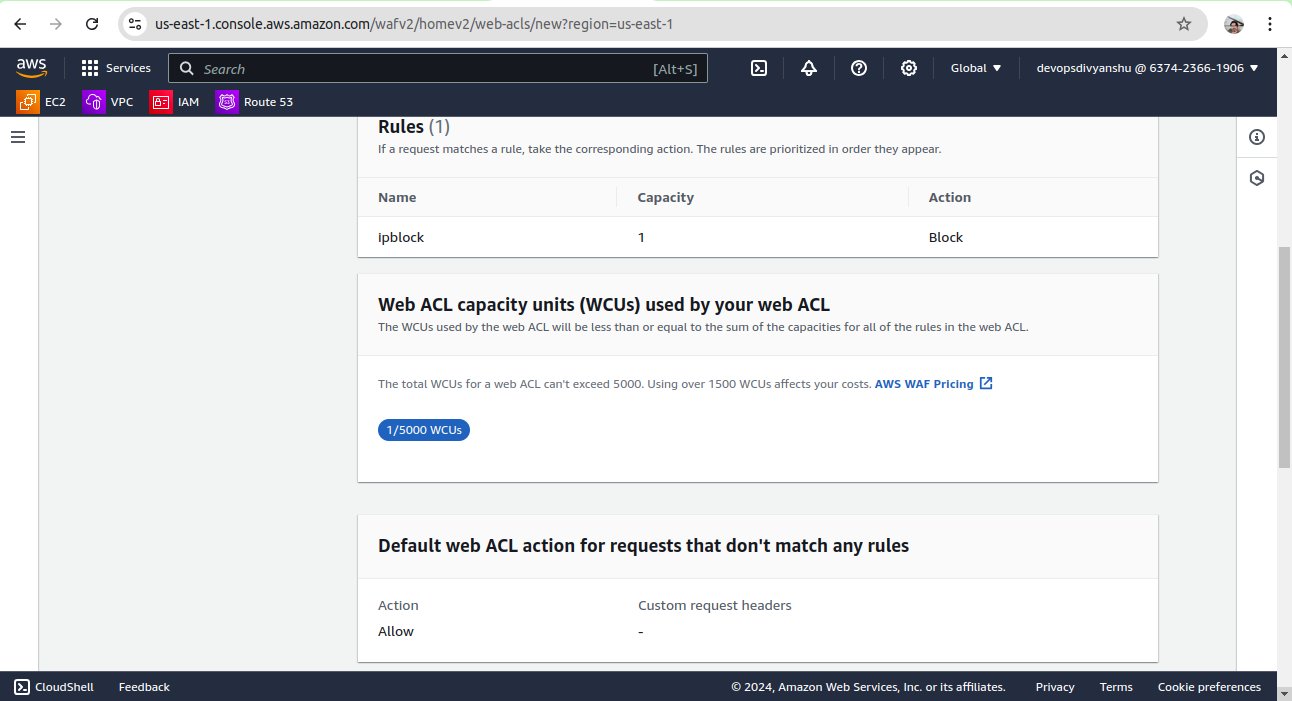
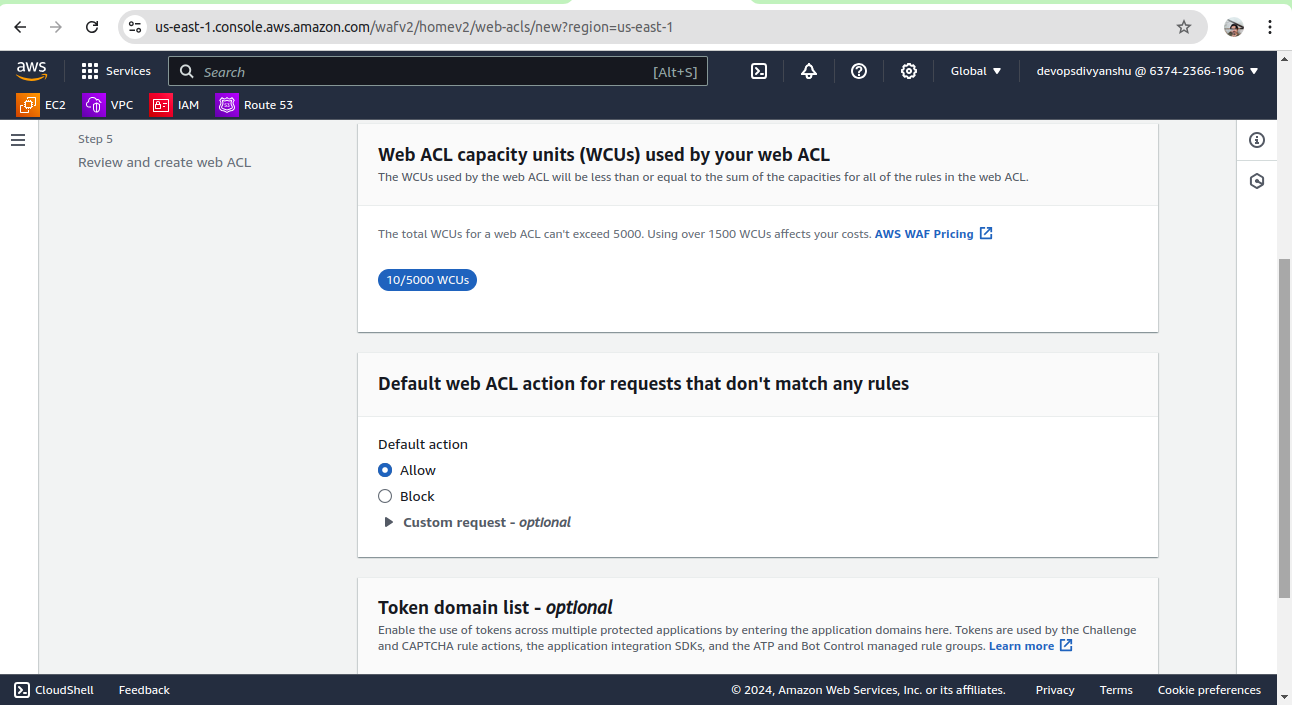
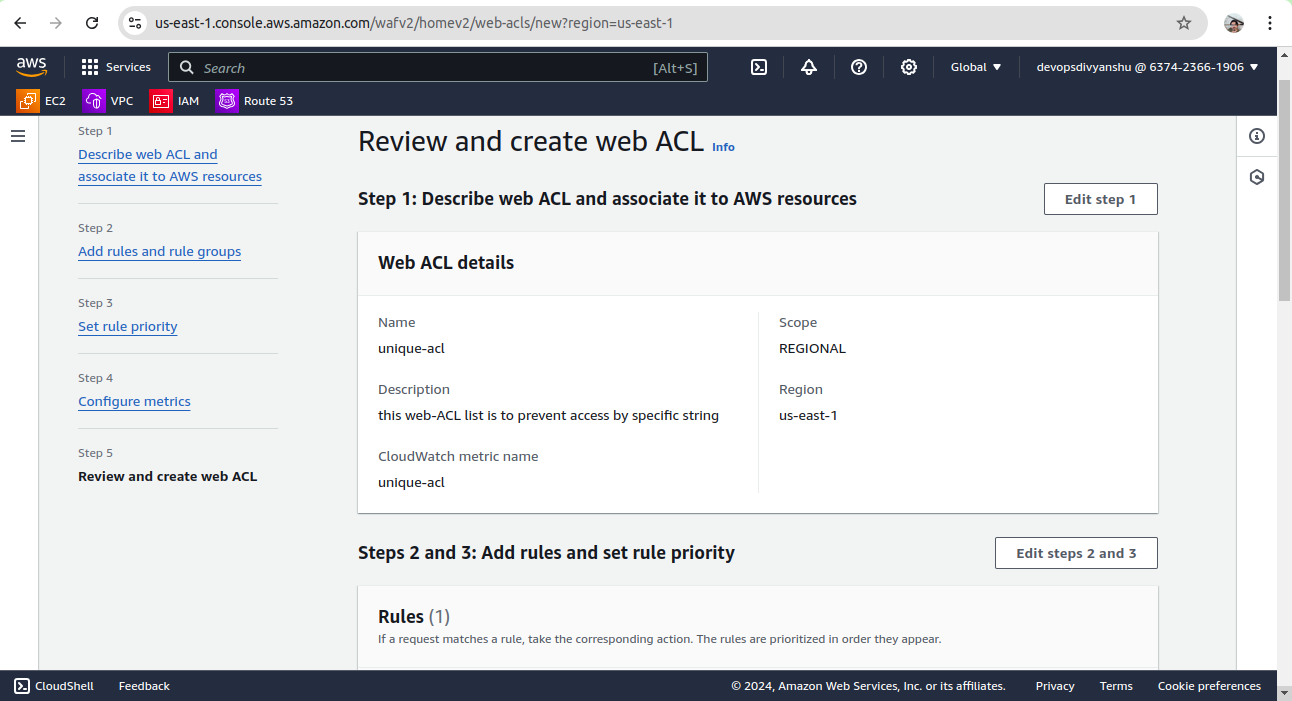
5. Review and create web ACL
- Review all your inputs and click on Create web ACL
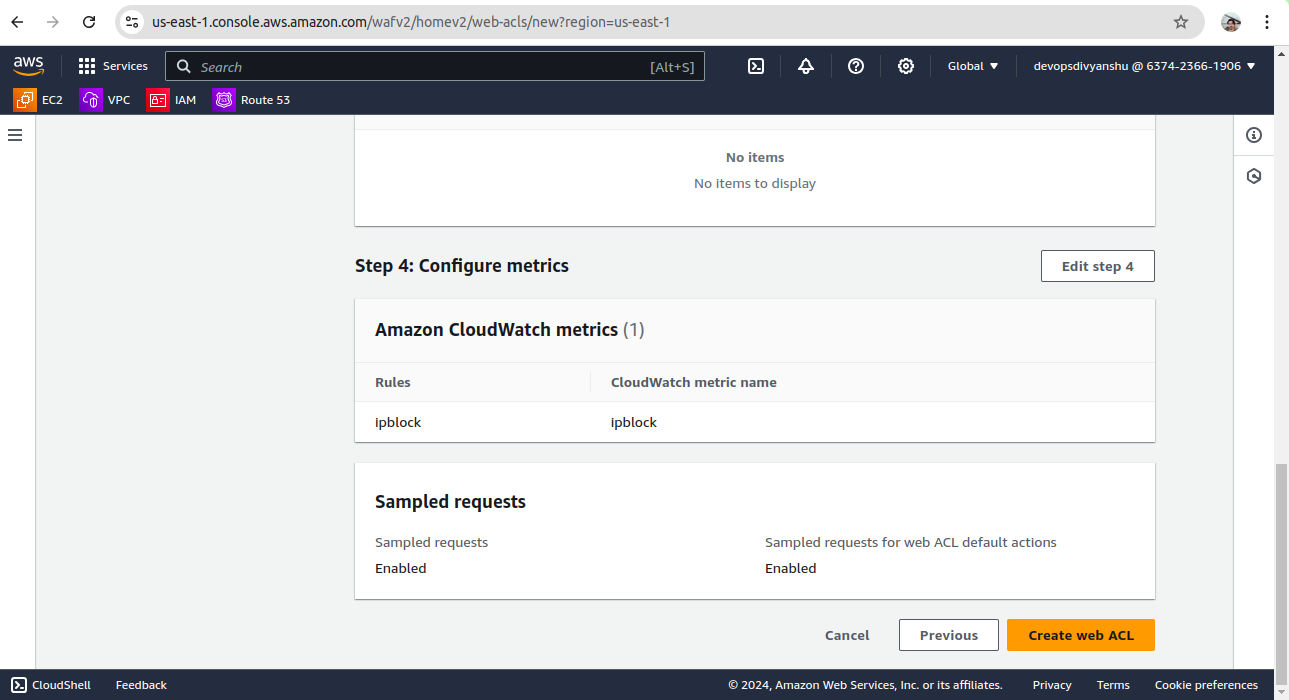
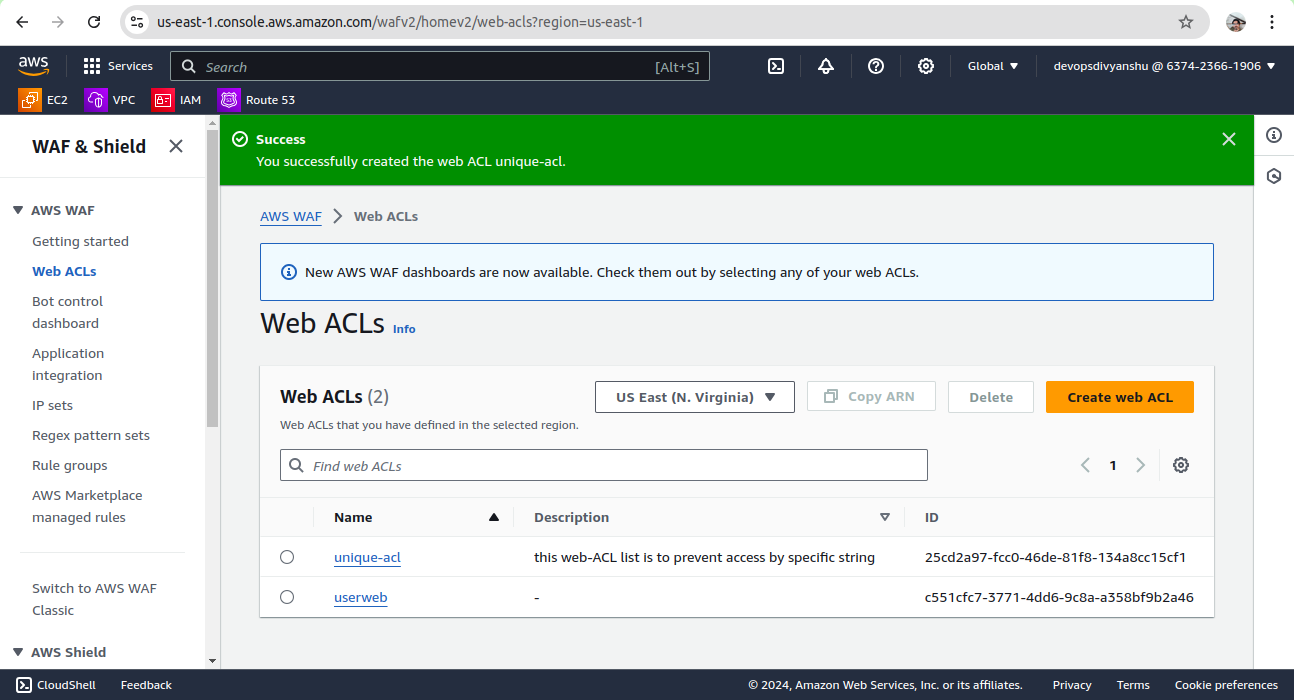
6. Wait for 1 or 2 minutes until you will see that your web ACL is successfully created.
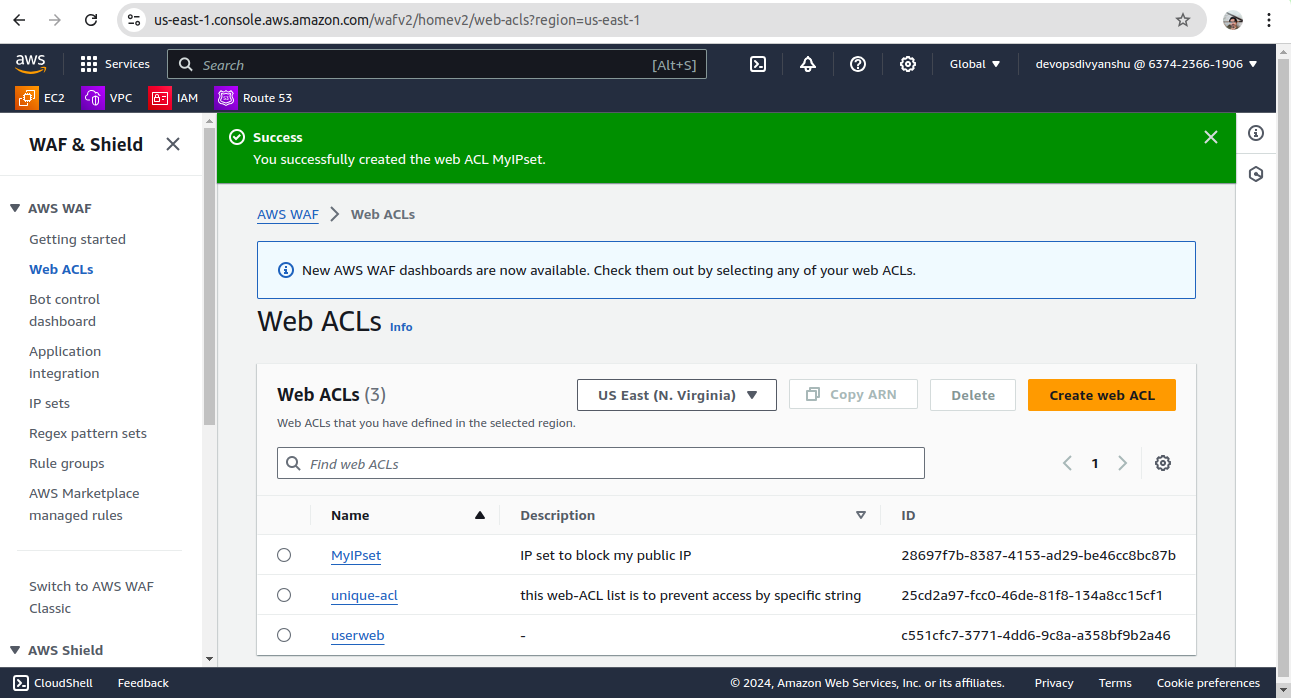
7. We have successfully created a web ACL for ALB with the help of an IP set created with your public IP.
Step 4: Testing the working of the WAF
- To test the WAF, navigate to Load Balancers from the EC2 left menu under the sub-heading Load balancing
- Under the Load balancer section, select the Application load balancer “WAF-LB”.
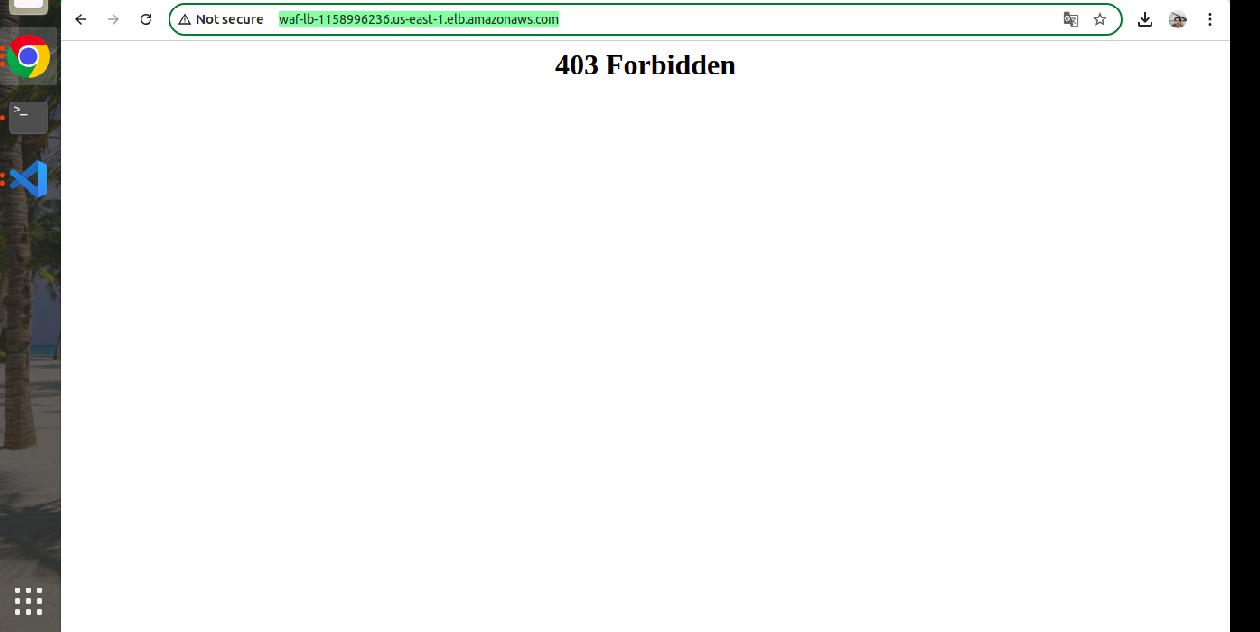
- Copy the DNS name Under details scroll down you will be able to see the DNS name copy it and paste it in your desired browser.
- We will get a 403 forbidden error showing that WAF blocked your connection to ALB.
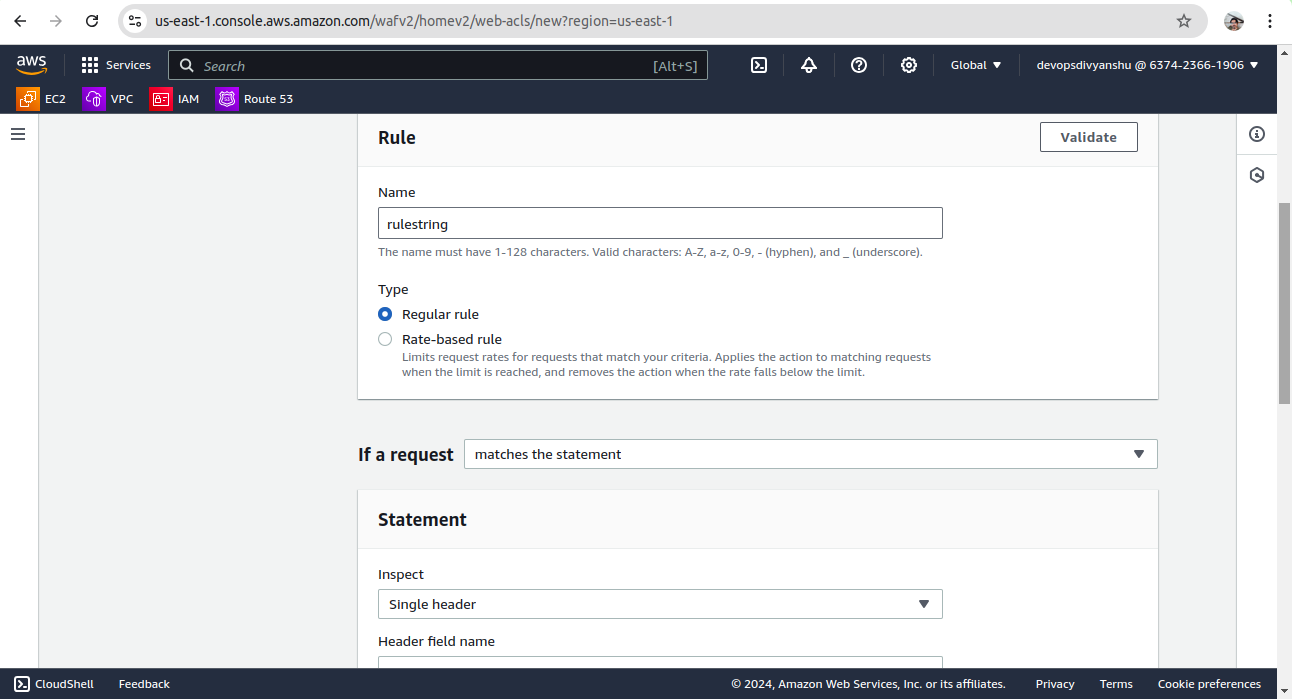
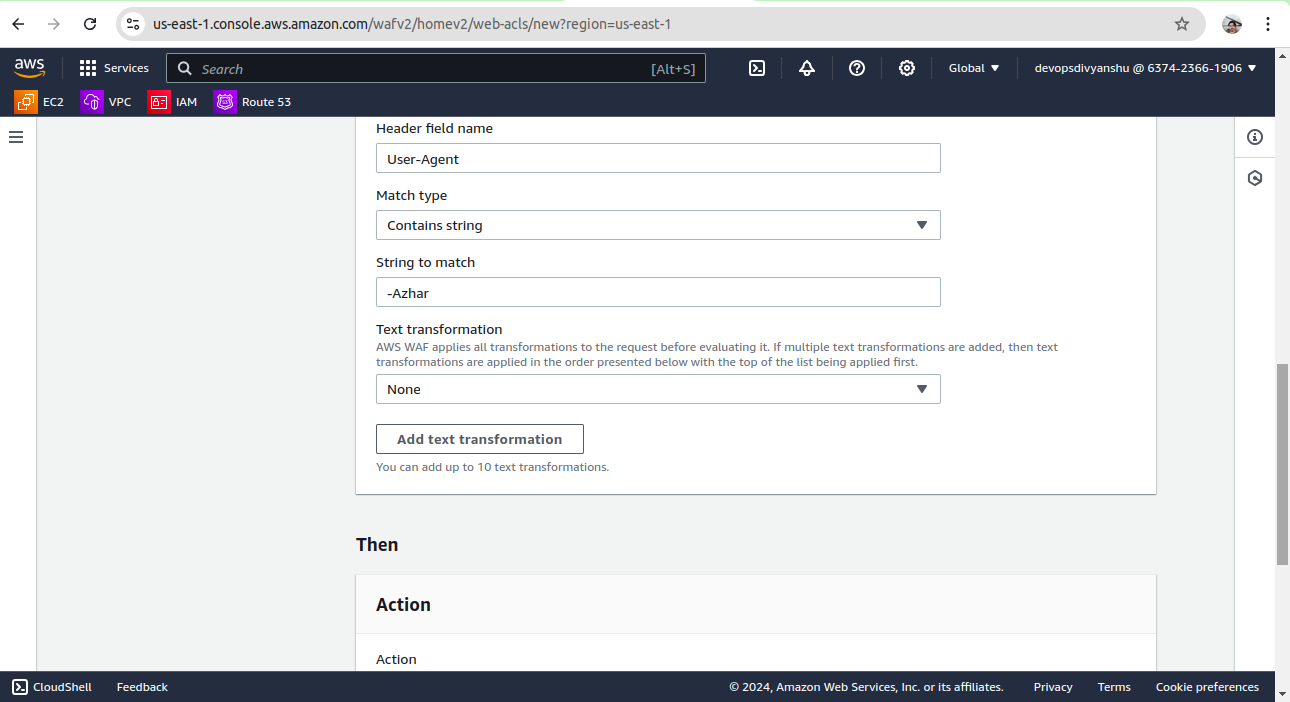
Step 5: To Block Specific String
We have to create new Web ACL as follows:


You’re all done! Congratulations!
That’s all I have for today folks. Thank you for reading and/or following along! I hope this project was helpful and worth your while. Stay tuned for my next project on this journey into the cloud.
Blog Pundit: Deepak Gupta and Sandeep Rawat
Opstree is an End to End DevOps solution provider